Sat back watching and enjoying all the tile work. Didn’t really have a project to jump into until the teacher in charge of retirement gifts at the local school asked me if I could come up with something for them.
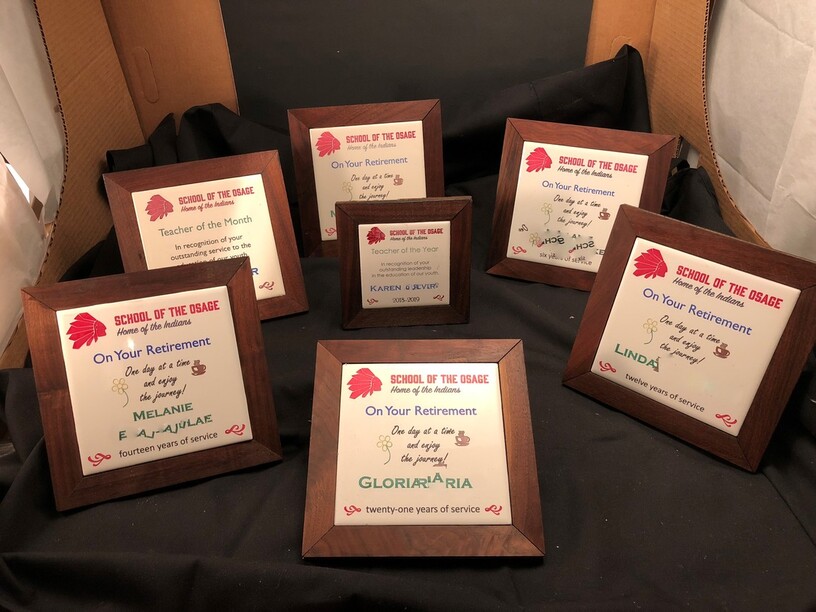
I worked up samples in four inch and six inch tile from Lowes, a couple bone, a couple white. They are the teacher of the year (four inch) and teacher of the month (on the left above.) I had some 1/4" walnut hardwood to make some frames and got some cheap 5 mm plywood for base.
Got a pack of different colored sharpies, some Mr. Clean magic erasers, some butcher block oil/wax and made these.
I’m including the files for a 4 inch tile (25 cents a piece) and 6 inch tile (45 cents a piece.) If you have been holding off doing tile, maybe this will help.
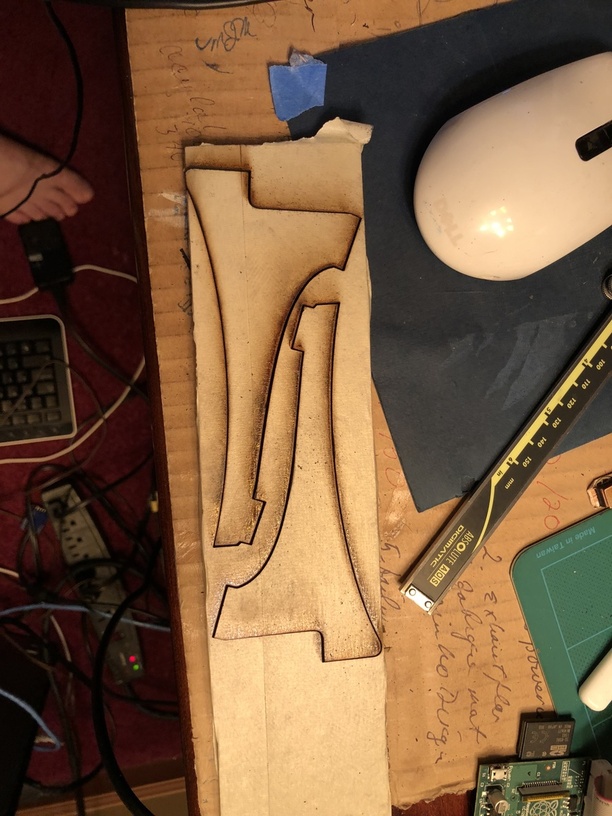
One thing you will want to do is cut a jig out of cardboard to place the tiles in for engraving. That way you can batch them. If you use the file I made as a template and not move the jig, you can just keep loading the different files and they will all process in the same place. It’s a 20x12 art board. Also test out the frame pieces. Then cut out the backing. You can use the back from as an assembly jig.
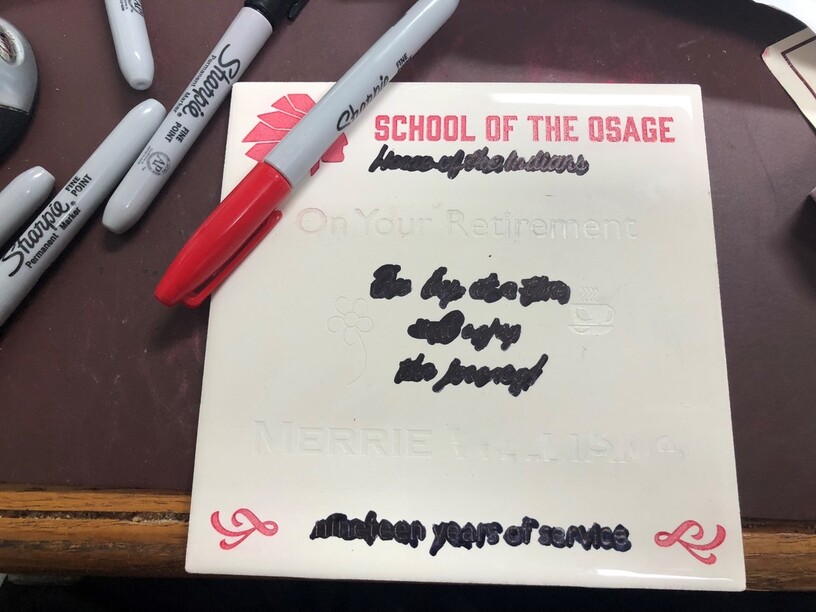
I tried some acrylic paint first using masking tape and engraving through the tape. I let the acrylic dry to long and it pulled up with the tape. Sharpies work just fine. A little messier cleaning but not too bad.
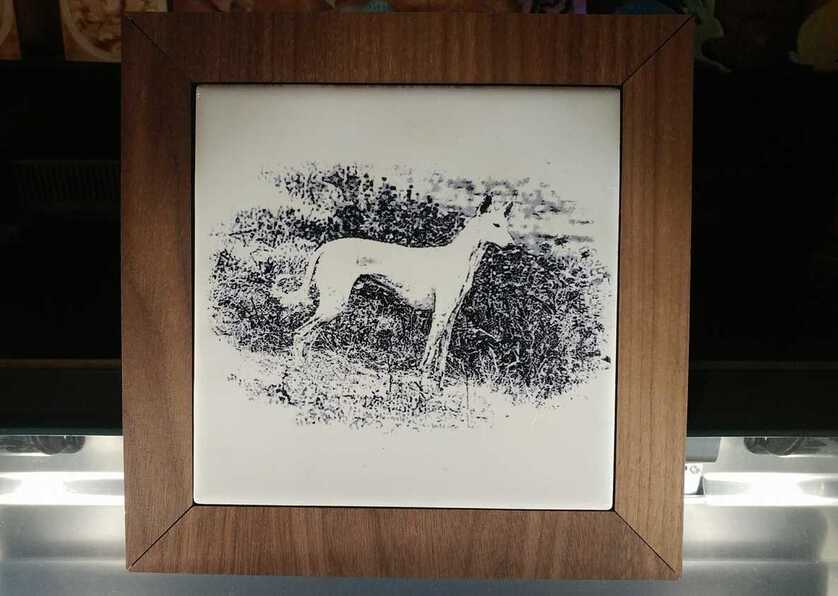
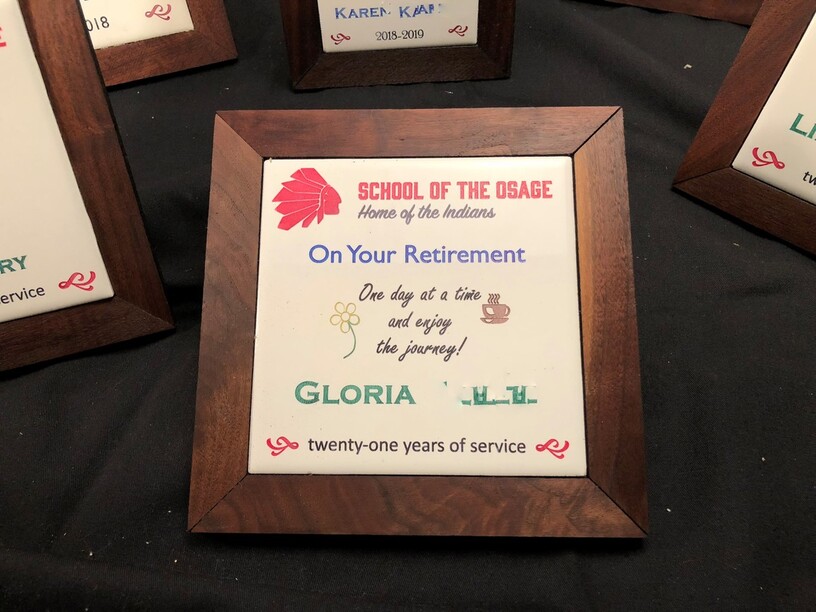
I engraved the logo at varying power with 50% as lowest to get a slightly lighter part of the bottom text. It was a PNG from the school. I didn’t want to pay forty dollars for the fonts nor trace the logo bug. It was crisp enough, but still I like to work from vectors for control and precision.
700 zooms and Full pews with two passes at 340. that gives me a deep engrave.
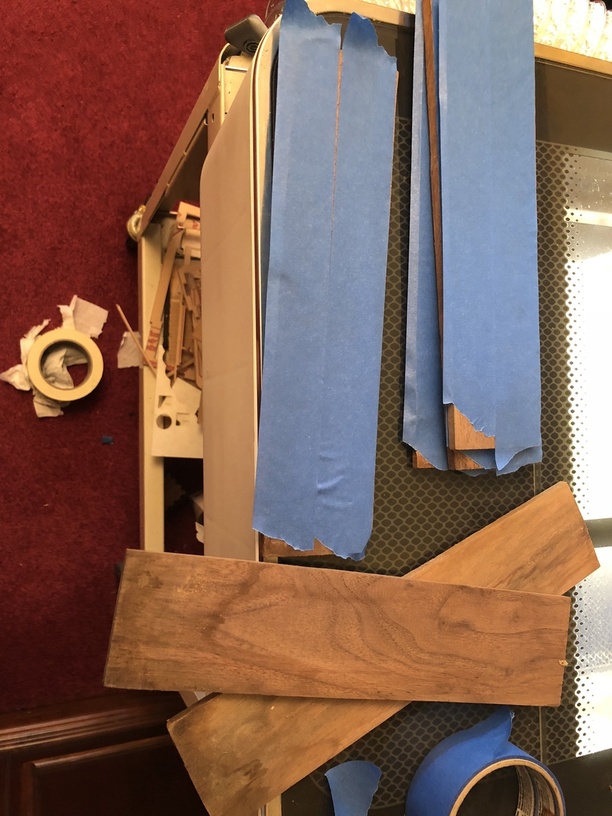
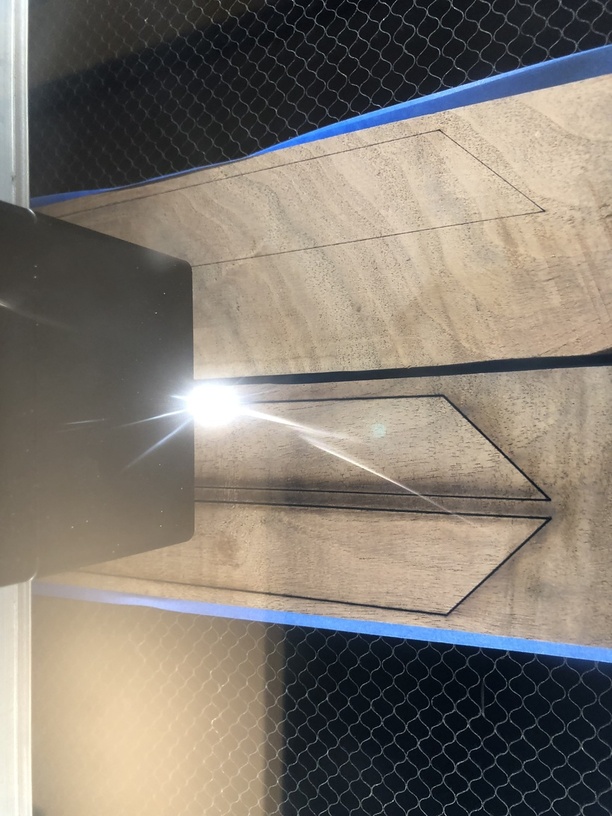
Here is the walnut for the frame masked only on the visible side.
Put the good side down since the kerf is narrower to the bottom and you get a tighter fit at the corners.
Had some close camera positioning since the walnut wasn’t too wide and the stand piece just fit.
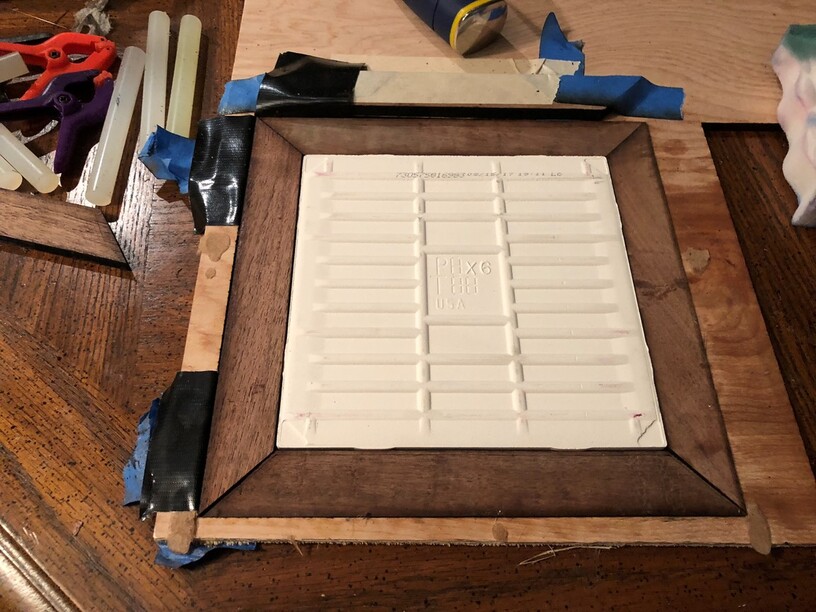
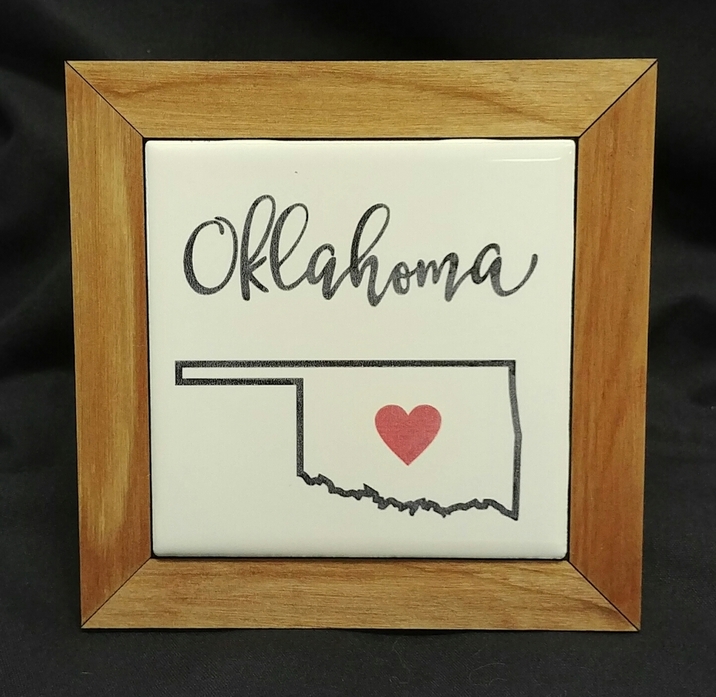
Assembly jig. The walnut varied in thickness so I sanded them down a bit. Not the best fit at corners. I used hot glue to assemble. The tile works best with the hot glue since is has the ridges and the variable walnut thickness also worked with the hot glue. Just barely enough time to fit it up. Will have to rethink this setup a bit with some corner clamps. The tile is pretty consistent, but varies enough that I could have given some more slack for it to fit into the frame without expanding it.
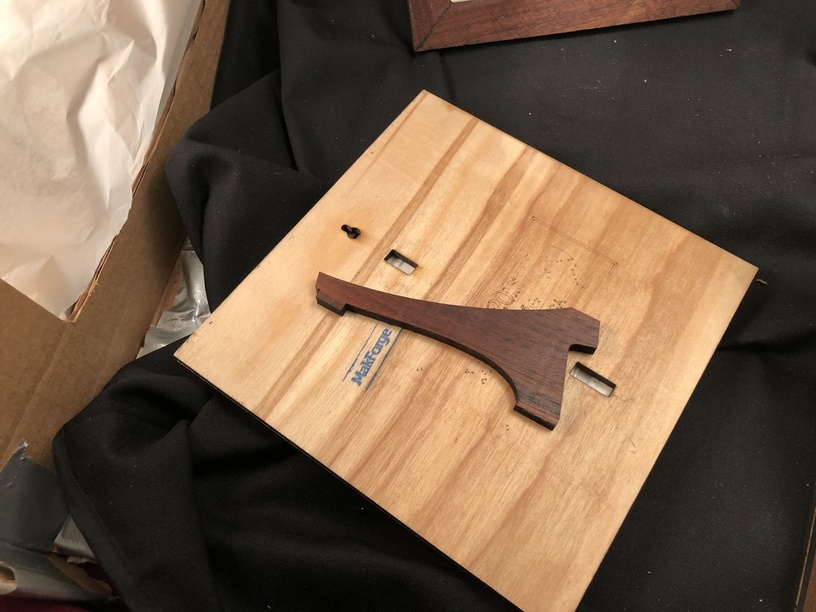
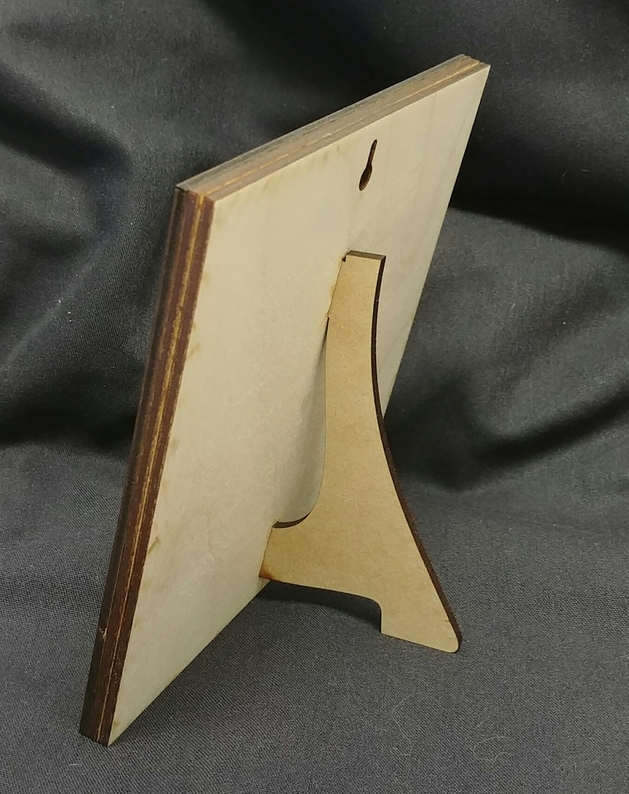
The back of the backing with the stand piece. It can be a flat trivet, a wall hanging or a standing framed plaque.
Love putting the butcher block oil on the walnut. It literally comes alive!
Would have been easier doing a thick Proofgrade plywood for the frame pieces. More consistent. But my costs were about $20 for everything and I got $25 a plaque. First significant sale!

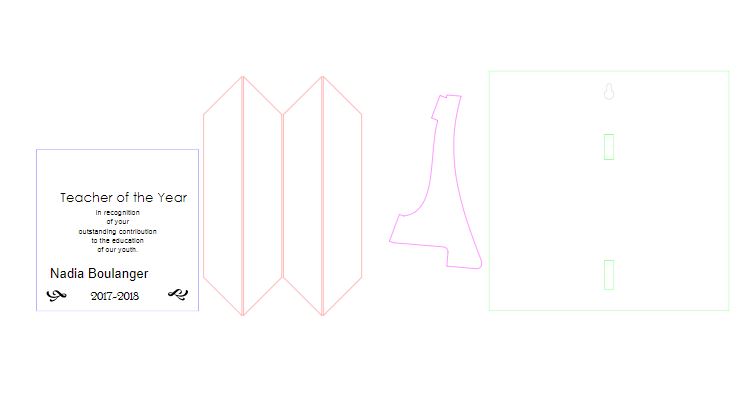
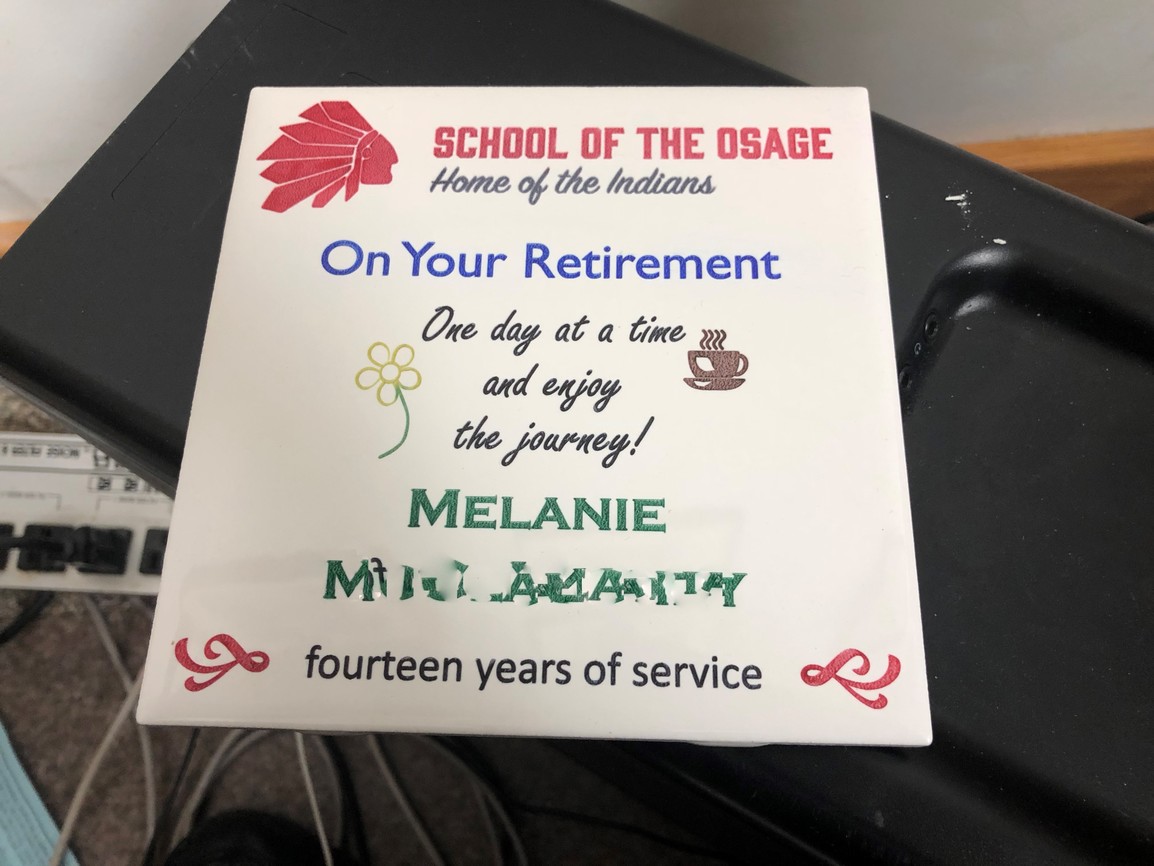
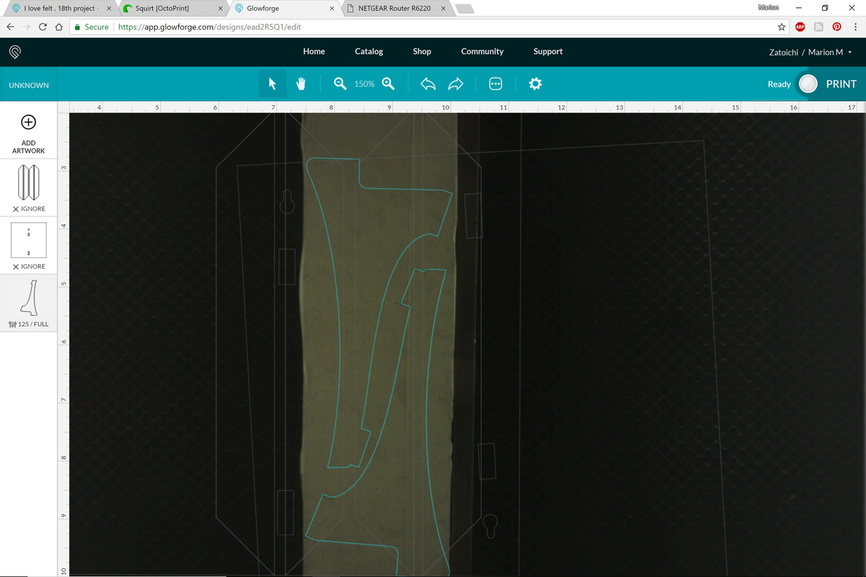
four inch tile design. It has text to edit at the moment so all you have to do is put in a different graphic, change the text to what you want, convert object to path and engrave away.

So it can be a little confusing what to cut, what to engrave, what to ignore. I ended up making the frame a separate file and then had each custom engraving square a separate file without the frame, stand piece or backing.
If you do use Proofgrade plywood for the backing plate and the stand piece, make sure you change the width of the two slots. right now they are sized for 1/4" material.
Let me know if something isn’t clear. Haven’t posted one of these long descriptions for a while. I’m sure I’ll be editing it for a couple days!