This is actually a test update to my original post about Cermark Ultra not sticking to aluminum - found here:
Sooo… I think I found a setting / spray combination that I’m 90% confident about … errr, maybe 85% confident. I’ll explain why in a moment, but the spoiler is – Use the black iPhone HD Engrave setting – which I believe is 1000 / 100 / 450lpi.
All of my fails from the previous post seem to be (mostly) due to using “Full” power. I had more success overall when I went to 100 power.
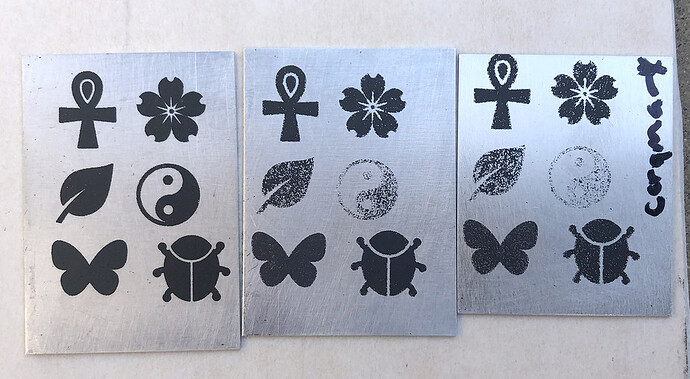
I also tested Cermark Ultra and LBT Laserbond 100, and the spoiler is… Laserbond 100 seems to work more consistently. Here is an image of one of the last tests I ran:
The aluminum on the left is the Laserbond, and the 2 aluminum pieces on the right are both Cermark (tested twice to be sure).
• Ankh 1000/100/450 (iPhone hd setting)
• Flower 800 / 90 / 450
• Leaf 700/80 / 450
• YinYang 600 / 70 / 450
• Butterfly iPhone setting x2 passes
• Bug 800 / 90 / 675
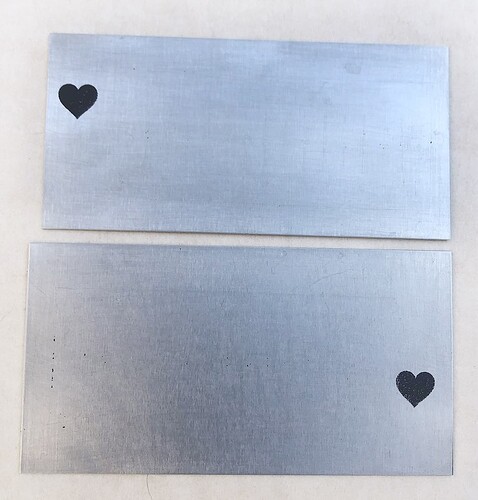
And this is why I say, my confidence is reasonably below 100%: (pictures of a punch ruler):
The top photo is of the panels right after the engrave. These were Cermark using the iPhone HD Engrave. Then the second photo is after I re-ran it with the 2 heart symbols using the iPhone HD engrave – washed off. So, failed once, worked the second time – same panels, same spray application. (Well, sort of worked, it’s still pretty sketchy).
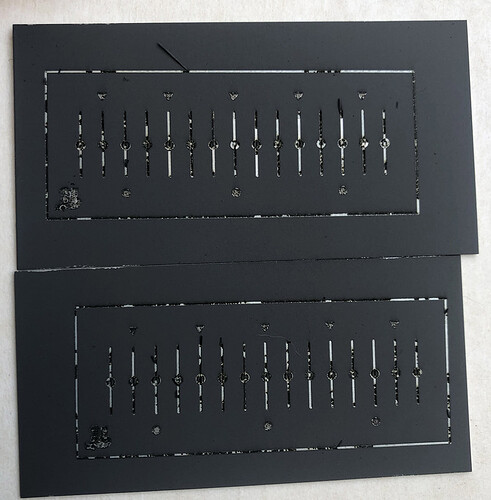
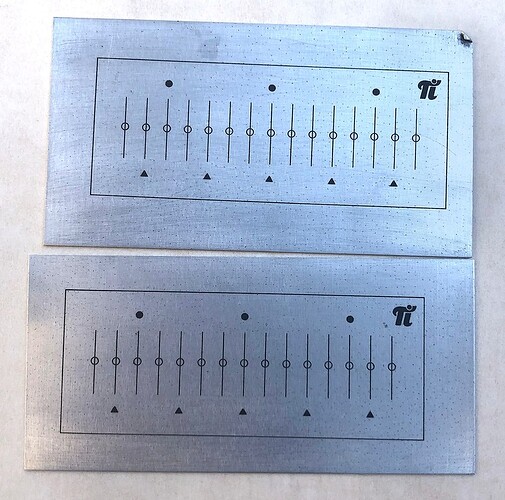
And here is a picture of 2 punch ruler templates using Laserbond 100 (after washing clean):
This image is using the iPhone HD Engrave x2 on Laserbond 100 over aluminum. Not sure why I went for 2xs – because to the naked eye, it looks about the same as running it 1 time.
The kicker is, that I ran dozens of previous tests, a few of which actually worked, but not repeatedly. I have no explanation as to why. But the iPhone HD Engrave seems to be the most consistent so far.
SPRAY TIPS:
Even though both sprays say that they dry in 2 minutes, uhm … probably not. They look dry in 2 minutes, but if you pick up your metal and put it to the back of your hand, it’s quite cold, which lead me to believe the pieces were probably still a bit wet. So I did this:
• Spray
• Let Dry 5 minutes+ on its own
• Set on a heating pad for about 20 minutes (not heated by heat guns or ovens, just a warm heating pad)
• Removed from heating pad and set on the table for a minute, then re-check the metal temp by touching the back again. It should be about room temp.
Thanks to everyone who replied to the original post – it sent me in the right direction. ![]()


