It was 0.022". I could mostly get through it at lower power, but there were some fibers that didn’t cut. At 70 power, it went through pretty much all of it.
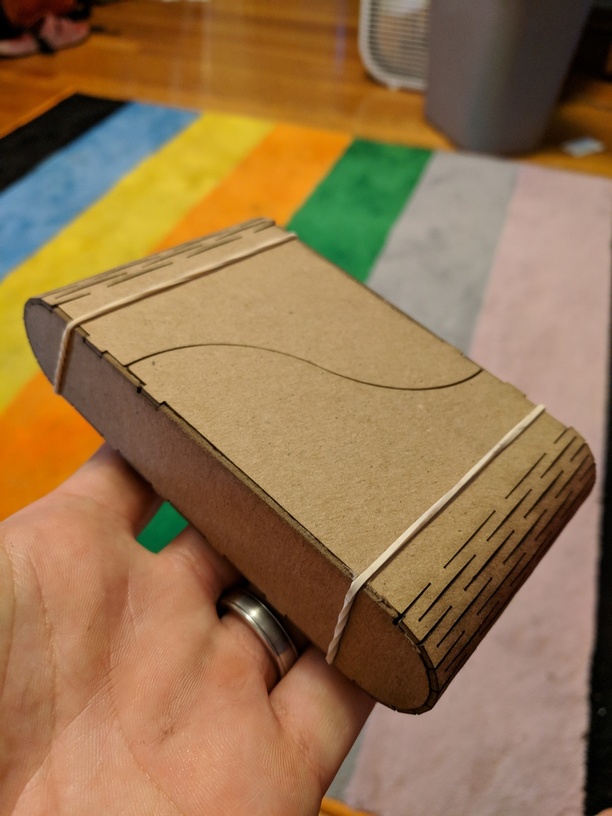
I’ve minimally tested scoring/folding with the .07" but not having great luck with it yet (in my eyes). I’m likely doing something wrong though… Scoring on the “outside” keeps the chipboard from tearing (which is what I’m getting scoring the inside of the bend) but it leaves a nasty visible cut, like in the picture. I have some chip that I glued up a cover sheet on that I’m going to try this afternoon. I figure I’ll score the inside of that so the cover paper is on the outside. Maybe that will give me a nicer appearance.
And maybe I’m doing it wrong with the grain, I have no idea.
can you do multiple light cuts to make a “V” shape that you can fold in on itself? I haven’t experimented at all along these lines, so I’m not sure if what I’m asking it even doable
I won’t have my 'Forge for a few more weeks, but I’ve successfully engraved a “V” pattern in chipboard on other lasers to help prototype packaging. Took a lot of fiddling to get it right though.
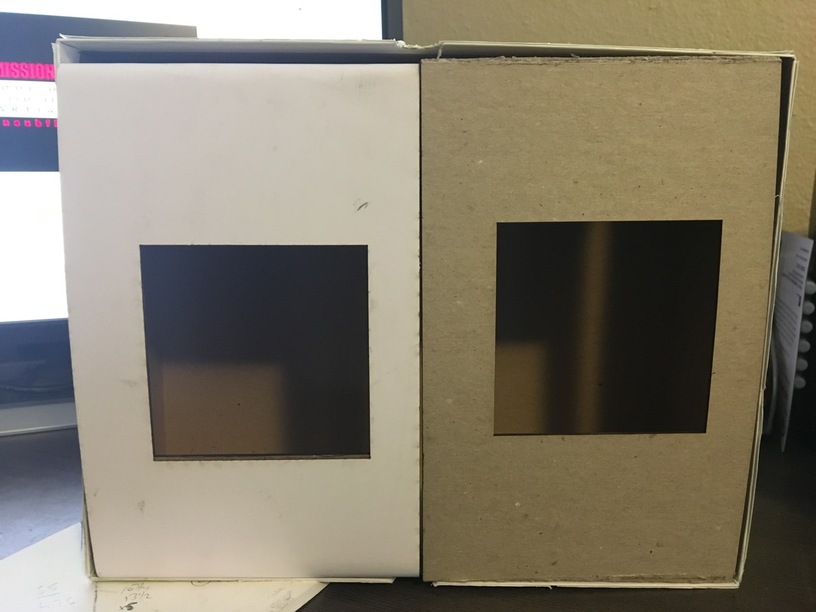
That pic makes me think maybe I should be thinking cardstock more than chipboard (it’ll be getting inserted into a clear vinyl box, so rigidity isn’t a huge factor)
I have no idea… I’m just learning as I go. I think the thinner it is, the easier it would be. I’m just trying to utilize some offcuts from larger sheets, so trying to make those work at that thickness.
When you’re talking scoring V-shapes… I’m really not sure what you have in mind. Like little teeth pointing either way into the fold?
I glued up some paper and did the score on the inside. It’s not a super-crisp fold, like origami or something, but it at least looks nicer.
Maybe you’re just thinking thinner chipboard with a lot less ply’s. I think you could get much crisper/nicer results with thinner stuff. The thinner material I’ve tried, the more I’ve been able to get a crease.
yeah, for paper or thin stock, the score would be on the inside. For cardboard or thicker stock, I would assume you have to take away more material on the inside in order for it to fold properly, hense my idea of a “V” shape on the inside of the corner. Maybe it works, maybe not
no matter what you do with a laser, your scoring for folds will always be a little sub-optimal when you compare to what you see out in the wild normally.
when a company folds chipboard to make a box (or paper to make a booklet), they’re using a thin bar and pressure to score it, which doesn’t ablate any of the material away, it just creates a thinner section of material at the fold line with pressure scoring. Usually done with a folding machine or by using a piece of scoring metal in a die.
so what we’re trying to accomplish here with a laser will always create a weak spot, and often a visible weak spot, in the material as opposed to the traditional pressure score.
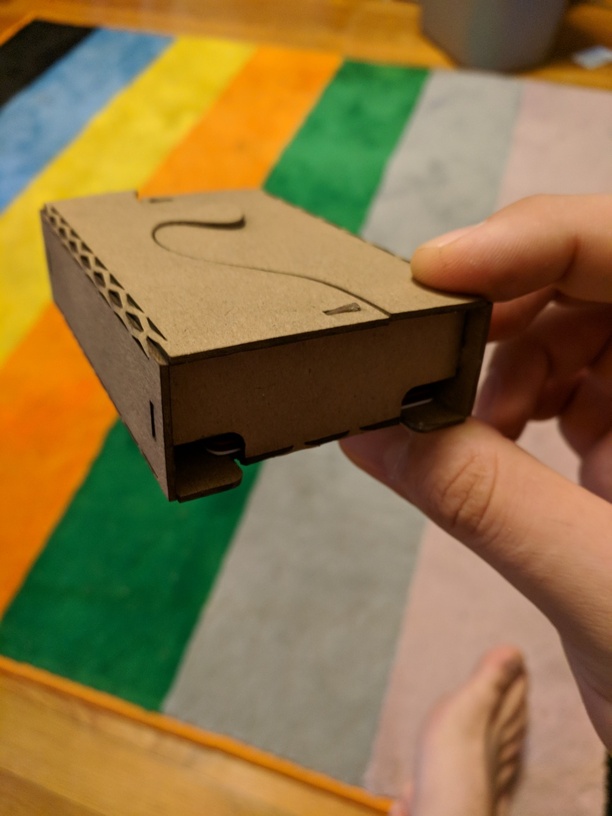
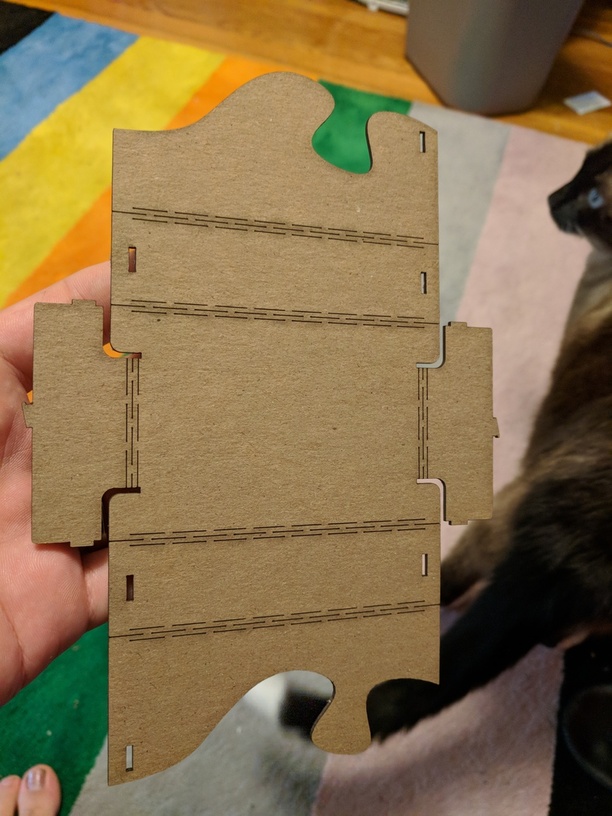
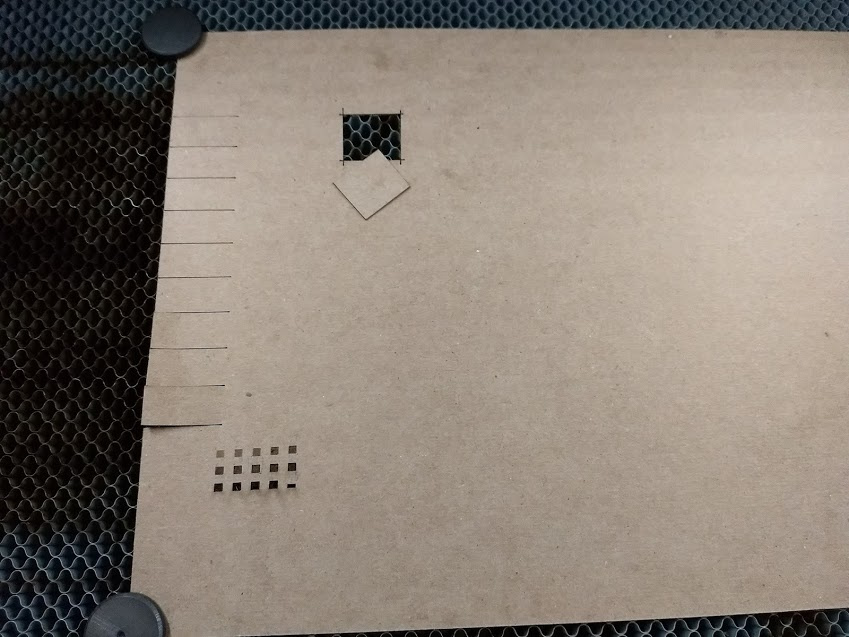
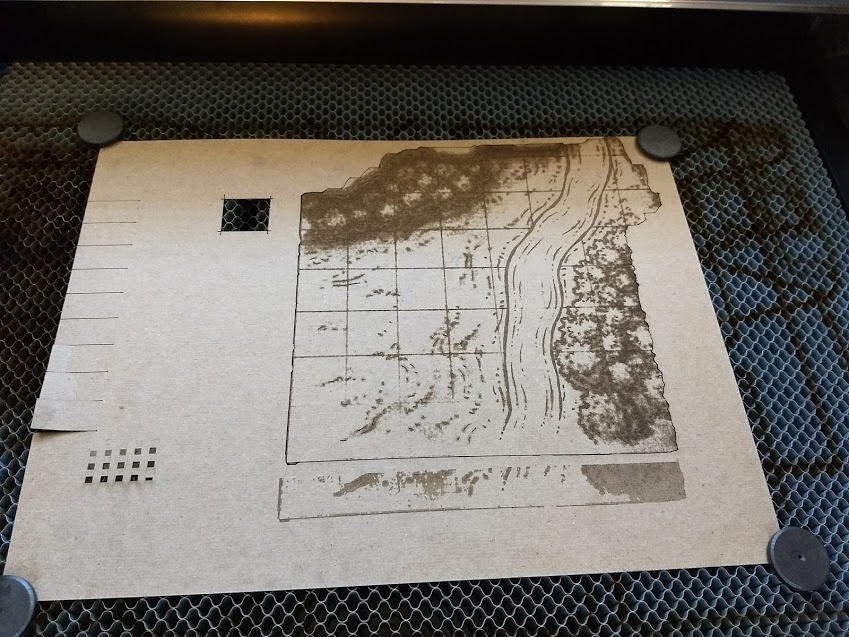
I’ve been prototyping with 0.05" (50pt) chipboard acquired from Amazon. I’ve been doing the “living hinge” route with the Fusion360 sheet metal tools, assembling with tabs and/or Elmer’s glue. I’ve been really happy with the results. Cuts have been at 270@90, and etching (not pictured) works well with 1000@10.
(I’d meant to post the designs or workflow into here, but I didn’t quite get it solid enough to feel like it’s worthwhile.)
Thank you! For the living hinge, I added it after the fact. With help from the Project tool in Fusion, I got the bounding box for the bend lines onto the flat pattern, and then in Illustrator I just created the hinge from scratch (a short path that I duplicated with the Transform tool to make the lines fit within the box). I’ve thought about switching to Inkscape and its living hinge plugins, but right now I’m just messing around.
For the record, I created a new “sheet metal” material for the 50pt chipboard, setting the thickness to 0.05" and the k-factor to 0.5. I roughly followed this tutorial, and the bend line projection happens at about 10:10 in the video. I used the same gap that Taylor used (0.005") in my design, which is thinner than the roughly 0.008" kerf that the Glowforge produces.
I have a number of maps that you have opened up as options for me
Source of the Nile (Avalon Hill)
Advanced Squad Leader (Avalon Hill) - this will be a combination of etching and topo work
Have you thought of making modular dungeon parts? There appears to be a market for them.
You know, a few 10x10 rooms and connecting corridors and the like? Great for ease of miniature play and a lot more re-usable
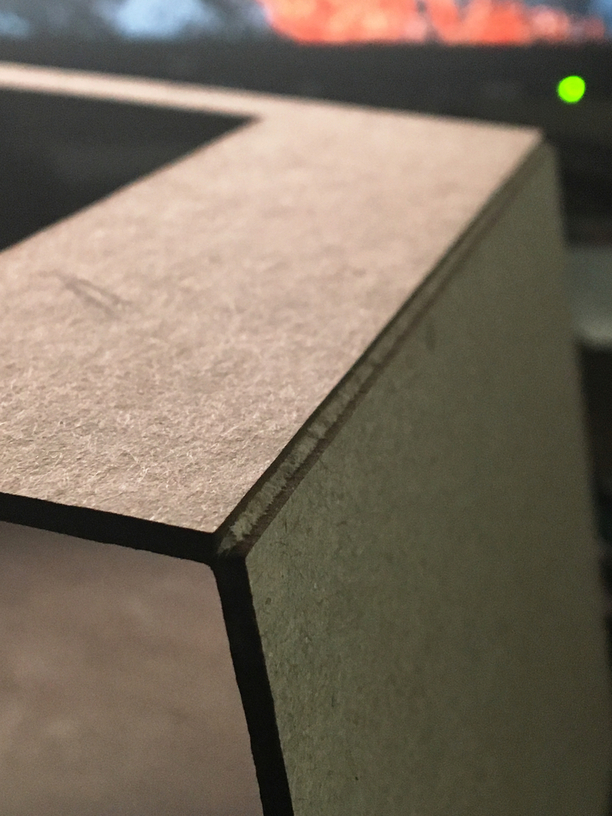
 the thick stuff (.1”) definitely takes some power to get through. It’s quite dense!