So people have been posting the most amazing projects ( Made another stacking mandala today and Star Wars Table & Wall Art ) using stacked expanding patterns. I wanted to do a christmas ornament for a very very late christmas gift, and David just got in all the glass supplies and mirror that I asked for. This gave me an idea: a stacking veneer pattern on a circle of mirror. I asked the ever-amazing @shell to help me with a small design that could be expanded and stacked, and she sent me this:

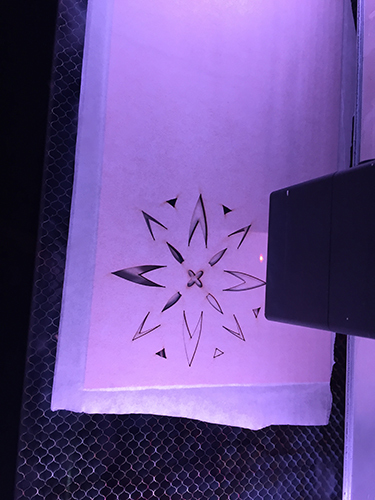
I thought this was incredibly beautiful. So when laser thursday hit, she helped me implement the stacking, and also taught me many cool things about Adobe Illustrator:
- How to use the Eyedropper tool (I) to copy styles from another object.
- What the Direct Select tool (A) is actually useful for: selecting a single path out of a compound object, making doubly sure that you are selecting and deleting the right object (delete once deletes that specific point, delete twice deletes the entire path it was connected to)
- How to use the Appearance pane to apply effects to a path in order. We took a single path and applied several strokes to it to get the expanding effect.
- How to use the Pathfinder > Merge tool to make into one path everything that is the same color.
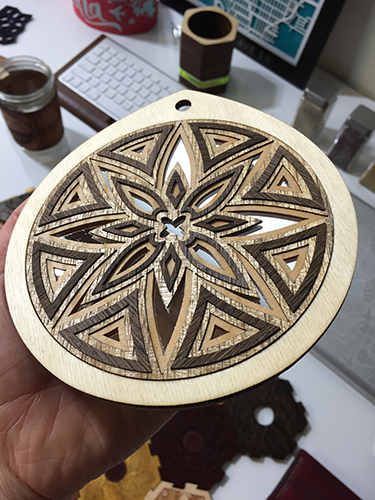
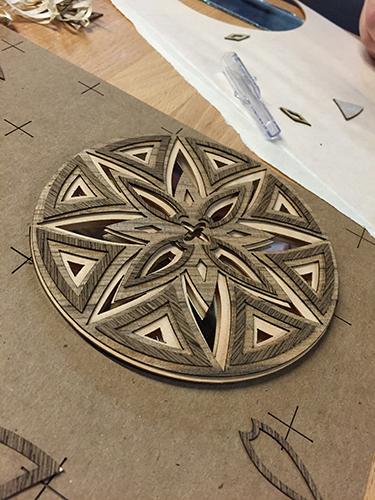
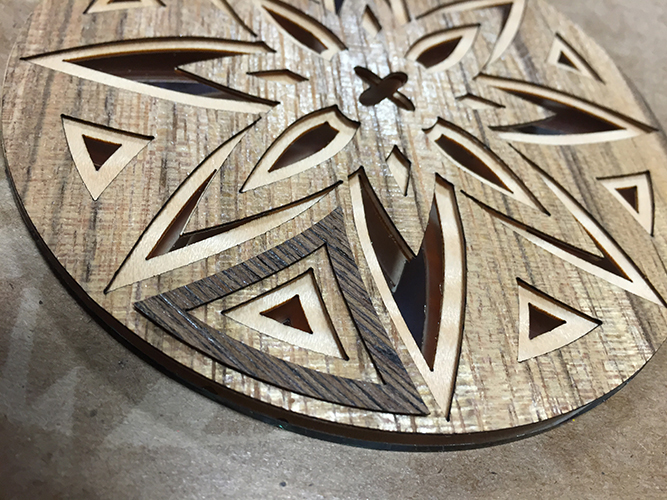
When we were done, a gorgeous work of art emerged:

@shell helped me pick out three veneers that would look great with each other and we set to work:
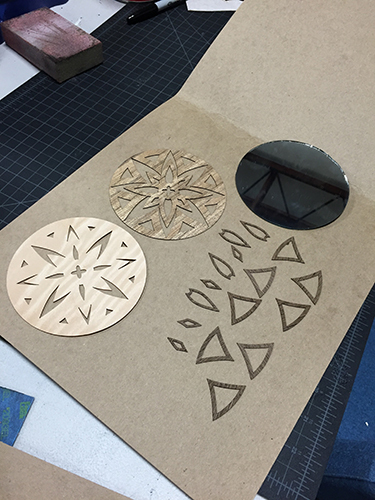
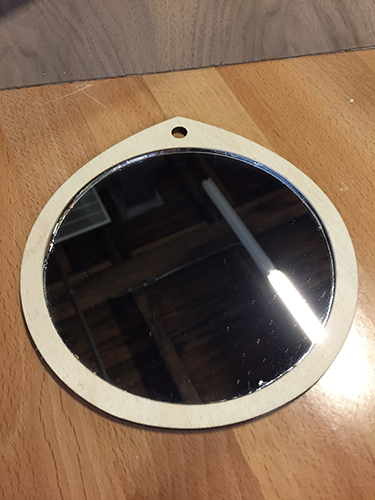
Peeling the protective paper off the veneer was tricky and we broke a couple along the way. Luckily we had enough to make a backup. Once we had everything peeled, I cut a circle of mirror (using traditional glass cutting tools) and we dry fit it all together:
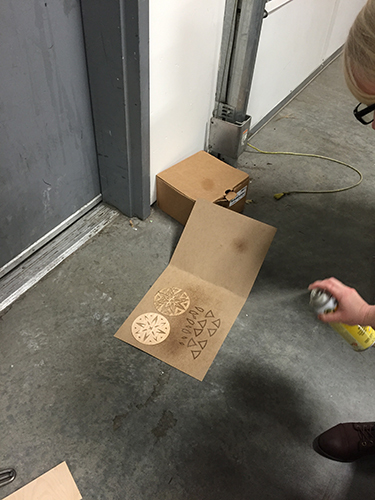
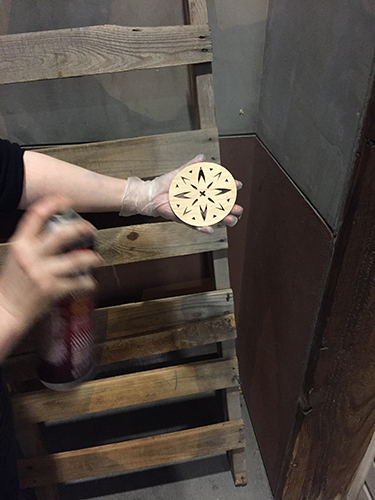
@dan recommended that we finish the wood, so we pulled out Shellac and sprayed the pieces down:
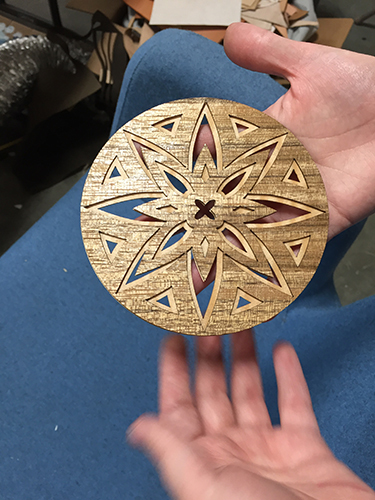
We tried some Tung Oil applied with a clean cloth on the lightest one to pull out even more of the color. We glued the first two stacks together with Titebond III and a paintbrush. I wish I had thought to grab a picture of this, but @shell basically painted the glue to the very center of the second layer. When we stacked it on top of the bottom layer and put some weight on it, no glue would seep out around the edges. We left it overnight sandwiched with some cardboard, since Titebond has water in it, and it might cause the veneer to malform when drying.
Attaching the third layer was exactly the same as the second:
@shell was super helpful with all the detailed gluing and placing. Thanks @shell!!!
Once the third layer dried, we added even more Tung Oil to it with a brush to really bring out the dark color of the third layer, and set this aside to work on the back.
I cut out a piece of plywood to fit exactly around the mirror, which after a little sanding and pushing and pressing was a nice tight fit.
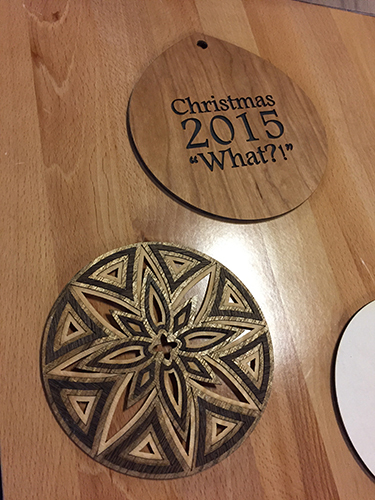
I also cut a bit of 3M backed maple veneer with a personalized message (‘Christmas 2015 “What?!”’). This was quite easy to set up in Illustrator, since I already had the pattern for the plywood frame, I just added text to the middle of it. @shell wisely pointed out that the middle of the ‘0’ and the ‘a’ would also fall out, so she did a little Illustrator magic to make a bridge from the rest of the piece to the middles. She made a small white line with a thick stroke and then used the pathfinder tool to cut that out of the existing text outline.
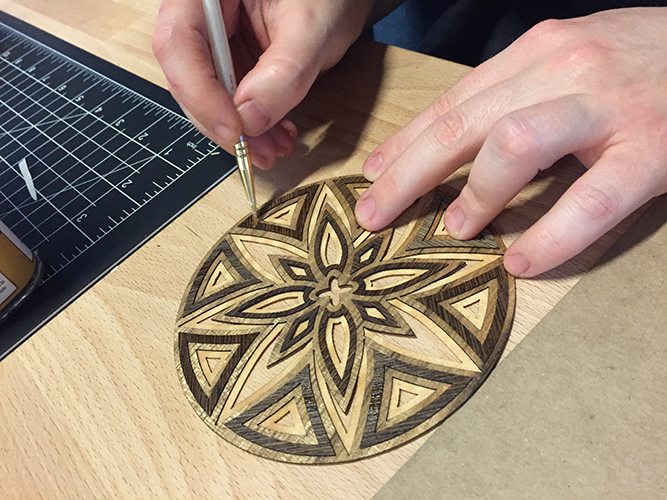
I cut it out on the Glowforge and we used a square of black construction paper to back the text. Since the veneer was already backed with an adhesive layer, we just stuck it on to the back of the mirror and frame. Then we used more Tung Oil to give it a nice deep color. (Tung Oil for days! The veneer is a bit rough surfaced and grabs bits of the cotton ball we were using, so you can buff it out with a paper towel and some sandpaper.) Finally, I polished the mirror until it was streak free and we used Super 77 Spray Adhesive to glue the decorative piece to the mirror. Again, @shell to the rescue with her exacto knife to get rid of the spray glue ‘hair’ that snuck around the edges of the decorative cutouts.
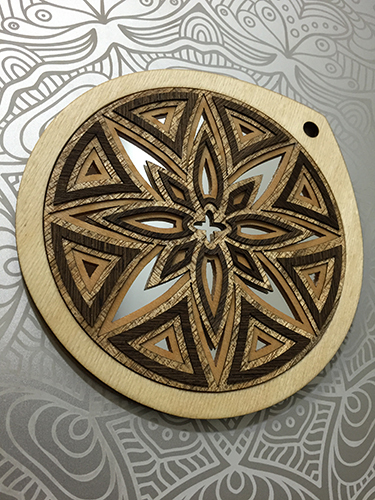
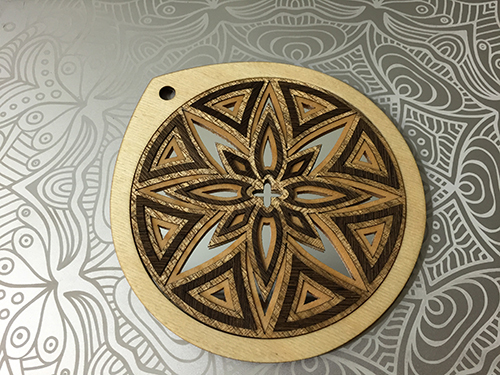
The final piece! I’m super happy with how it came out!