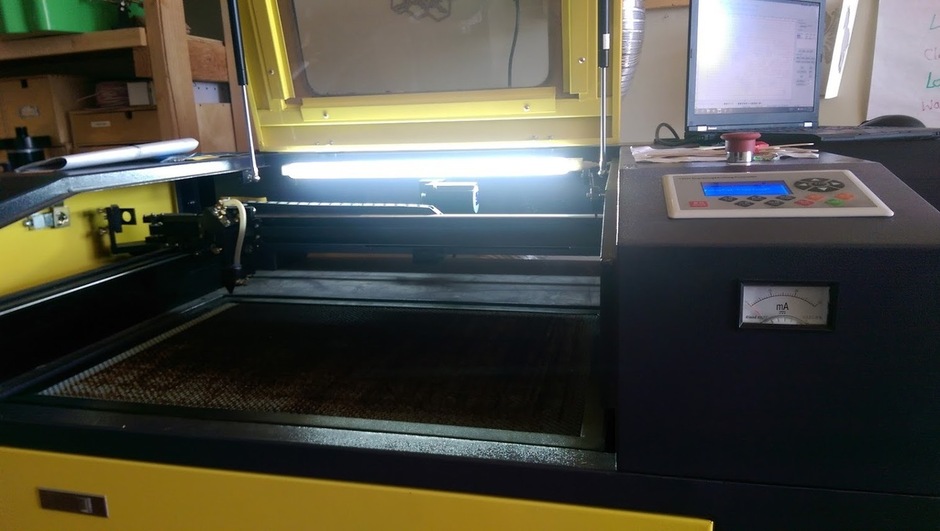
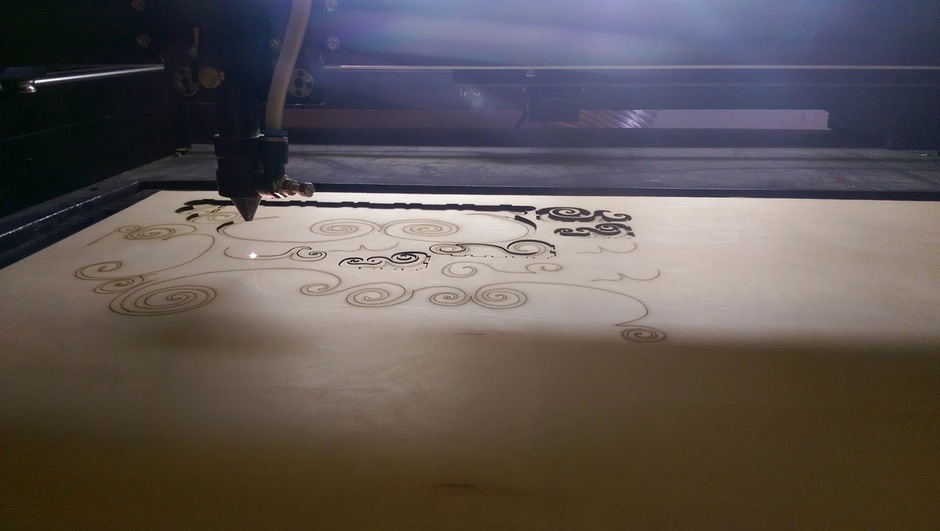
I work at Curiosity Hacked, a hackerspace/maker based education hub for kids. We have a great deal of programming and equipment that is a lot of fun, but I am crazy about the laser cutter.
The kids named him Zuko, which I cannot get over. It’s too perfect.
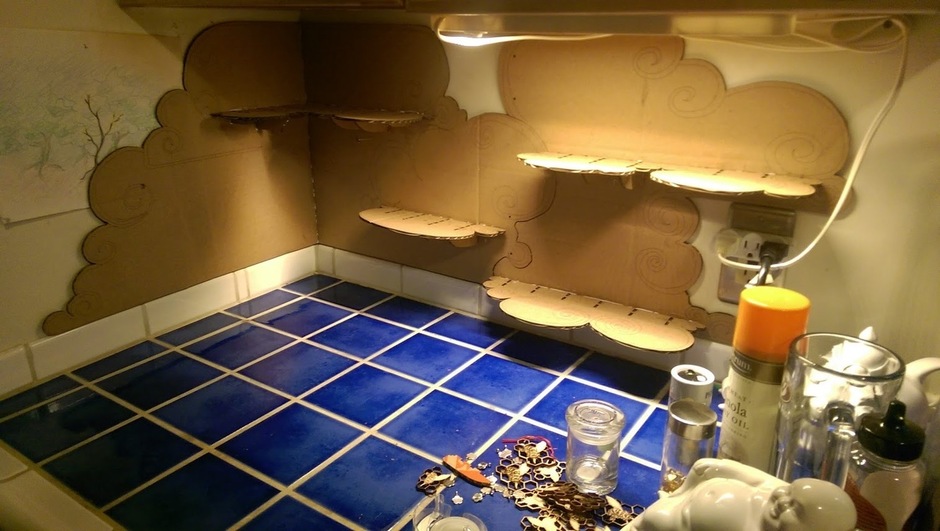
So, my husband and I moved to the Bay Area a few years ago. I feel super excited to be here, but space is tight. I need shelves at the back of my kitchen counter.
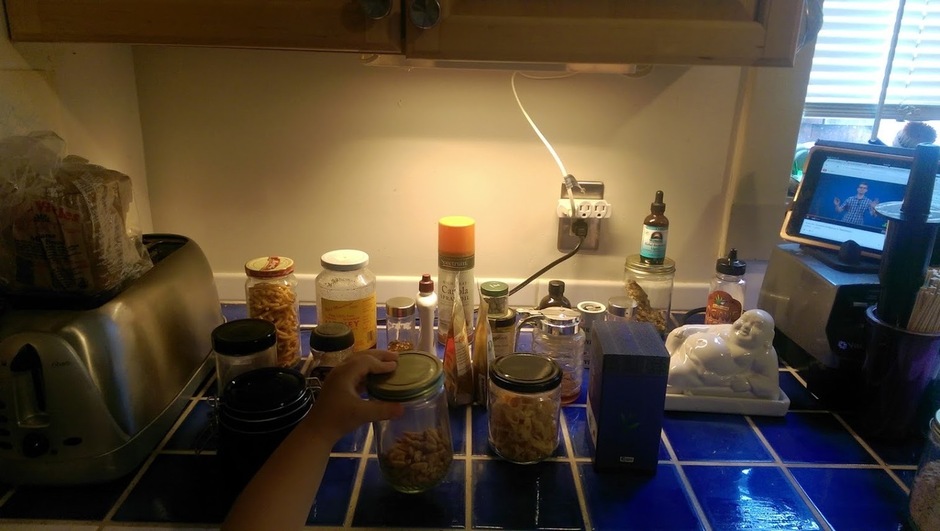
(This is really all the counter my kitchen boasts. I love the pretty blue tile.)
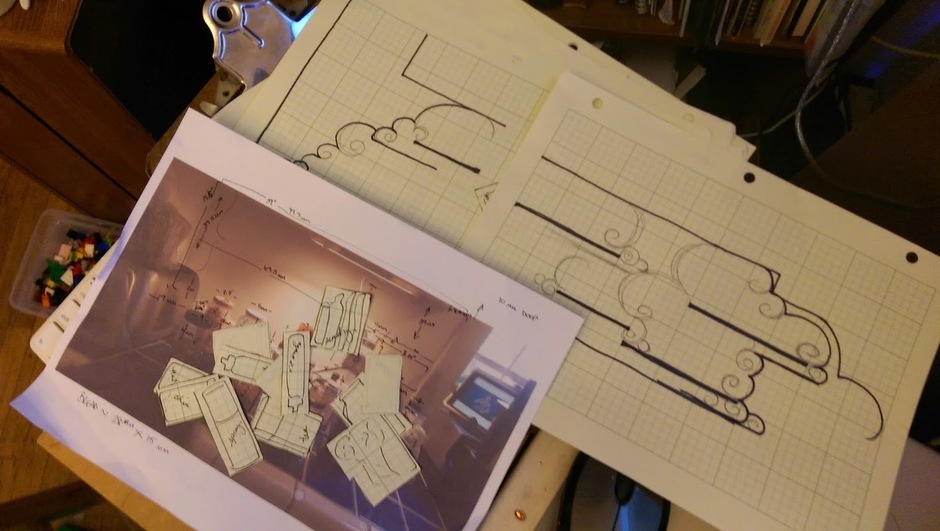
(We all plan things this way, right?)

Prototype 1 came out weirdly small. It would take months and a bunch of trial and error, but I have come to believe that there is a translation issue somewhere in the various applications I’m using where one is defaulting everything to A4 and the other US Letter. Things come out just that sort of too small and oddly reproportioned.
Sadly this plays hell with my slots and tabs as well. But we chuff onward.
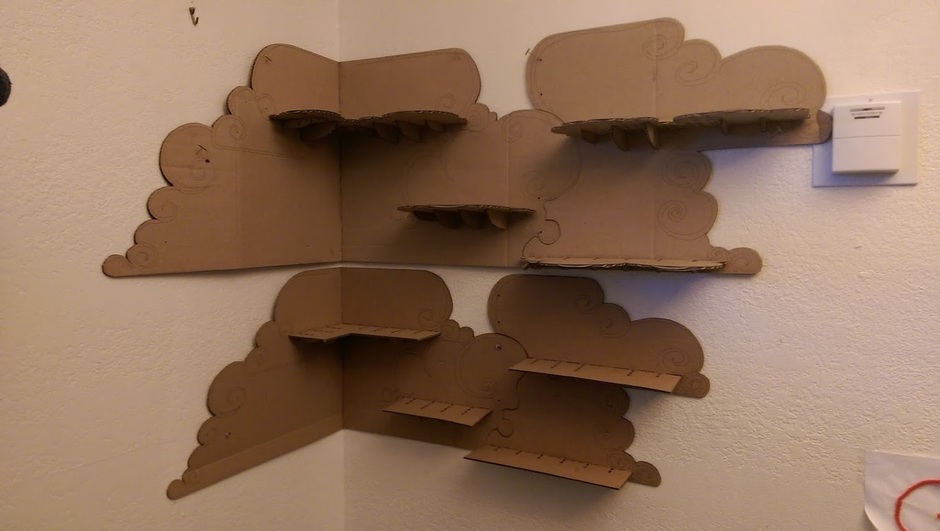
For Prototype 2 I hamfistedly dragged the art back into better proportions in the AutoCAD program we use to talk to Zuko.
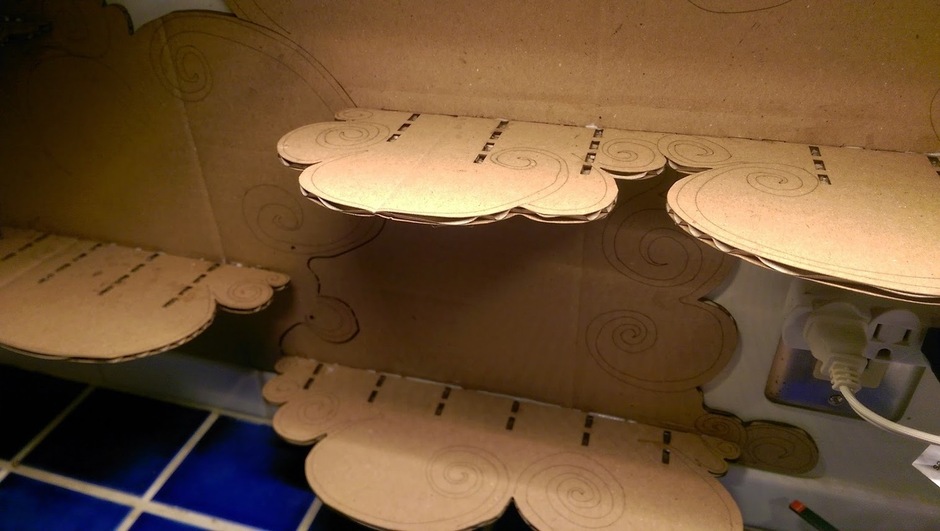
I was eager to get the shelves clouded up anyway.
Rushed makers get sloppy with glue.
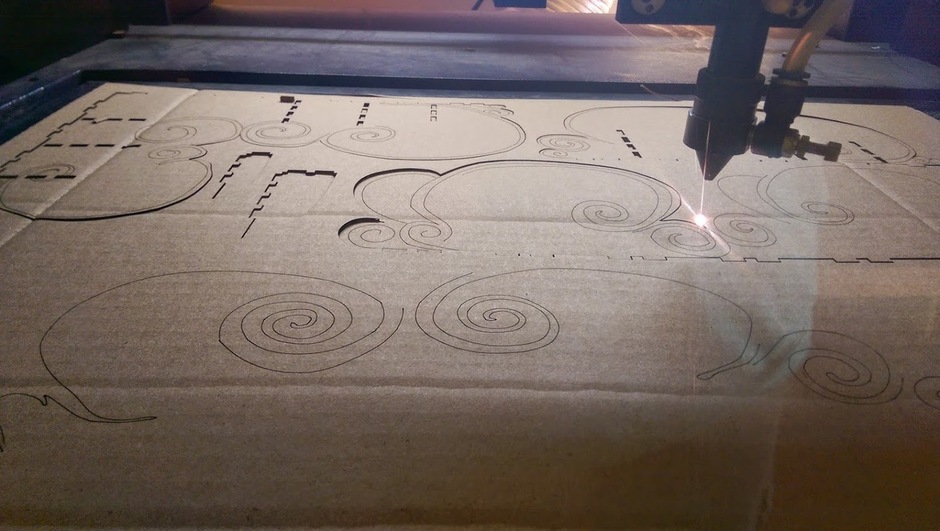
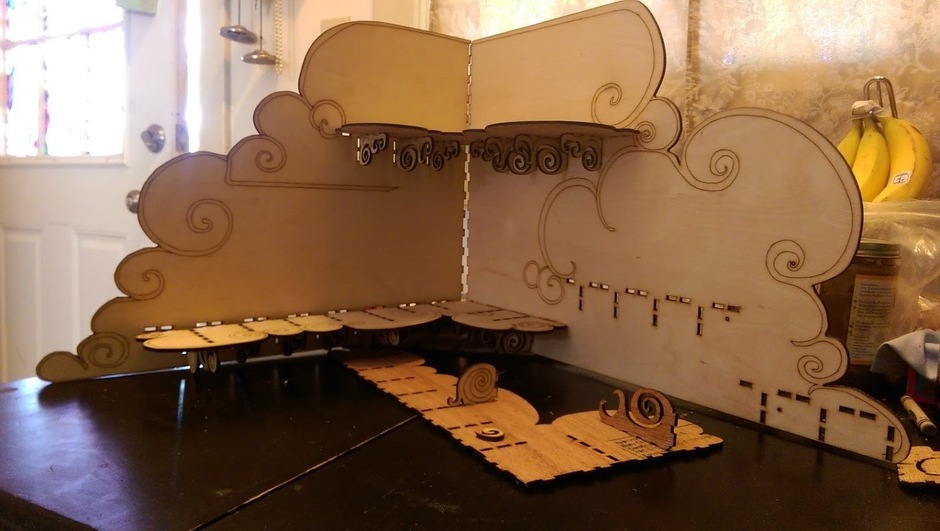
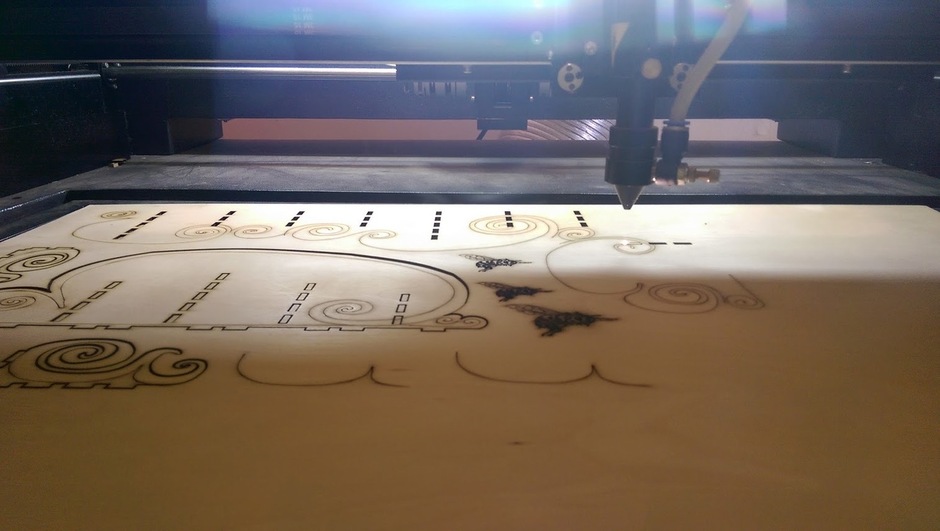
Prototype 3: bring on the plywood!
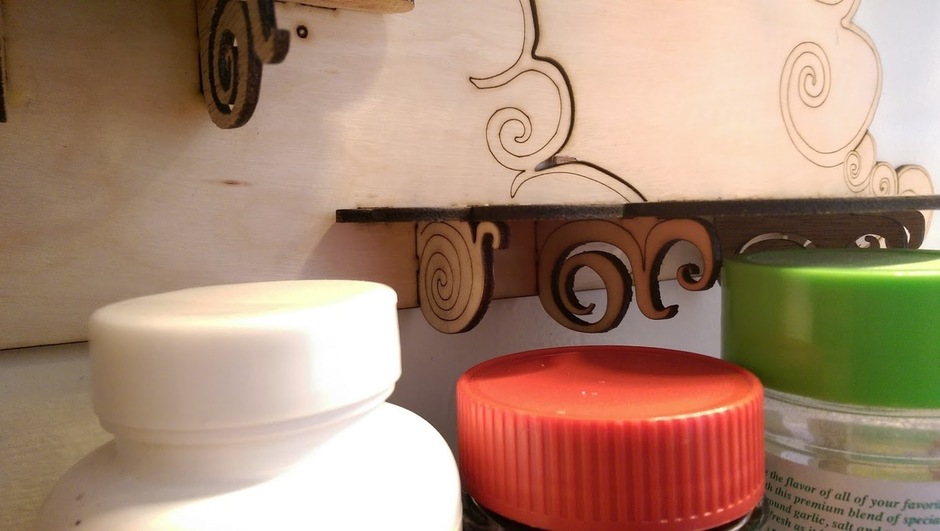
This little one is my favorite of the supports. Except when I want to hang something under a shelf. So obviously I need to mix the ideas a bit.
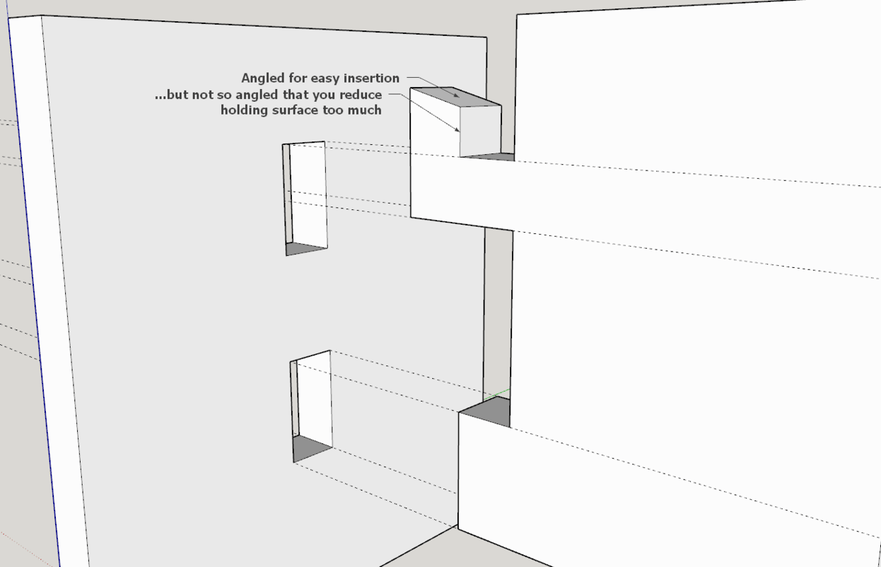
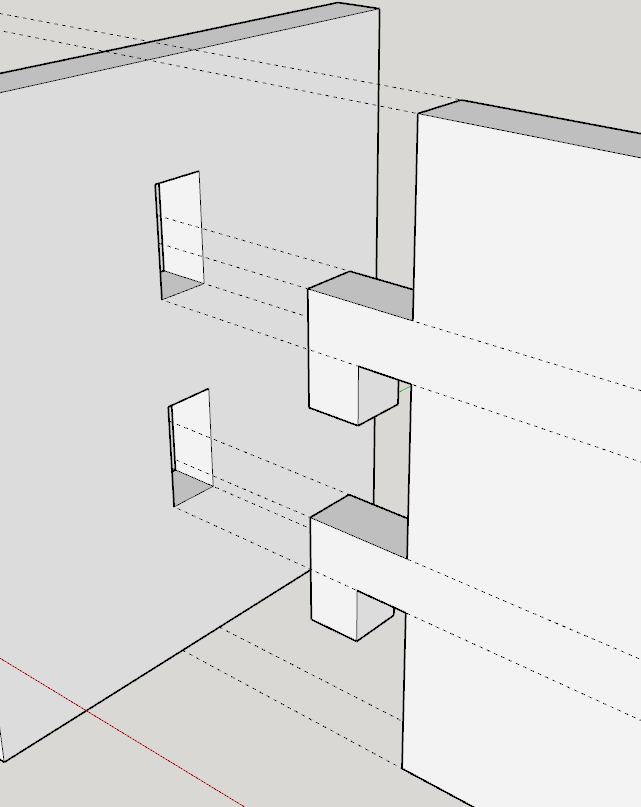
I am really bad at lining up slots and tabs. I get the feeling that I’m reinventing a wheel here and somewhere there must be software that makes this easier (I’m in Inkscape so far), but I haven’t sorted this part out at all yet.
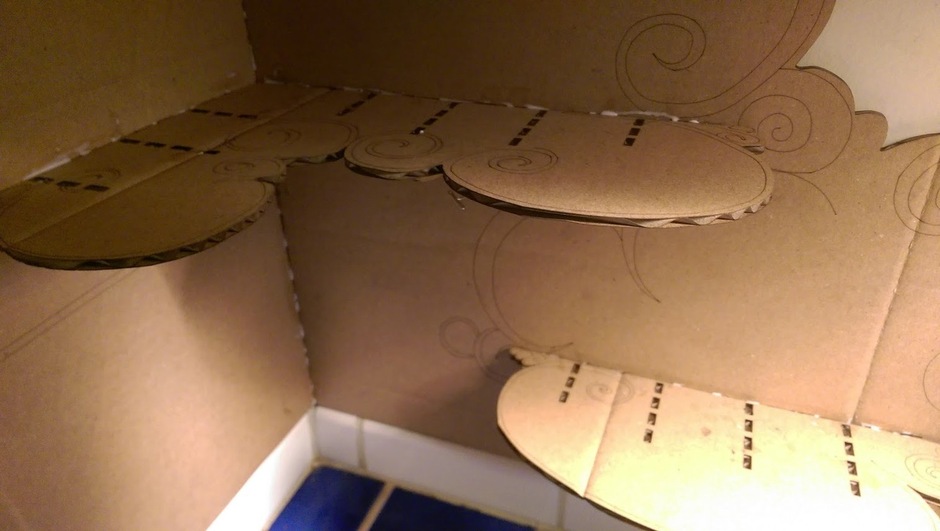
The design shrank again! (I don’t remember in which step of the process I started shaking my fist at the ceiling while yelling “AAAAAAA! FFFFOOOOUUURRRR!” but it has been deeply therapeutic.)

Dude… Zuko. If you shrink my designs, the slots become too small for the tabs. And then where are we? We’re laser professionals using SANDPAPER. Sandpaper, Zuko. What has become of us?
… okay, things are getting pretty, though.
I still <3 you, Zuko.
A! 4!
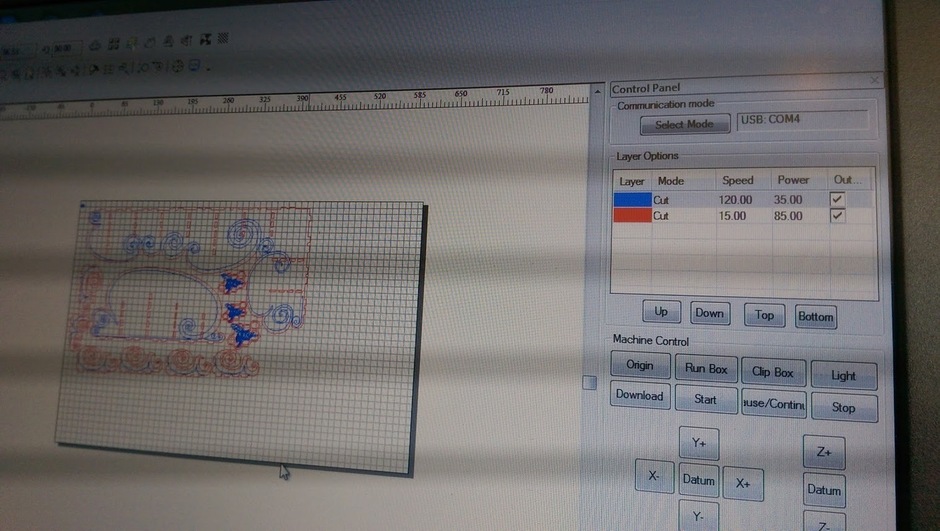
Prototype 4 Laser settings.
(Raise your hand if you’re feeling increasingly grateful for the Glowforge crew smoothing out a bunch of this nonsense? Yeah, me too.)
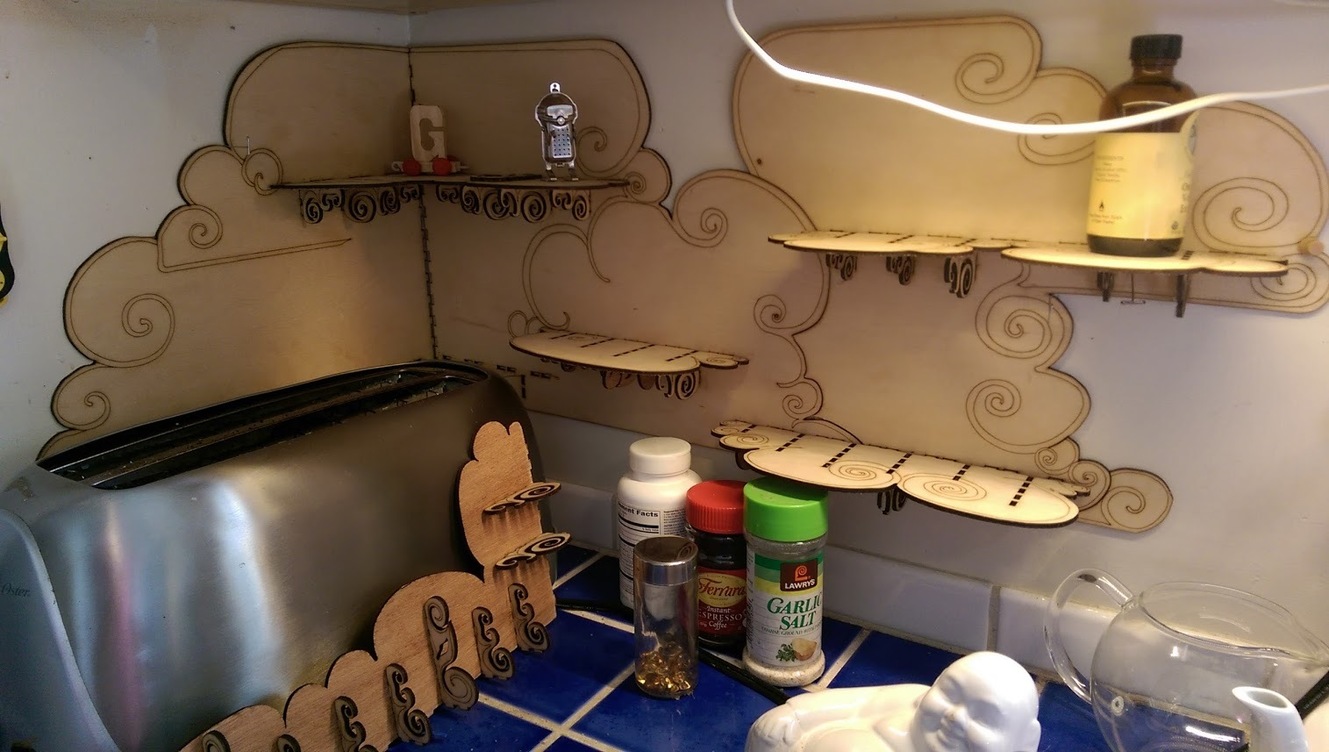
Prototype 4!
(I think this is about when I decided I should make smaller shelves and stop using so much material on each failure…)
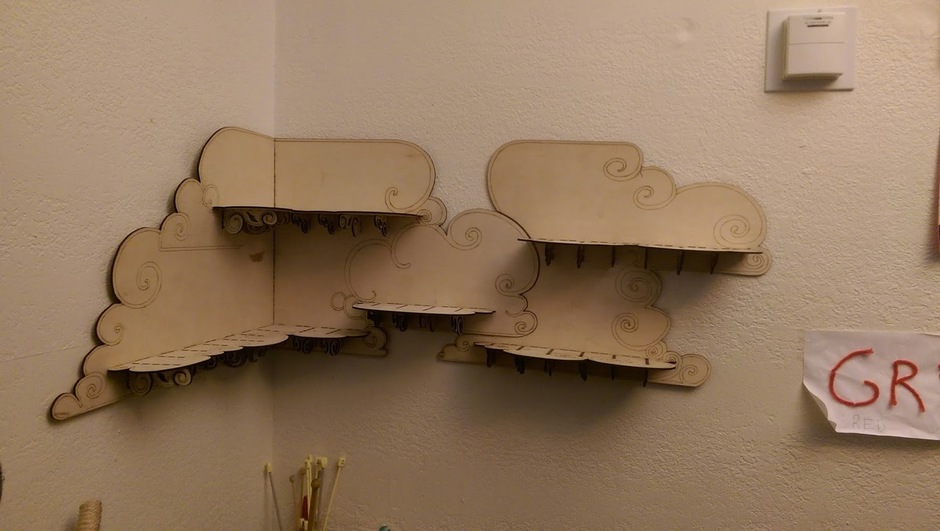
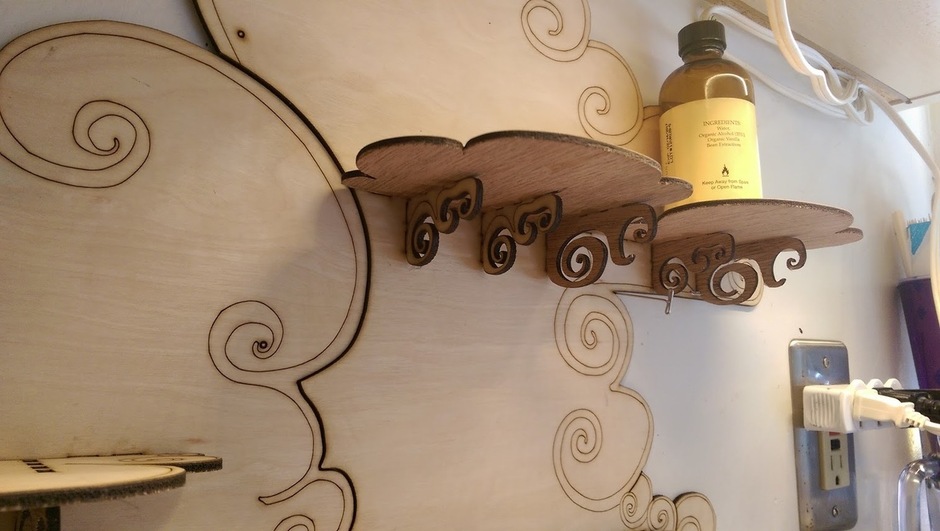
This is the first verion to get actual screws into the actual wall.
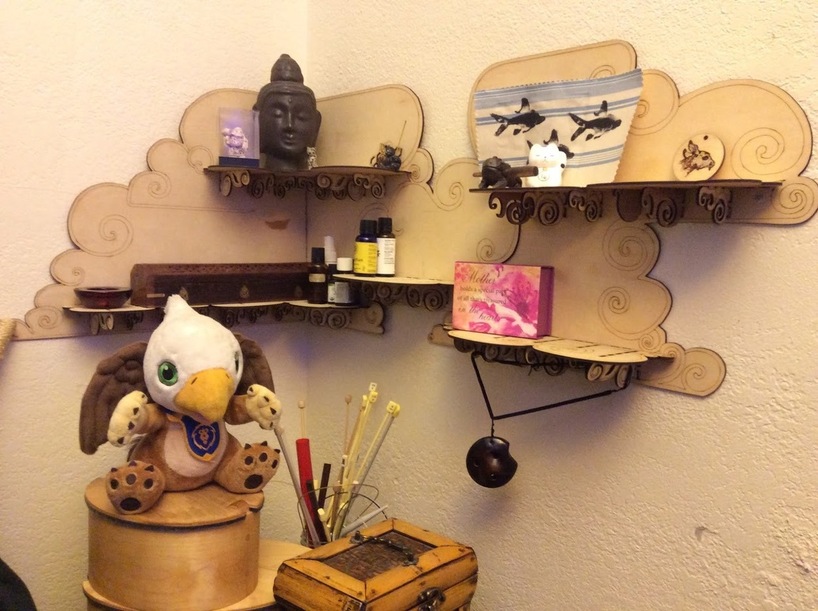
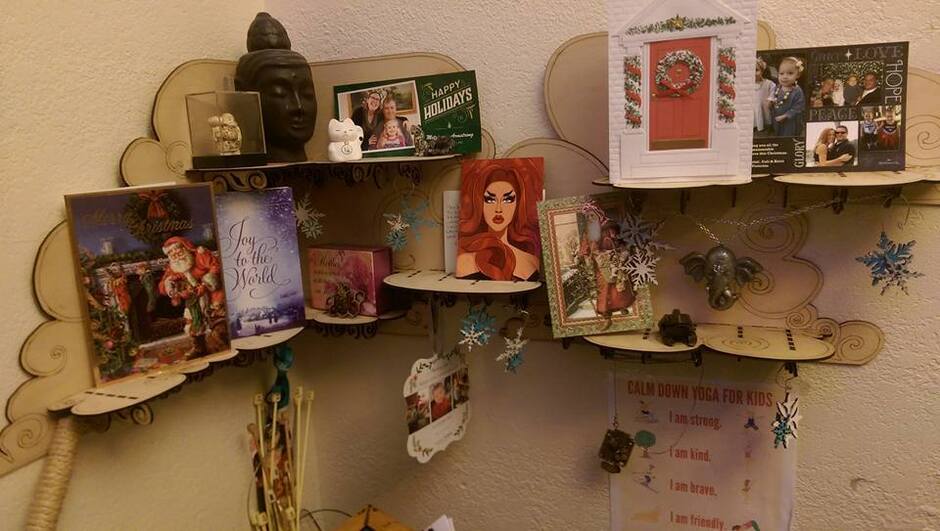
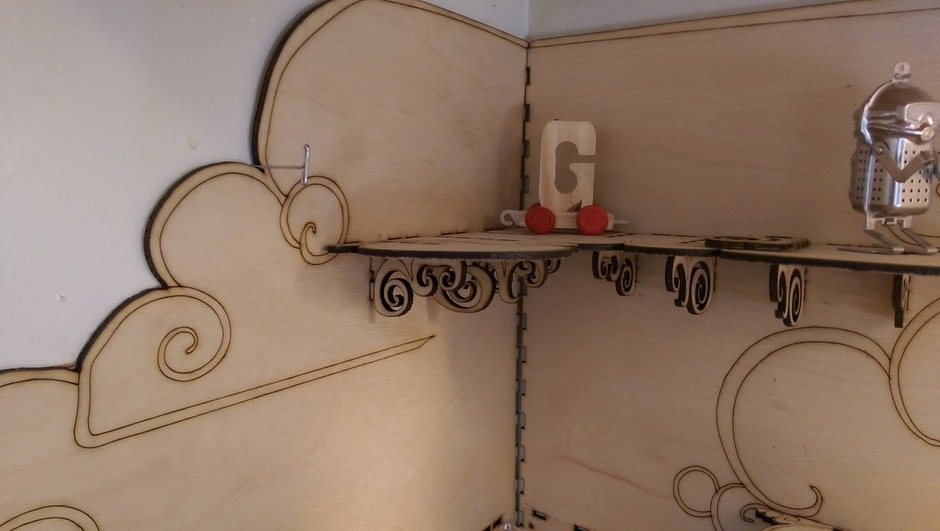
We’ve been living with them for a while and I’m pondering my next moves. People don’t trust the shelves’ strength: my mom didn’t believe she could put her coffee on them, but John (my husband) is also correct that I’ve put too many supports in so they’re kind of silly-reinforced. I need to get better at the structural lining up of different planes… The super swirly supports are a decent start, but there are areas where they’re too delicate and others where the gaps are too thin…
And we haven’t really begun to put in lighting, though we have bounced some strategies.
I can hardly wait to get our glowforge. ![]()
Thanks for making the tool of our dreams, Glowforgers. You rock. <3