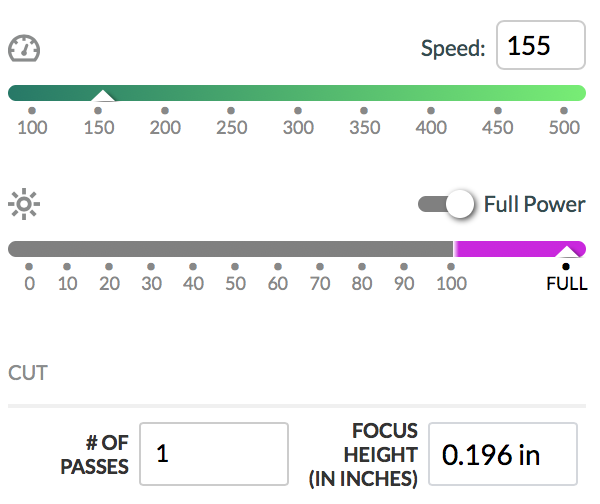
Your plywood height should be 0.1955 inches or thereabouts. Mine varied in height between 0.1955 and 0.196 inches.
If you have a Basic, use this kerf-compensated cut file. It will be the most perfect of tight fits. Tile Holder - Kerf Compensated.pdf (1.9 KB)
If you have a Plus or Pro, your full power is different than my full power, so your kerf is likely to be different. In your case, I can give you a kerf-uncompensated SVG and if you want to correct for kerf you are going to have to do some math. Or you can send me a Pro or Plus and I can figure it out for you. Whichever is cheapest .
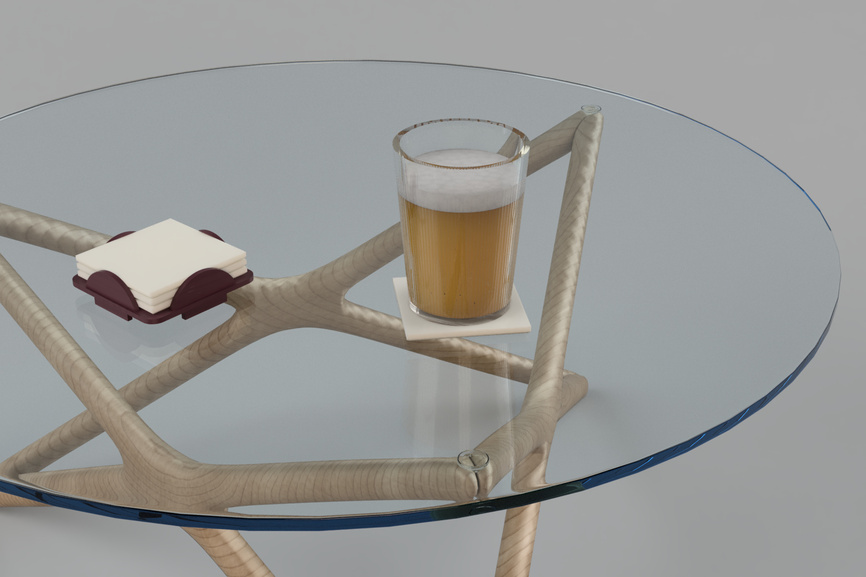
It holds all four tiles VERY SNUGLY. This is intentional, and not a design flaw. It is so that your flatmate’s cat cannot knock them off the table and cause the tiles to hit the floor, shattering. Ask me how I know what to avoid .
Has someone made this with a Pro? Curious on the settings. I haven’t done much with “fit” and “conversion” (of basic to pro) so wondering if someone knows how to set the settings for this?
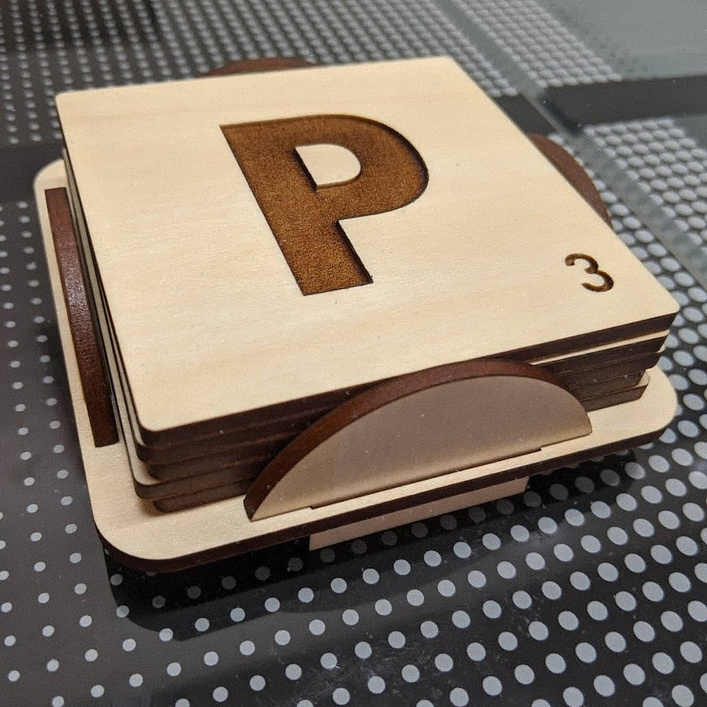
For those interested, I have a Pro and used the “Tile Holder - Kerf Compensated” file provided by OP.
The fit for the walls were tight - I really had to practice patience and understand my own strength now. These came out perfect and cannot wait to gift to my boyfriend’s mom.
Basically you’ve done the math to take into account the width of material the laser will vaporize. So if you make a 1” square, if you cut right on the line, it’ll actually be slightly smaller than in inch. So, you do the math and compensate for that width, the kerf and design a square slightly bigger than an inch so that when it cuts, it comes out at an inch.
So sometimes when cutting shapes you want to fit together, you’ll want to kerf compensate or your parts may not hold together without help of glue or what have you.
Kerf is easier to visualize with a saw blade because it’s a lot thicker but same idea.
I love your design! I’m wanting to make a version of this as a gift but I need it to hold 6 tile coasters instead of 4. How did you decide on the height of the “legs”? I see in the .svg file that the curve that holds the coasters is 23.582 mm (starting that measure from the bottom of the semicircle, not the rectangle that sticks into the slot). My coaster thickness is roughly 9.35 mm (with felt bottom) so I’m wanting to add height but I don’t know how many mm to add.
I can only imagine. I have a basic which has a different power setting, and thus a different kerf, so I made the kerf-compensation for my machine. With your higher powered machine, I imagine that would mess with the kerf and make the tolerances different … apparently tighter.
If you want an easier go of it next time, get the uncompensated one and use bits of glue if necessary.
I made it as part of a larger design to hold a specific board game, and needed a components box to fit underneath the legs. The stacked height of the components determined the height of the box, the height of the box determined the amount of leg needed by the tile holder.
My coaster thickness is roughly 9.35 mm (with felt bottom) so I’m wanting to add height but I don’t know how many mm to add.
Somewhere or other, I uploaded a Fusion 360 file that is parametric, so you could play around with adding overall height to it if you can find it. I cannot find it. But the internet is the internet so it must exist somewhere as the internet never forgets.
Okay, I am having a time… I’m trying to do a sizing test with cardboard but I can’t change the colors of parts of your .svg; every time I set it up in Illustrator or Inkscape and change the stroke color, it changes the color of all of the shapes. Any suggestions of how to change the color of the base and 2 side pieces?