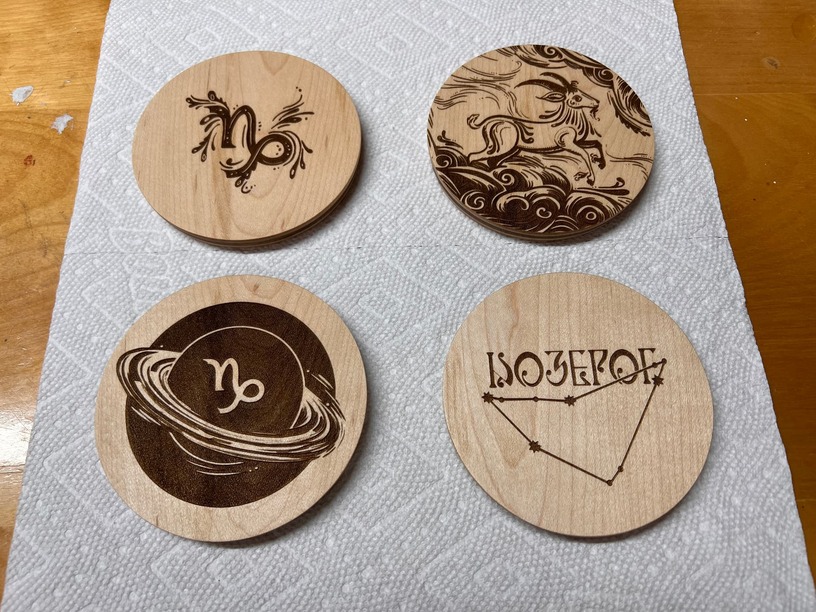
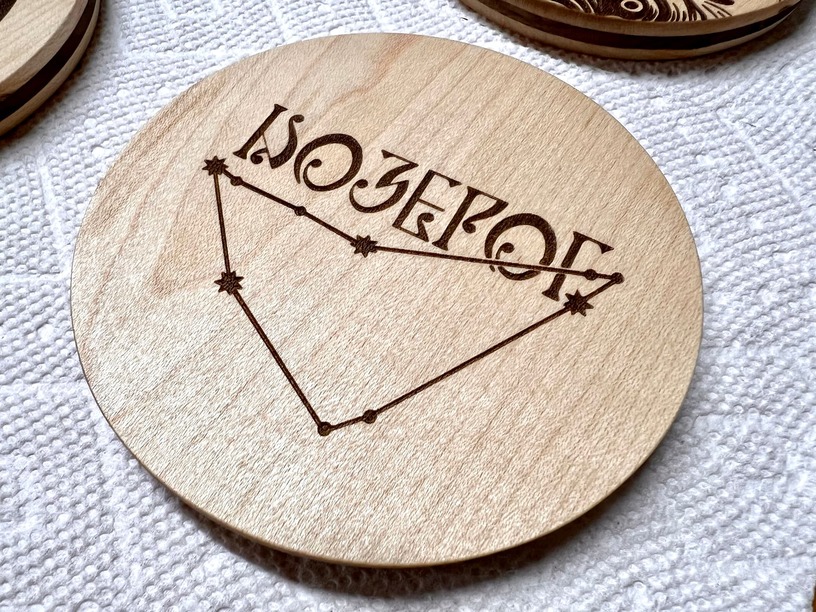
Engraved hardwood maple
Quick gift for my partner's brother and his girlfriend, who are both capricorns.
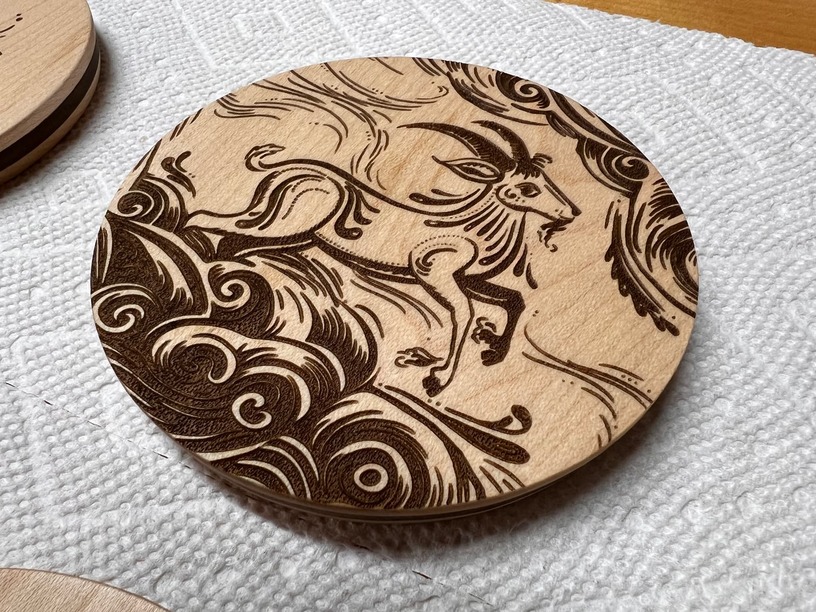
My partner created the artwork, the recipient girlfriend is of Russian descent so the whole set is lightly themed around Russian folk art styles. The coasters are a 3-ply sandwich of 1/8" thick solid maple, solid walnut and solid maple, for a total thickness of about 3/8".
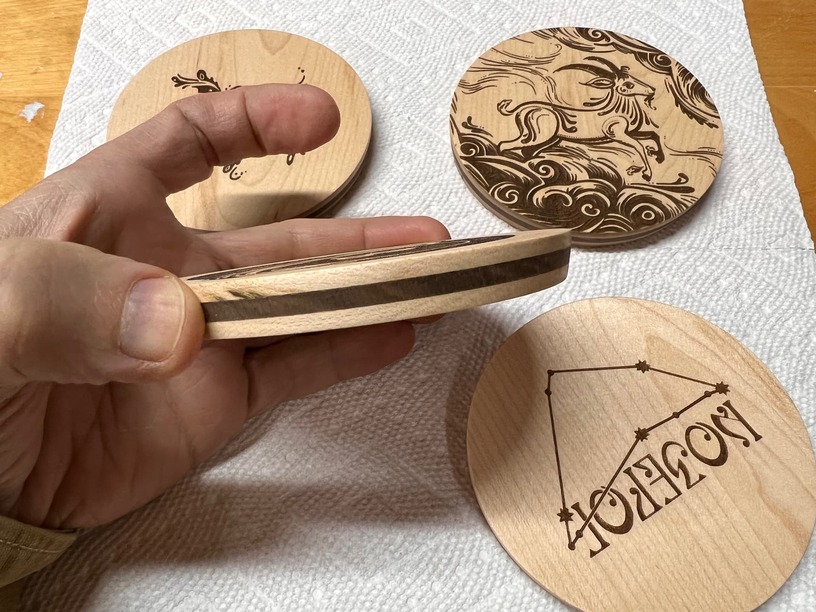
Alignment of the layers is tough when gluing up, so I inevitably had some layers that weren’t perfectly aligned. No worries, I sanded the edges to give each coaster a slightly conical shape, the beveled edge is classy and also corrects for any misalignment while keeping the coaster perfectly round since you never sand into the leading edge of the top layer. This kind of correction is far easier to do if you have a disc sander with a table to set the angle and keep it consistent. The whole process took about 15 minutes to shape the new edge profile.
A quick touchup sanding by hand to get everything perfectly cleaned up and to feel good to the touch, then a quick satin wipe on polyurethane.
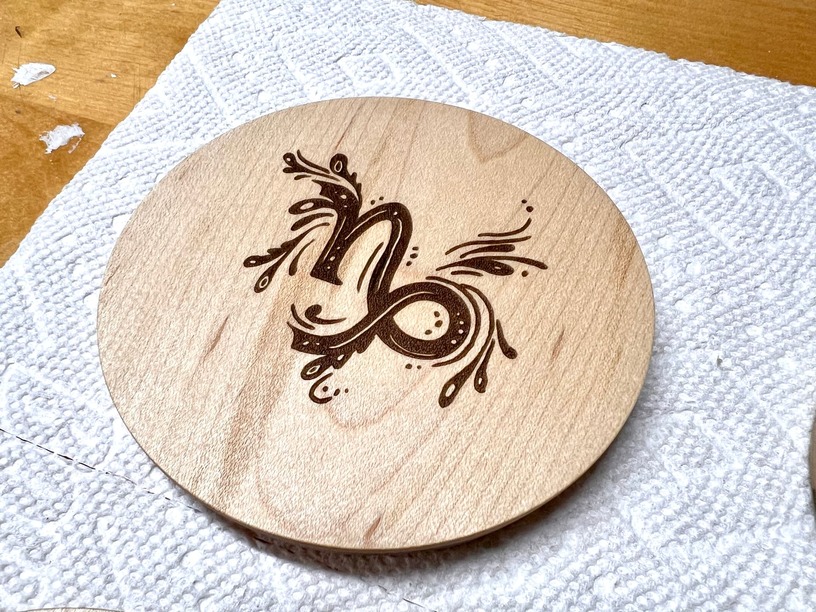
Here you can see the beveled edge (about 10 degrees angle) that gives the coaster a conical cross section. The top layer of maple has a nice inclusion/knot that gives the whole thing some character – the same sort of thing you see in ambrosia maple.
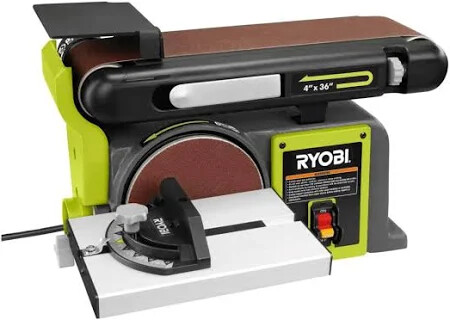
Specifically, I used a disc sander like this kind:
You can see the vertical disc sander on the front of the machine. Adjust that table in front to a set angle [1] and then I just carefully sanded the edges down by rotating the coasters on the table, keeping them flat and therefore the angle consistent. It’s pretty easy with the right tools!
I eyeballed it by laying the worst-aligned coaster on the table and then tilted the table until the angle looked right to sand away all the error ↩︎
i have a regular belt sander that i can clamp upside down to my work table. but i have a belt/disc sander combo like yours, but w/a 1" belt. which i used to round all of those discs on that “totem” i showed a while back. i like the 1" version because i can do smaller things. and because behind the main sanding area of the 1" belt, there’s no plate. so you have a little flexibility. but if i hadn’t been for those discs, i wouldn’t have bought it (or, technically, had my company buy it).
Great info, thanks. The major deficiency in my artsy craftsy skills is a lack of woodworking ability. I’ve never learned to do anything more complex than light hand sanding… I can’t even cut a straight line without a laser cutter. So, learning about tools like this is awesome.
The smaller unit that @shop linked looks good too.
you just gotta decide what you’re going to use them for. i had a very specific use case for the 1" belt without a plate behind it. the 4" belt is probably something you’d use more, but i already have a hand-held belt sander (and it has a mount to mount it on a bench top), so the 1" was adding to my capabilities.