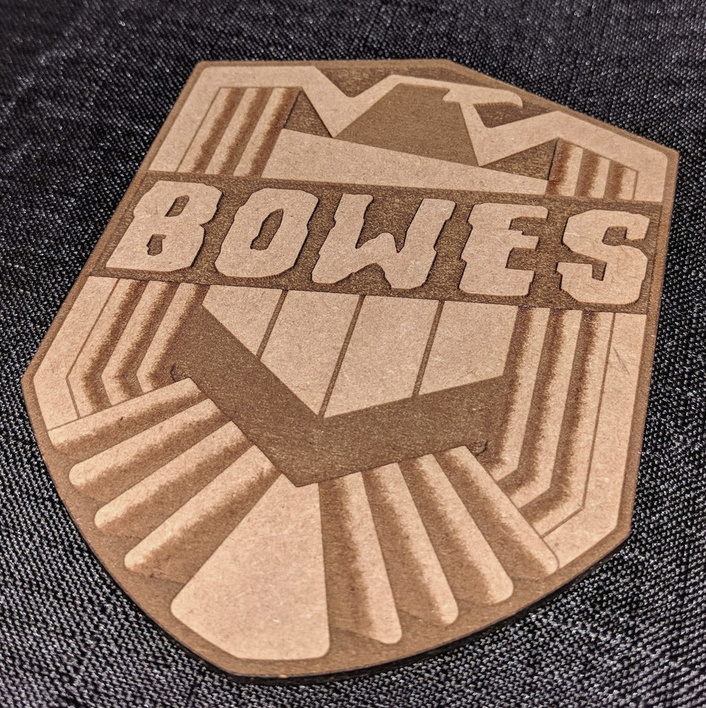
My next 3d carving test is a more complex design than I posted previously, using multiple depths and gradients to produce angled surfaces. I had to create this art from scratch since good vector versions are not already posted online. It isn’t totally to my liking yet, but it is good enough for testing. (Yes I am mixing the badge design from the movie with the font from the comics… Iso-cube, 6 months mandatory sentence, I know.)

The gradients run from 0% black to 60% black. The flat shaded areas are 0%, 60%, and 100%.
I have struck out this section because the discrepancy in results is no longer reproducible. Either I made an error when I burned the Proofgrade test, or there was some transient issue with the GF settings. @dan did confirm in another thread that switching from PG 3d Engrave to Manual should produce the same results–and it does for me now.
I ran it both under the Draftboard 3d Engrave setting, and the manual “vary power” setting. Naively, I expected the same results in each case–because I thought when you moved from a Proofgrade choice to a Manual choice, it carried over the settings. That wasn’t the case for 3D Engrave. There is definitely something else going on in Proofgrade 3d Engrave than just varying the power according to black level.
Here’s the PG 3d Engrave. You can see it is a very clean result, but without a lot of depth.
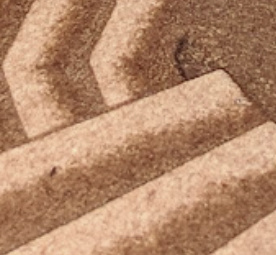
Closeup of the contrast between 0% and 100% black:

What is also interesting is the way the gradient areas are rendered. I expected a more even slope, because that is how the file is built. But as you can see, about half of the carved area was not really touched, when the midpoint is in fact about 30% black. The depth variance in these features is probably less than a sheet of paper, too.
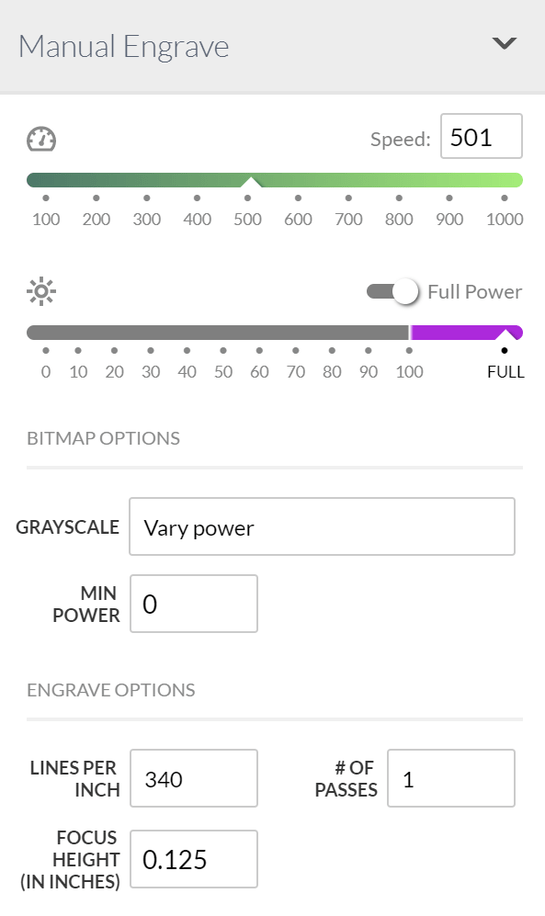
Now, here is the “vary power” version. I did remove the masking before cutting, so this isn’t 100% apples to apples. Still, the result is so different than the above I doubt that the lack of masking is the root cause.
First, complete settings from my Pro.
(The shiny spots are sticky charred glue. It persisted despite an alcohol scrub.)

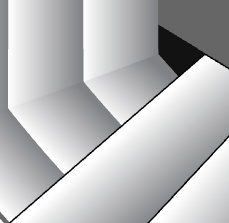
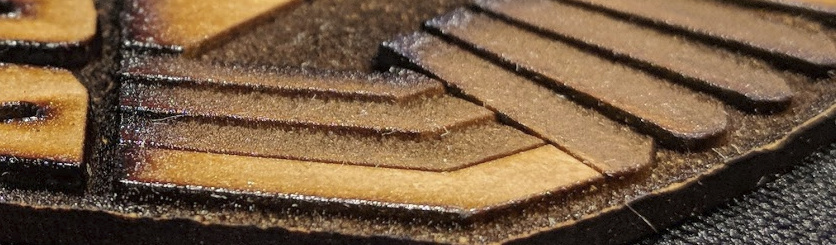
Closeup of the depth of carving. MUCH deeper than the PG 3d mode, .062" according to my calipers. The angled surfaces also look just as I had intended! (Well, except the highest points aren’t even with the white surface, I need to adjust my gradients.)
Observations
- PG 3d Engrave modifies your grays in some way and appears to reduce contrast.
- If you want serious depth, the manual “vary power” mode is the way to go.
- Draftboard makes a lot of sticky goop on deeper carves. Light sanding an a second alcohol scrub helps, but does not remove it.
Questions
- Can I paint over the sticky spots? We will find out.
- I wonder if we are going to see Proofgrade settings that can’t really be adapted to materials we source ourselves. It would be too bad if we ever had to say, “well, you really have to buy Proofgrade to use that setting.”