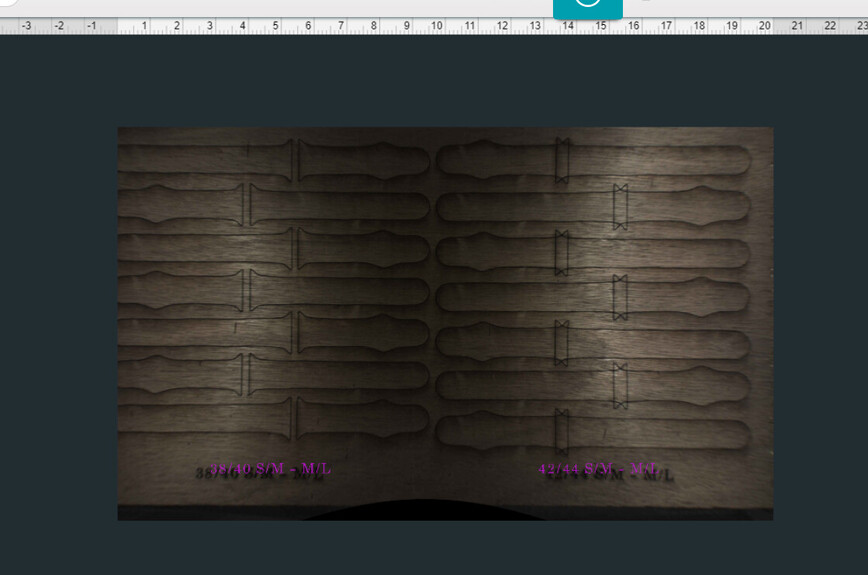
I’ve been having problems with my engraving not lining up and showing 2 lines when there should only be one. Also, my cuts are overlapping on files that I have used in the past. My material is showing one size (larger) on the screen but cutting off from what it is showing . Set focus is giving me an error and when I try to recalibrate it tells me my internet disconnected.
I’ve recently replaced my front carriage wheels and my tension wheel. I’ve taken the carriage apart and cleaned my mirror, lense, and camera.
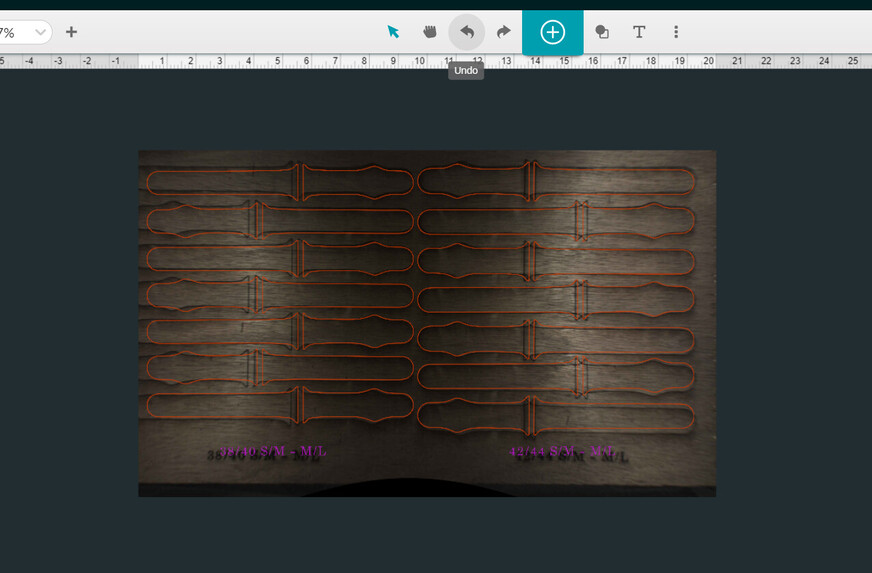
Sounds like you’ve got a couple of things going on. For the overlapping cuts, it may be something about the belt tension on your carriage head, especially since you’ve just had it all apart. Grab a piece of proofgrade material and print a Gift of Good Measure as far to the right as you can, with the default PG settings, and post a photo of that for support to take a look at when they get here.
The material showing larger on the screen in your first photo is because the machine doesn’t know the height of your material and is showing it incorrectly as a result.
I’m not sure what causes the Set Focus error; that’s one that’s only cropped up recently.
Internet being disconnected is probably a wifi issue – here are the troubleshooting steps for that:
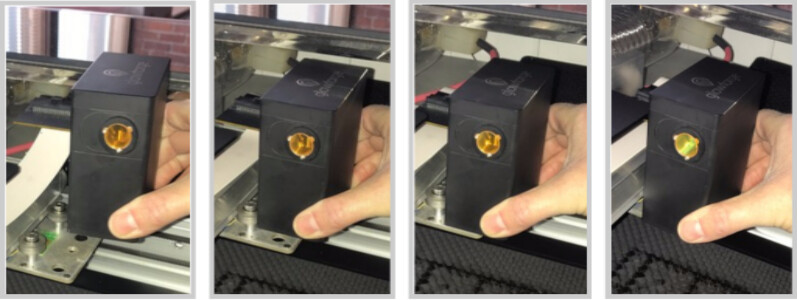
I extracted the logs from your Glowforge to investigate, and it looks like your Glowforge is having trouble communicating with the printer head. There are two key connections I’d like you to check for me.
Could you please do the following?
Turn off your Glowforge.
Holding only the finished black surfaces, grasp the printer head as shown. Pull gently up and back to disengage the magnets and remove the head.
There is a small tab in the center of the wire ribbon. Push down fully on the tab to release it, and gently pull the wire ribbon plug from the printer head.
Pick up the printer head and wire ribbon. Make sure the tab on the wire ribbon is facing up. Slide the ribbon back into the head until it clicks.
As shown, lower the printer head over the metal plate so that it rests next to the two round posts. Then push it gently away from you – you’ll feel a “click” as magnets pull the printer head until it sits snugly atop the metal plate.
Take a photo of the circuit board. If the cable I’ve indicated above with the red arrow appears to be loose, please reconnect it and try printing again. This cable should ‘click’ back into place.
It’s been a little while since I’ve seen any replies on this thread so I’m going to close it. If you still need help with this please either start a new thread or email support@glowforge.com.