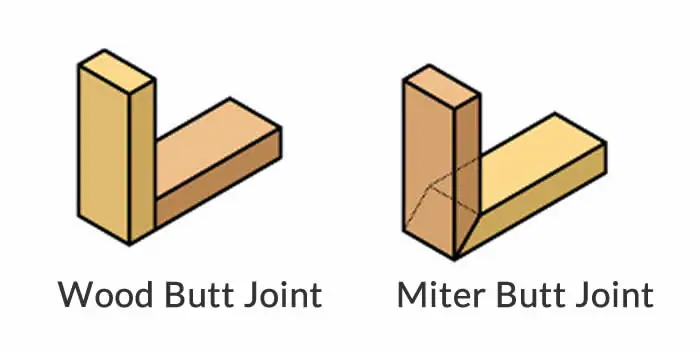
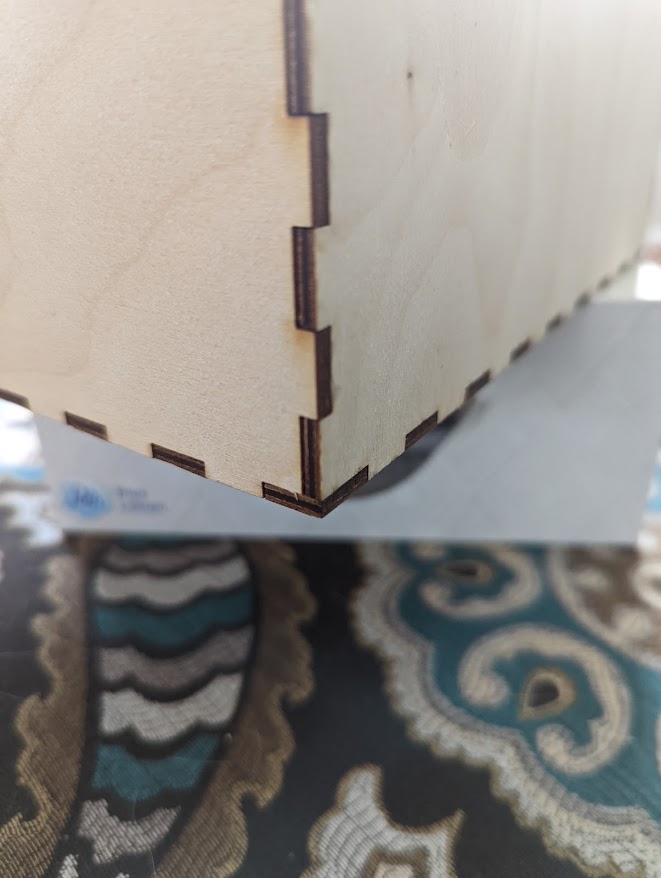
That just looks like a butt joint. If you have a table saw you could cut a 45º mitre.
2 Likes
Use one of the box maker apps/programs to get sample files and take a look at how they arrange the slots and tabs - that will help you see what you need to do in Adobe Illustrator to replicate a good fit. At the most basic level it’s
- Layout the box sides at the correct sizes WITHOUT tabs and slots noting to yourself which sides connect with each other (it helps to lay out the pieces as if you’ve unfolded a cardboard box so you can easily match up the different sides)
- SUBTRACT cutouts in one joint’s side for slots (this is easiest to do with rectangles the length of your slot and as wide as your material)
- On the piece for the other side of the joint ADD tabs matching the cutouts you made in step 2 (use the same rectangles from step 2)
- Repeat for other joints
- Correct file for kerf
3 Likes
OP’s latest photo above shows a very wide slot/tab joint
Sorry – my definition of a slot is that it is a hole with material on ALL sides. What I think you are looking for is some kind of box joint.
Follow ekla’s directions above, but written in my own words:
Ignoring kerf for a moment: the length of the tab and depth of the receiving hole needs to be the material thickness; the widths of the tabs and holes need to be the same; and the tabs and holes need to be aligned. Now, kerf correct for your material.
Or, start with the output of a generator site and pull that file into Illustrator.
2 Likes

Here’s a quick mock up of what I think you’re trying to do. The piece on on the right mates perfectly into the piece on the left either in the corners or in the center holes.
What I do in Illustrator is create a rectangle that’s the width of the piece of material you’re using (kerf adjusted) and make a number of different squares across it. Copy and paste this along all mating surfaces so your tab/slot rectangles are perfectly lined up, then using shape maker (select all shapes then press shift+M) combine on the tabs you want to keep and remove (alt) on the tabs you want to get rid of. In the below example, I’m keeping red and deleting black. This gives the shape above. Repeat against all mating surfaces.

Is this more the sort of advice you’re looking for?
2 Likes
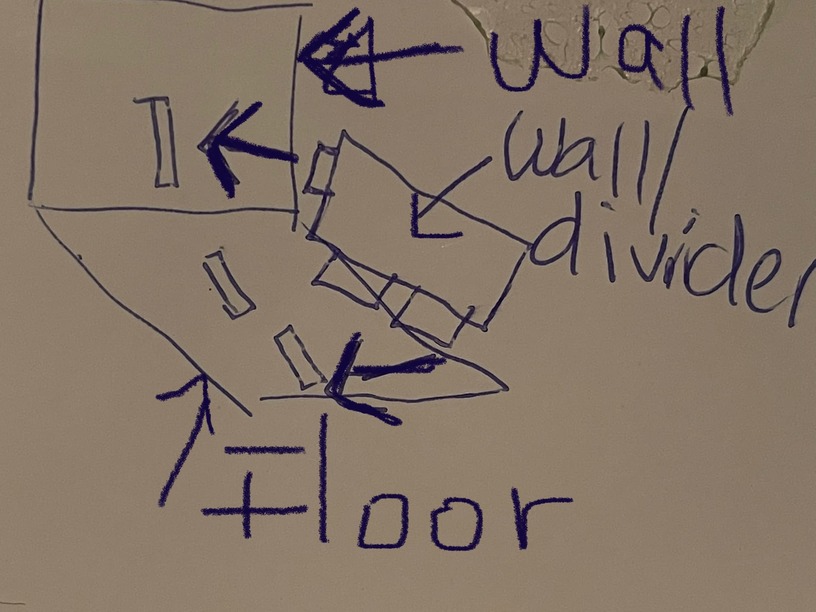
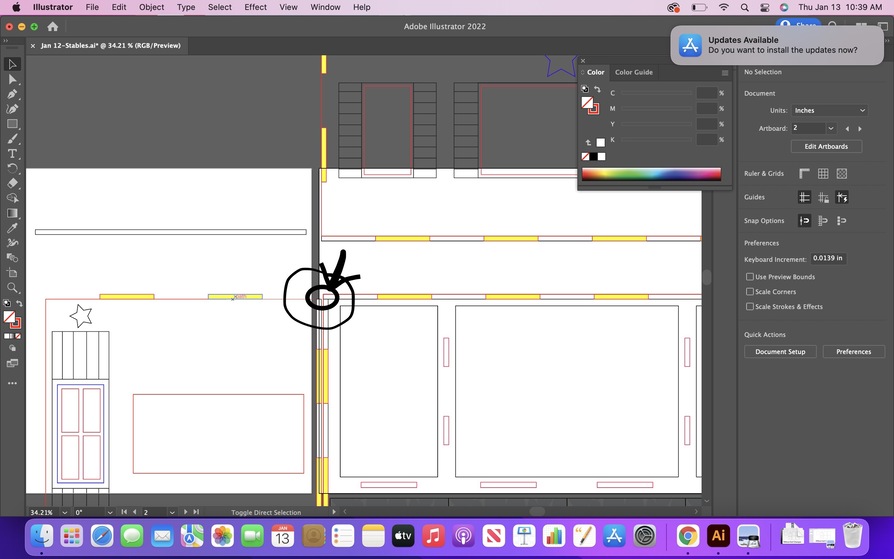
I’m so sorry about this language barrier thingy. Sorry about my drawing too. I say sorry a lot. I’m Canadian lol! I’m traveling and it’s the only paper I could find. Lets say this is a room for a dollhouse and I need to create a wall to divide 1 room in 2. What I’m having difficulty with is making sure my slots and tabs align in the back wall so they fit both on the back wall and floor piece. Man I hope I’m explaining this correctly. I bet it’s something super simple too. Perhaps I need to align the bottom of both the back wall and the wall divider piece? But this pic above is super helpful too as I have not used this method (shape builder).
1 Like
Ok I will try that too. I think the issue is the aligning part that’s throwing me off. Not the material thickness, tab length, etc…
And what makes matters worse is I am such a visual learner so when I see a tutorial I get it right away (usually lol). That’s how I taught myself illustrator. Far from being any good but I manage. And when I don’t know I search and watch tutorials. Thanks everyone for being so nice and helping me out
1 Like
Since you’re looking at 90 degree connections, just use a spacer rectangle of the width from the left wall based on how far you want everything in. Line everything up so it buts against the rectangle.
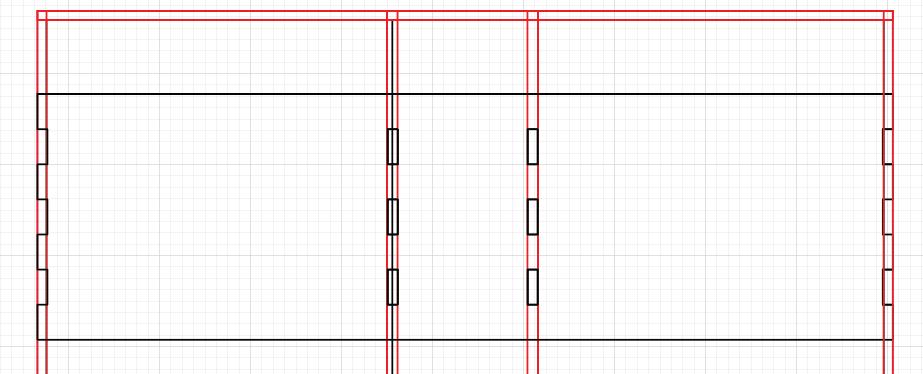
I often draw out a template when I’m doing more intricate designs. As shown below everything in red is going to stand vertically against the bottom. The black overlay is what the actual piece I’m planning to cut out should look like. The places where it would intersect is where I plan my tabs and slots. If I was planning on slotting this into a bottom floor board, I would plan to have finger tabs along the bottom edge of this piece as well, planned in a similar manner. This way I know that everything will line up properly after I cut it out. It’s really all about creative planning and finding a method that works for you.
3 Likes
It’s the same process - layout your pieces with them lined up to each other, make slot/tabs for one joint, then the other one. Fold some pieces of paper and mark them with those rectangles you drew and you’ll see 
2 Likes
omg thank you so much. this visual is what I needed!!! I am so grateful. 
2 Likes
This makes so much sense to me now-thank you so much ekla!
2 Likes
One thing I sometimes do is find another design that uses the main concept. Make that. Then take what I learned and apply it to my own design.
You could do that with a box from the boxmaker site and then use what you learned to make your own.
Don’t get discouraged!! You’ll get it!
2 Likes
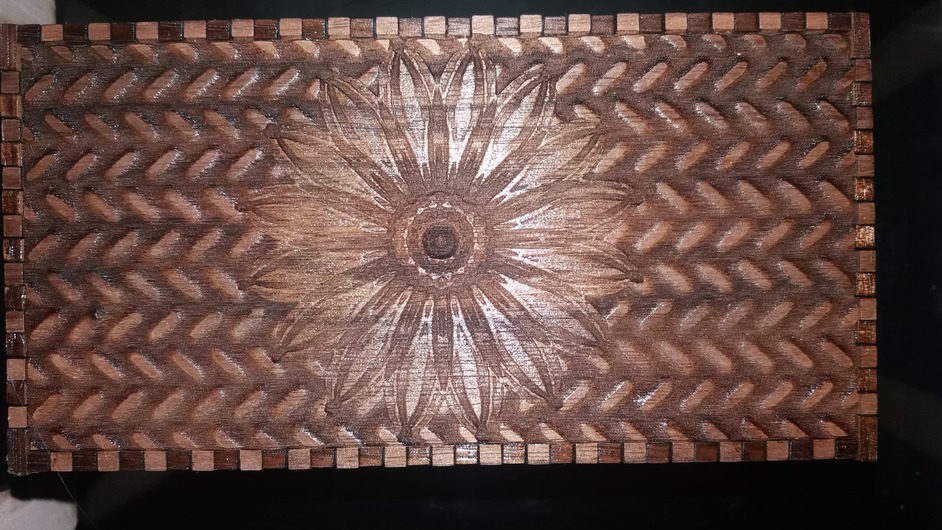
You cant do it everywhere but there are times when you don’t want end grain showing and you don’t want fingers. There was one instance where I ran into that and so engraved 90% through the wood the width of the material. This basically makes the overlap thin veneer and worked quite well in that instance.
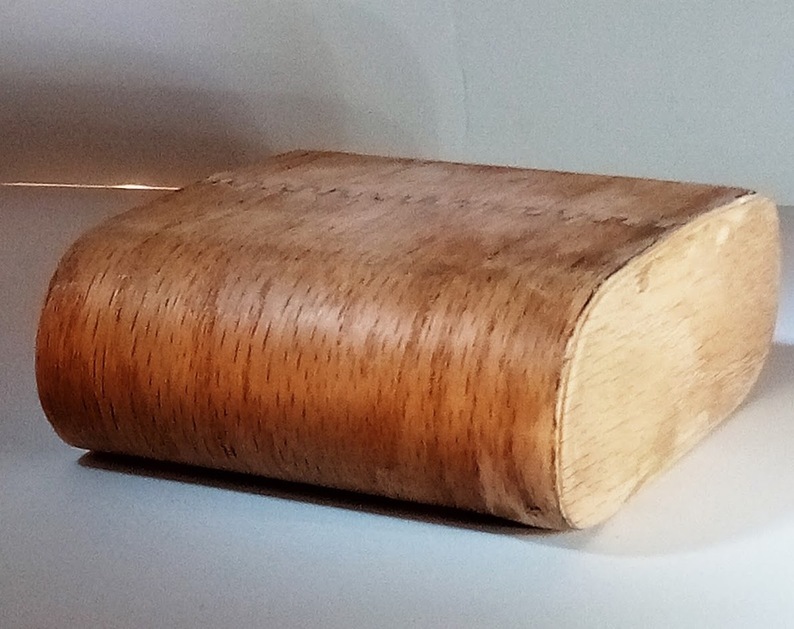
2 Likes
ever cool!!!
1 Like
Thank you so much 
2 Likes
From here I’d think about how these two pieces are going to connect at that corner using the exact same techniques. If you’re going to use a floor, I like to design my pieces like this to get sharp corners.
2 Likes
Like perhaps I should have more tabs?