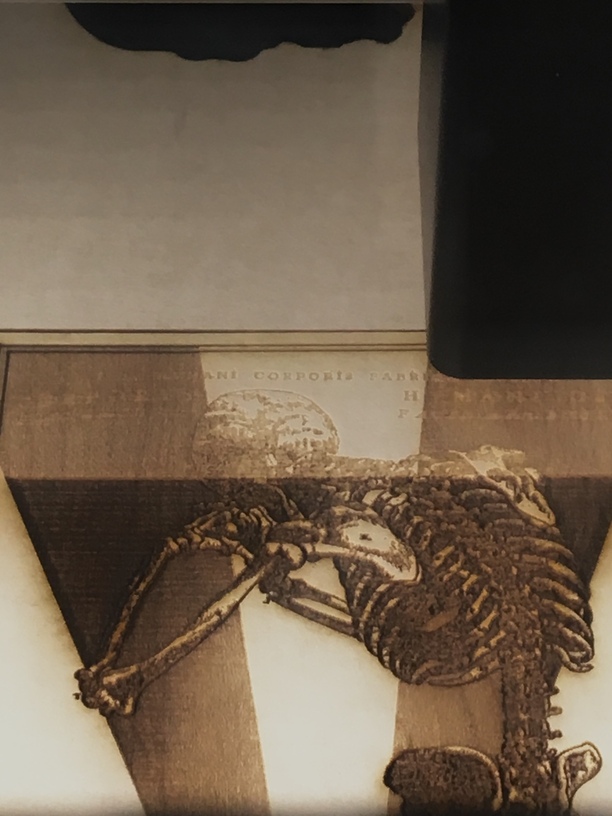
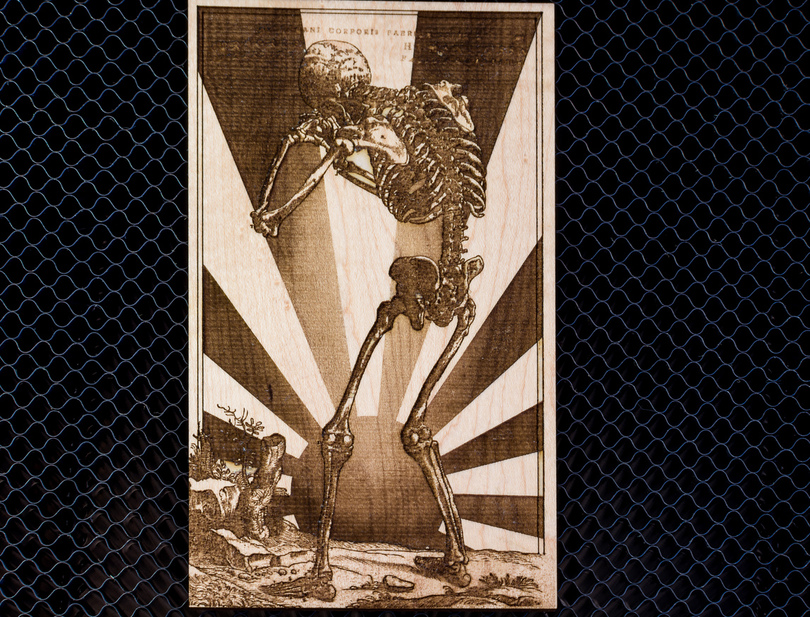
I wasn’t happy with the contrast I developed in just one pass with the settings I had put in (visible in the upper-most portion of the above photo). A second pass with slower speed and higher power did the trick in developing suitable contrast.
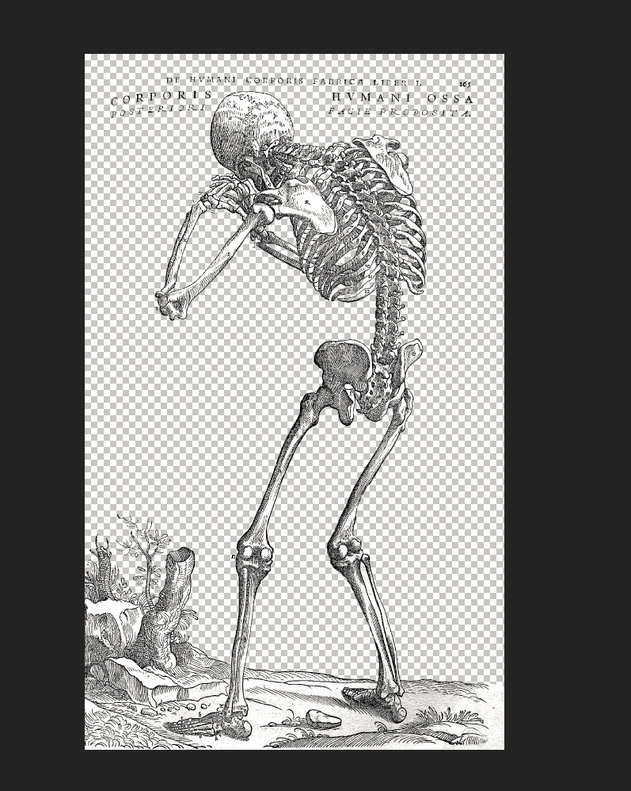
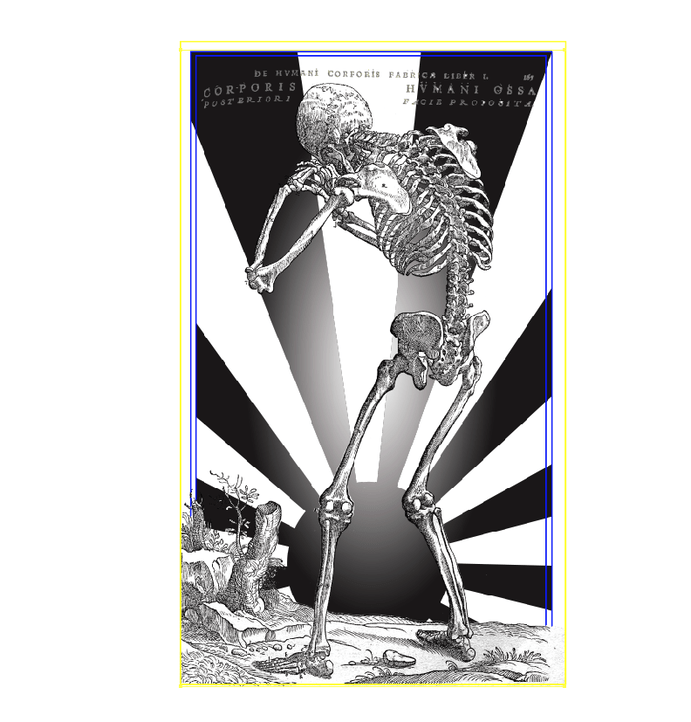
I like the thought of the text as it relates to the original work but it certainly needs addl attention to detail. What I would/will do here is actually redraw the text in Illustrator.
I think I’ll try it again, after I pick up some acrylic paints (thinking that would be best? I have oil paints here but so long to dry).
You’re not going to get anything better out of the machine than what you put in. That last bit of attention to detail (that takes the most time) is what takes something that looks pretty cool to something that looks pretty impressive.
If you want to add a little color, you might want to give Copic markers (or any alcohol marker) a try. The color would be transparent so you would see the grain of the wood through it. I tried it on Proofgrade maple and it looks great. You would want to seal it with a water-based sealer or it could rub off. Test on a piece of scrap first!
Was this on the older unfinished veneer? I didn’t have a wicking problem on the finished plywood but am not surprised it wicked if the veneer was unfinished.
Bummer! I guess it’s hit or miss how well it works. Maybe just a very light touch. I did the job after the masking had been removed, maybe the masking wicks it over.
What about using SUGRU? It might not have the wicking problem you describe. Years ago, an instructor said using oil paint added to some sort of wood oil was a good way to stain the wood, but this would obviously wick like hell and would only work for distinct parts.
Just an idea on the SUGRU. Without my Glowforge I cannot attest that this actually works, so it’s just a forum brainstorming contribution.