I’m always interested in doing experiments like this but then life takes all my time and I have to let go of things. I actually ended up using my last referral to buy an extra crumb tray (and other spare parts). Plus a plushy too 
4 Likes
Sounds like this is a combo that would totally work! Plus, then you’d have a blowtorch. I don’t see a downside here.
3 Likes
What about the stuff they use for fireplaces that removes creosote.
1 Like
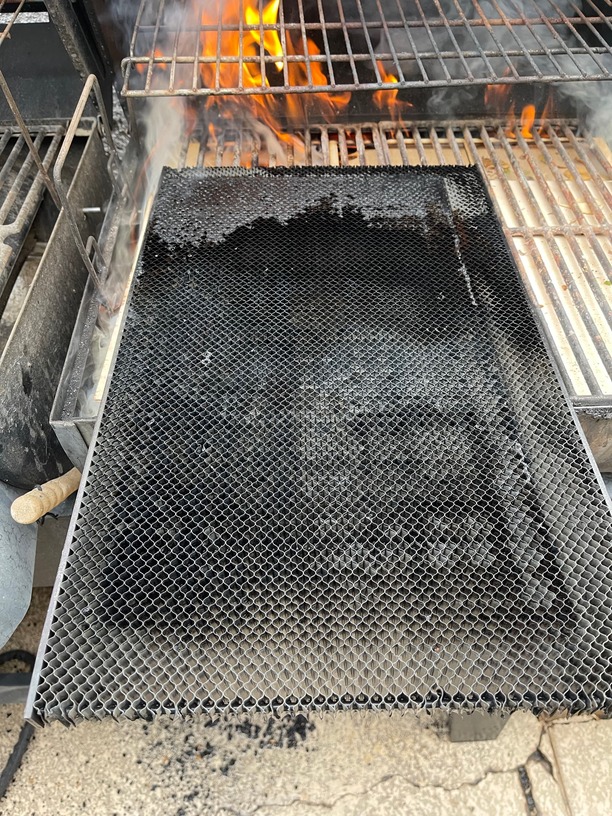
SO the secret sauce… FIRE and a power washer.
Fire loosens the baked in crud / gunk / acrylic / wood glue / alien DNA.
And a power washer blasts it clear!!
(proud smile)
Jonathan
(funny irony, the fire was made using old GF’ed wood)
7 Likes
You have been cutting Aliens? ![]()
2 Likes
yeah for plushy 
2 Likes
I was excited! lol
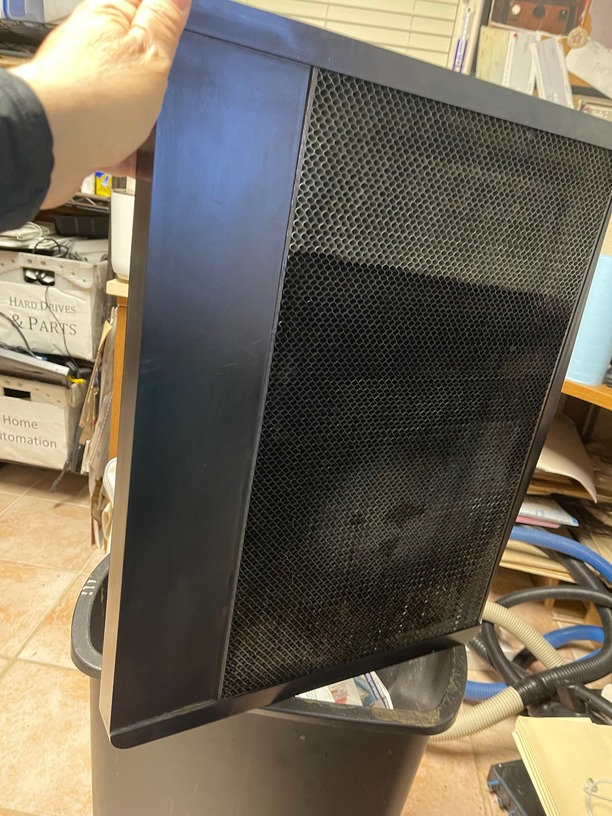

Did the power washing strip the black paint off? Part of the grate looks like stripped metal there.
i think the fire did that, but i’m not sure, when I wiped it down with some vinegar the black returned
(lighter / darker blacks on tray)
Right after I got my GF I covered the entire top of the tray in 6" masking tape and then cut at the extremes (like if you are making a jig for jigs). I then remove the center piece and shot the grid with several coats of silver spray. It was handy for a while as I was getting used to material placement, especially with dark materials.
3 Likes
Was it the hear resistant spray like for painting barbecues?
No, I figured even the best paint wouldn’t hold up to the heat of the laser.
1 Like
I was thinking of the pars just below that would get hot but not hit by the laser. Not much on the very top could hold up to anything. However, we know that the black paint holds up very well ![]()
1 Like
That’s quite an improvement, a successful experiment, but one you hopefully will never need to repeat.
AMEN!
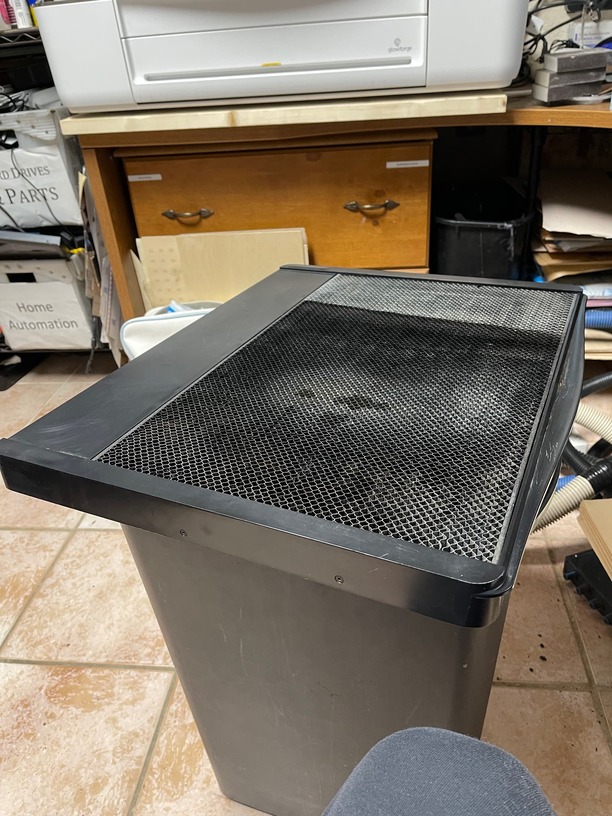
this was a old tray from someone who burned acrylic all the time, I knew I was in for a ‘project’ when i bought it.
Jonathan
1 Like
Can you give us a re-cap on your full cleaning process for this tray please? I really need to do mine and I see you’ve got extra steps with vinegar and stuff?
WARNING: This may ‘remove black from some of the honeycomb’
- Load a BBQ with wood scraps
- get temp to sizzle (600+)
- Place HONEYCOMB from tray (remove plastic housing and metal base)
- Insert 1/2 of the tray in for 30 mins, then use a metal brush and give the surface a light scrub
- Flip tray and do other half (30 mins)
- remove tray and use metal brush again, add tapping to get rid of loose char
- reload wood
- Now do same for other half
- let cool overnight
- Power wash tray making sure to get rid of any ash / burned pieces
- Make sure honeycomb is dry, used compressed air and a towel to dry
- re-install into tray
ADDITION still need to test
- put wood in BBQ
- Coat tray with LINSEED OIL (brush it on generously)
- with the honeycomb ABOVE the heat (second tray in bbq) put honeycomb back in, try keep heat at 250° one hour baking the linseed oil on this will turn the honeycomb back to full black.
- flip, repeat
DONE!
1 Like
Brilliant, thank you. I burn all my scraps in a burning bin, but thinking the grid over the top of the BBQ makes sense.
Did you try steaming it at any point during your experimentation?