Crumb Tray out Alignment for a fixed jig

Hey Gang,

now that I am “beamering” more. I realized that I have a few other items that will require removal of the crumb tray. However, alignment will be tricky. Because with at least a couple of the items I cannot just slap a piece of cardboard in there to create the jig. I figure it will be more along the lines of four “feet” set in place with magnets. with the feet holding the material(think cutting board).

has anybody done anything like that? I have a couple of ideas that would work. just wanted to make sure there wasn’t a wheel already out there. :slight_smile:

The shot glasses were a big hit.

1 Like

There are quite a few variations available in the Free Files area. Here’s a search to help you get started:

https://community.glowforge.com/search?q=cutting%20without%20the%20tray%20%23free-laser-designs

3 Likes

Thanks for that heads up. showed things I had not seen before.

I wasn’t clear. I am wondering about XY placement not height/thickness of object.

I did the max Headroom jig and the height part isn’t a worry. I just want to get the jig squared to the motion of the gantry.

4 Likes

This sounds like it may do what you’re looking for?

https://community.glowforge.com/t/updated-grid-for-engraving-without-crumb-tray/

4 Likes

You have room at the back to put your jig against the side wall and the rear wall for consistent positioning.

Somewhere on here you can find my crumb tray replacement that does that.

3 Likes

That is in the ball park of what I was looking for.

at the basic level I just wanted confirmation that the sides/wall were square to the Gantry motion.

1 Like

that is what I was looking for. knowing I can place against side and back is great.

2 Likes

I fairly recently used the one @ekla posted. It has been spot on for me with this so i highly recommend that process. @MyDogsThinkImCrazy did a great write up on how to do it and how it works.

1 Like

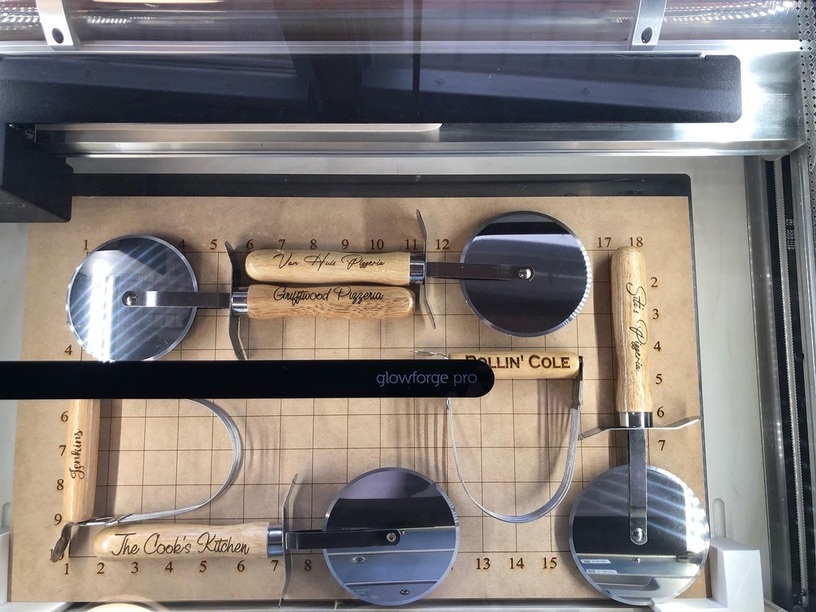
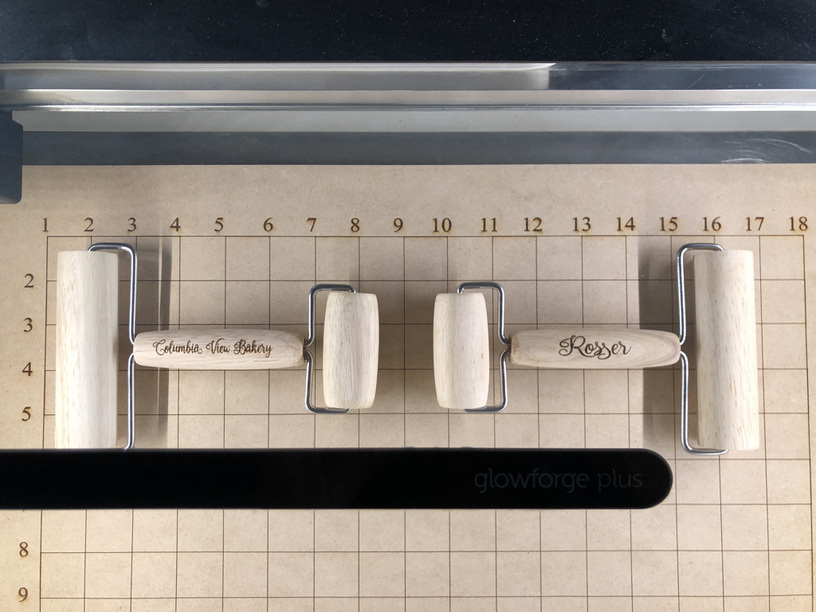
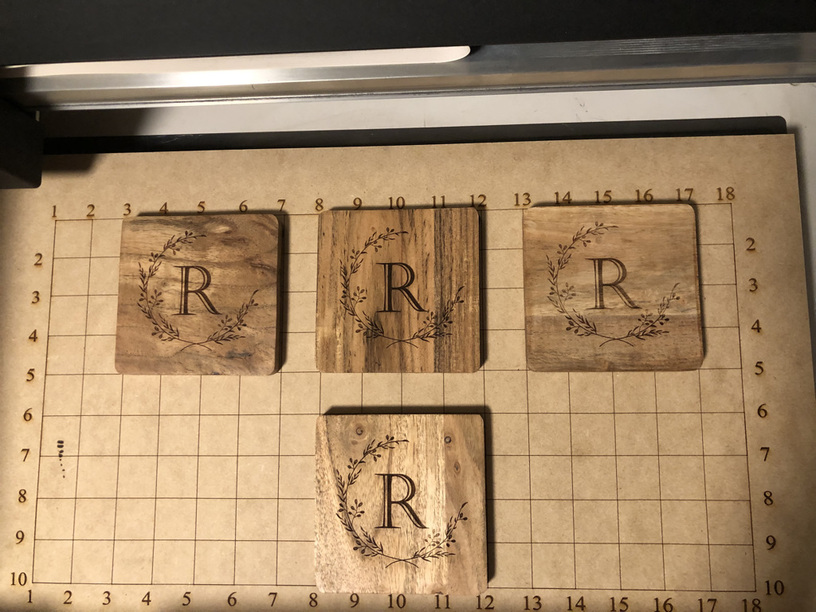
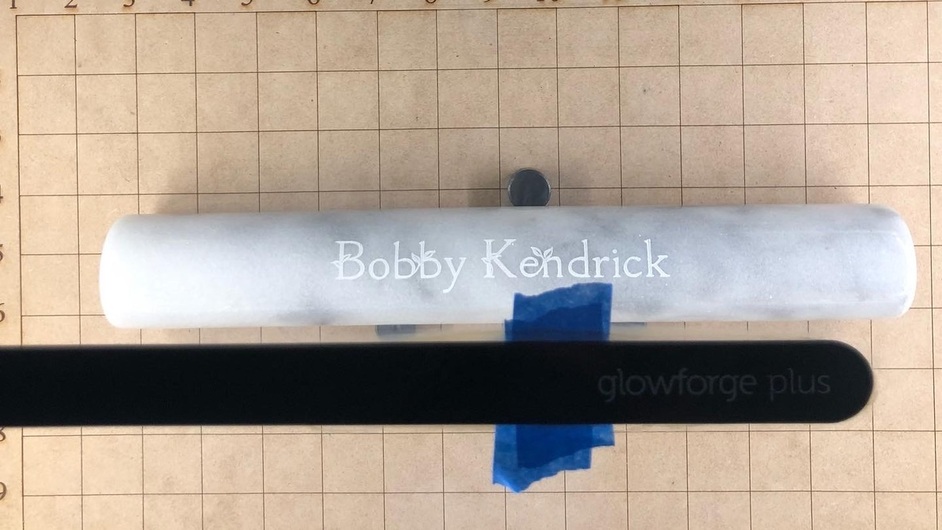
I have a lot of variations on writeup to help with griding your GF so you can accurately align. I do lots of things with feet. Tons of chopping blocks and marble slabs.

Here are some examples of how I use the grides to perfectly nail those types of prints and not have to have more than one jig:

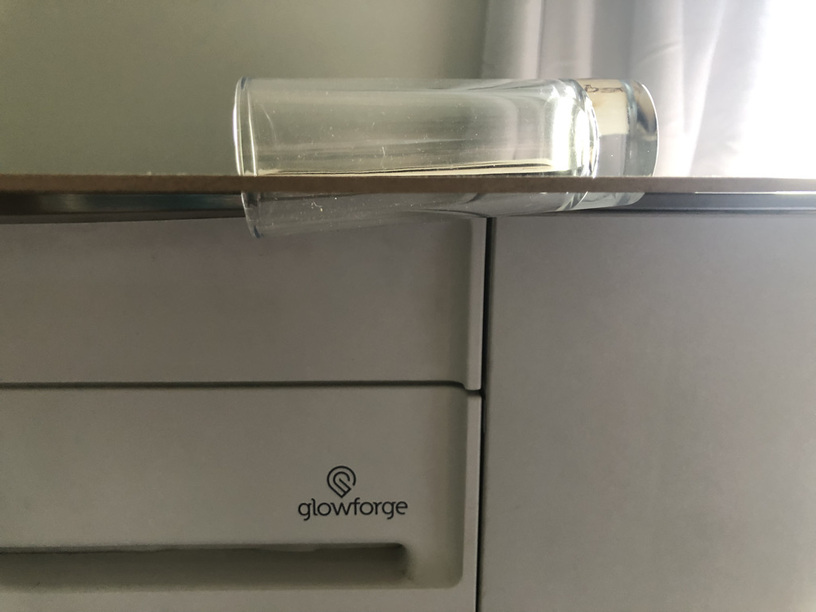
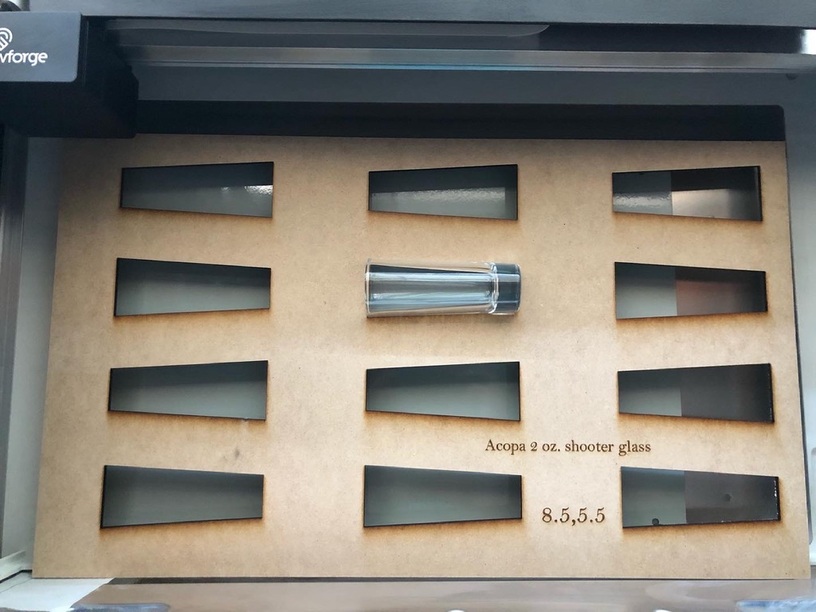
Also, there is a jig in the free designs that allow for lots of shot glasses to be printed at once and it account for the angles so that the shot glass is help flat:

It is designs to hold a lot of them:

4 Likes

That is really slick.

I made a new jig to do for of the BARCONIC short shot glasses at once. I will cut an assemble it tomorrow…

I got some of those tall shot glasses too. got some fun ideas for those.

This topic was automatically closed 32 days after the last reply. New replies are no longer allowed.