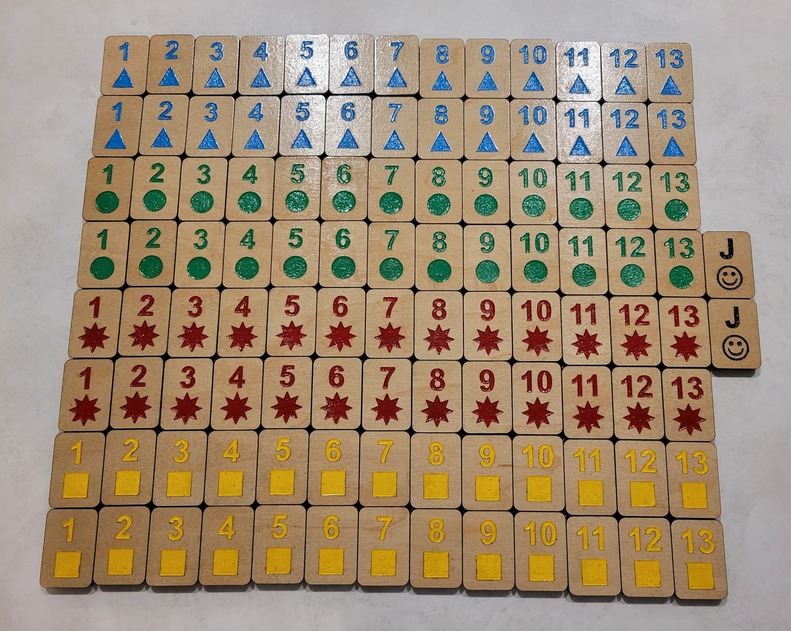
Some struggles getting it done, but the end product is great! Learned how to align double-sided engravings and using the mask to create clean acrylic fills — am super-grateful for all the folks that post about these techniques. More details and SVGs for free download are here, hope you’ll take a look: Rummikub on the Glowforge, a Journey – Shutdown Hook
29 Likes
Which technique did you choose to do your two-sided engraves?
3 Likes
Awesome set, there will be hours and hours of fun when you start using it.
2 Likes
I put a quick rundown in the linked post (Rummikub on the Glowforge, a Journey – Shutdown Hook); this is the best guide I’ve found: Glowforge Double Sided Engraving Procedure …
Basically you create a design that has all of the elements in one upload, fix the material in place, then do two print runs. First print does the cuts and front, setting the back to “ignore”. Then flip each cut piece over and put it back in its hole and print the back, with the cuts and front on “ignore” this time. Keeping it all in one design ensures the alignment works — super cool! Only works for pieces that can be cut with a symmetrical north-south axis, but that’s a lot of good stuff.
12 Likes
This is awesome! Loved your write-up (I bookmarked the page!). I love playing Rummikub, have the game, but love the idea of a custom set instead of, like you say, plain black and white plastic. Think of all the fun images you can put on the tiles! I’m simply going to have to make me a set, maybe do our farm animals - goats, chickens, dogs, squirrels… 
8 Likes
Thank you — love the animals idea!
4 Likes
So the trick there is to wrap your piece in something that has that axis of symmetry, the piece itself doesn’t have to, you just cut its shape last.
Also for something like this I’d
make a grid of tiles
put a rectangular surround on the whole thing
Engrave one side of the tiles, and cut the large surround rectangle
Flip the entire cut rectangle (only one thing to flip), insert back into the cut hole
Turn off surround rectangle cut and front engrave, engrave the back and cut the tile outlines.
Makes the flipping process much simpler! ![]()
10 Likes
This is super-smart — thanks!
2 Likes
This makes sense. A piece I am working on now needs flipping but the back and front of each item is unique so I don’t think that would work for me. Unless I moved the reverse text to make it work.
2 Likes
It can work, you just need to flip the whole template in your design software. Hang on I’ll do a small example.
1 Like
that is awesome. we are big rummikub players in our family.
2 Likes
I’ve done some things with unique sides and got it to work.
You just have to align them so when they are flipped over, the design goes to the right one.
(And in my case, the shape had to be accommodated for, also, because it was not symmetrical. I added an extra piece to cut that would let me flip it over and allow it to fit. ) I didn’t do it the way @evansd2 explained because I did not have that large of quantity to flip and it wasn’t a big deal, but that idea would help when there are more individual pieces.
2 Likes
Here we go, double sided unique engraves on items without symmetry around the Y axis. (Yes, I know you could flip this vertically and it’d work, but just go with it to show the technique)
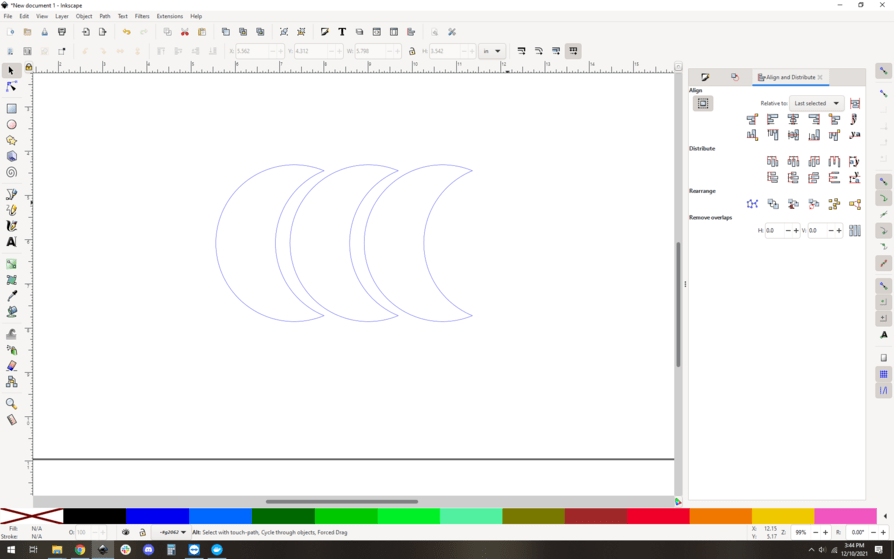
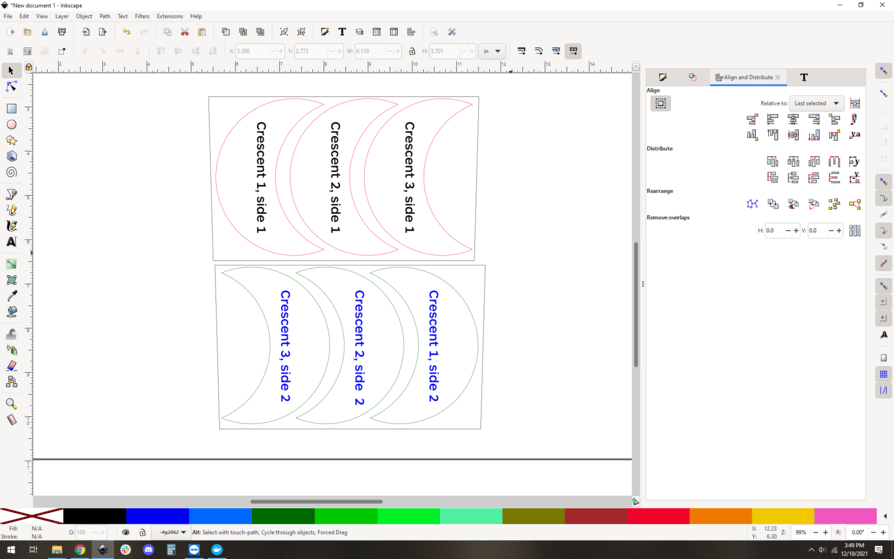
Start with our outlines, we want to make crescents.
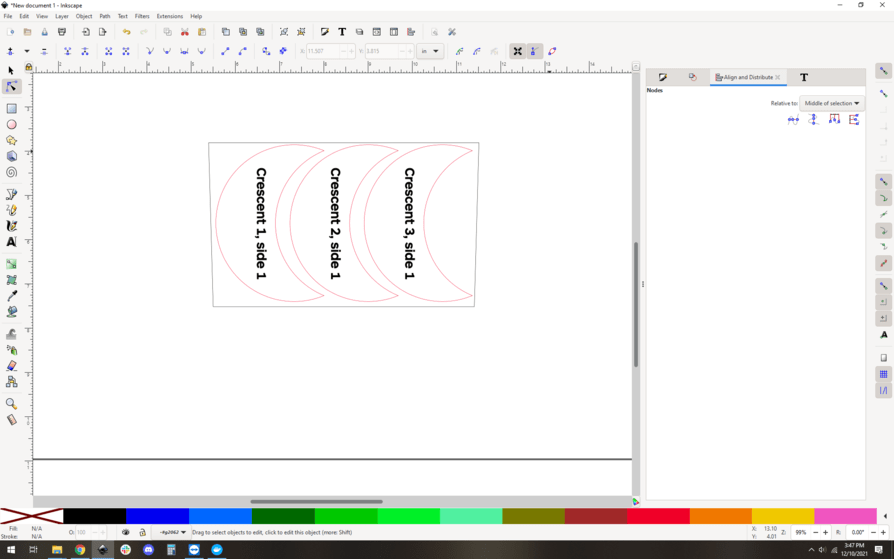
Throw some engraved text on there and draw a surround rectangle.
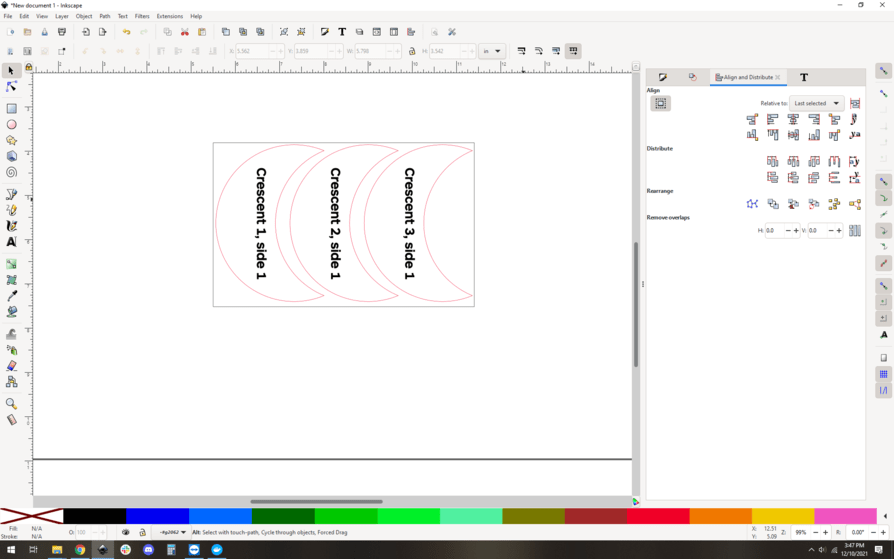
I want to flip this horizontally only, it shouldnt be hard to keep it straight, but just in case, I will make it “keyed” so it can only flip horizontally. I stretch the top line out, making it so it can only fit one way.
Copy that entire assembly and move it down to setup your second-side engraves. Flip the entire setup horizontally, the crescents will move “out of place” and look weird. That is ok! The text will be flipped horizontally. That may not be ok! Just flip the text again if you don’t want it that way ![]()
Color code things so that the various cuts and engraves are distinct.
Group up the two sets of shapes so that you don’t get out of alignment and snap them together.
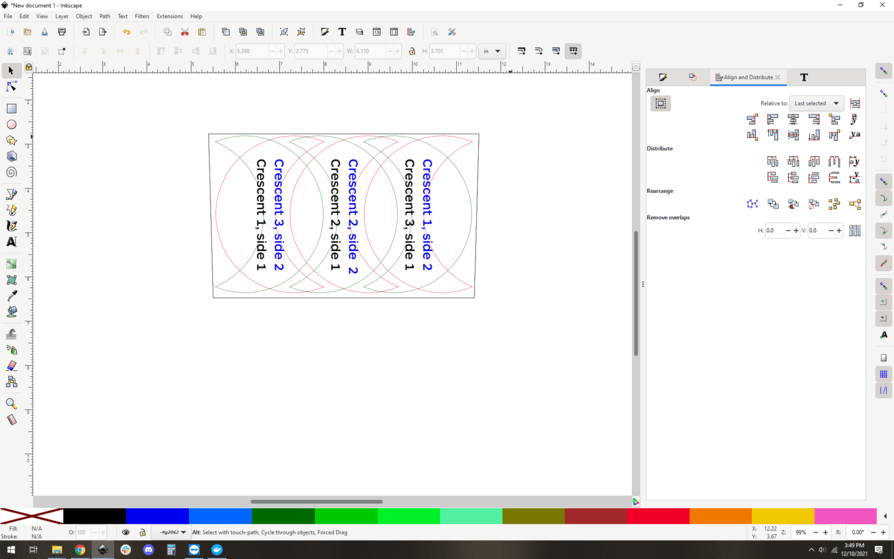
And lastly, delete one of the doubled black outline shapes. You only need one, it’ll double cut if you don’t remove it.
If you want to be super sure, you can also delete the red crescents, you will never need them.
In the UI, cut black, engrave side A (black).
Flip the entire piece.
Turn off all steps from side A.
Turn on side 2 engraves (blue) and crescent cuts (green). All done!
Two steps, one flip, perfect (well… within a kerf) alignment.
EXTRA CREDIT:
“‘Within a kerf’?! I think not Dave” Ok I hear you, sometimes you really want to chase thousandths. Use the paper towel trick and you’ll get it to far better, like closer to 1/10th kerf, which is vanishingly small (like 0.0006" in most 1/8" materials).
For more info:
https://community.glowforge.com/t/precision-alignment/80746/24?u=evansd2
That whole thread is gold.
6 Likes
Thanks @trually and @evansd2 for your instructions. I may try that next time. Very detailed set of instructions! Y’all are the best. 
I loved this game as a kid. Need to try it again. Your tiles are great.
5 Likes