Cutting and engraving mat board

But to bevel a square, the mirror would have to change angles or you would have to reposition the material… :unamused:

1 Like

That 90° rotary idea just made my brain lurch…

2 Likes

I don’t know much about matting. What is the bevel for?
Another question I have is how much of an angle do you need? I’m assuming you don’t need much power to cut the mat boards, so could you use a defocused beam for this?

Since you get the visual preview of exactly where the laser will cut, you can always combine techniques.
Cut the bevels by hand, then do the laser work.

2 Likes

The bevel accentuates the line, a “reveal” that pronounces the paper thickness below the color.
I don’t know the angle, but it looks close to a 45°.

I have no idea about the ability of a defocused beam… yet.

Its one of the ideas I want to test when we get our units. A 90 degree beam + detaching the Y position belt from the gantry and moving it to the rotary attachment could be an easy fix for the Z height issues the glowforge has when it comes to engraving. Could potentially allow for some large round objects to be engraved if it works out

1 Like

Aye… a motor controlled mirror mount would be a little more work, but not impossible…could be cool!

1 Like

Yes! Don’t go deep, go lateral.

As time has passed, I think less about structurally modding the case that was carefully engineered to present us with a reliable sturdy, portable unit and accepting its limitations.
I think your idea has merit and needs to be explored.

@smcgathyfay - great idea with the scraps!!
A good price on them would go a long way to keep me out of their dumpsters!:stuck_out_tongue_winking_eye:

1 Like

Greyscale engraving MIGHT let us bevel. But with multi-color matting, most likely the char effect will obscure the mat.

But, you can cut yourself some tools to make bevel design trivial.

First, get a small piece of wood (random 1" thick scrap), and cut a 45 degree angle on there. Screw/glue on a sharp blade so that it can be adjusted to protrude at various lengths. You can now glide this block of wood over any smooth surface and produce a perfect 45 degree bevel.

Next, after you cut out your frame holes, go to some thicker wood and cut the negatives of those holes. Insert thick wood into the hole in the matting, grab your trusty 45 degree cutter, and push the blade up against the guide block. Proceed to cut flawless bevels of (most) any shape!

7 Likes

I would LOVE to see a video of this in operation @jacobturner! I have a mat cutter that does the bevel cut but it’s so difficult to get the actual cut line right where I want it. And would your method be amenable to curved cuts? I would really like to do those.

1 Like

I haven’t done it. Just theorized.

But it should have no problems with curves at all. Corners done without any curve to them may be a little tricky (ie - done freehand). But smooth curves would be trivial.

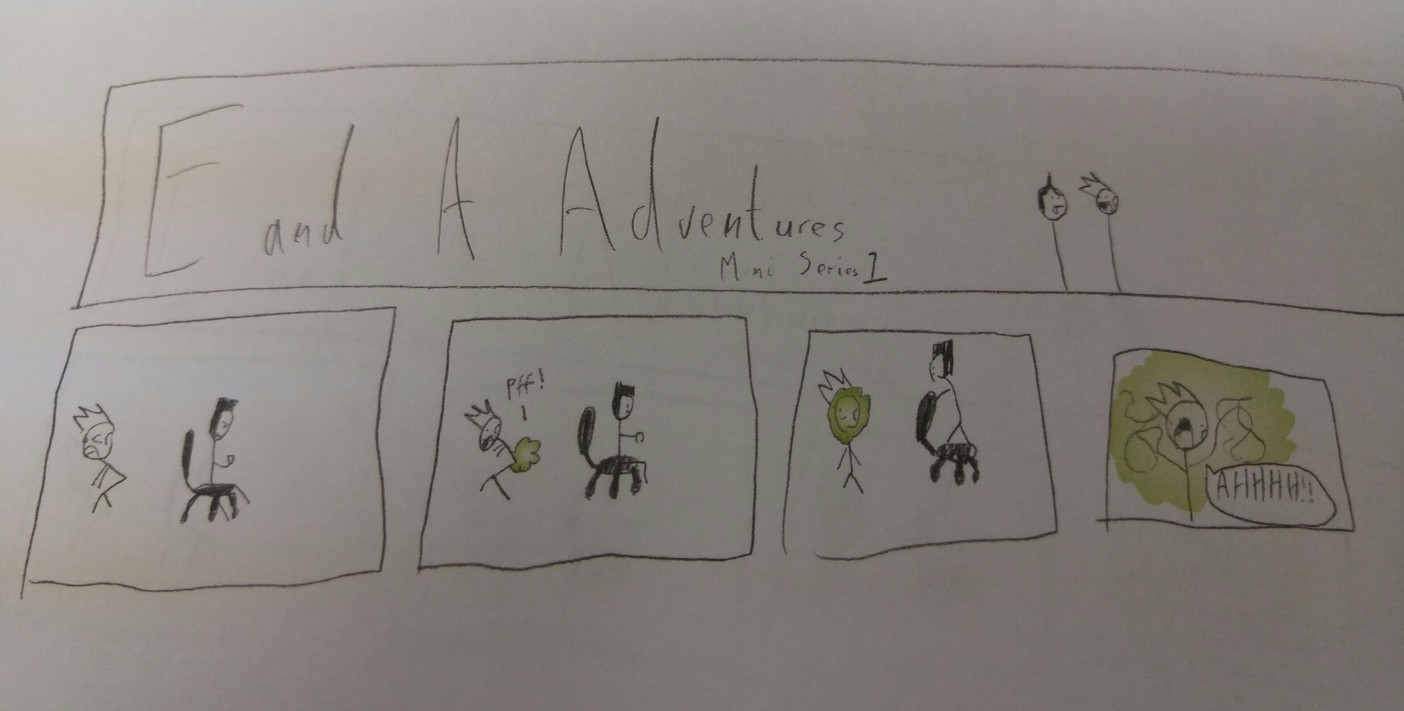
Had some time to play this evening…been wanting to frame my youngest son’s artwork he did a few years ago and got inspired…

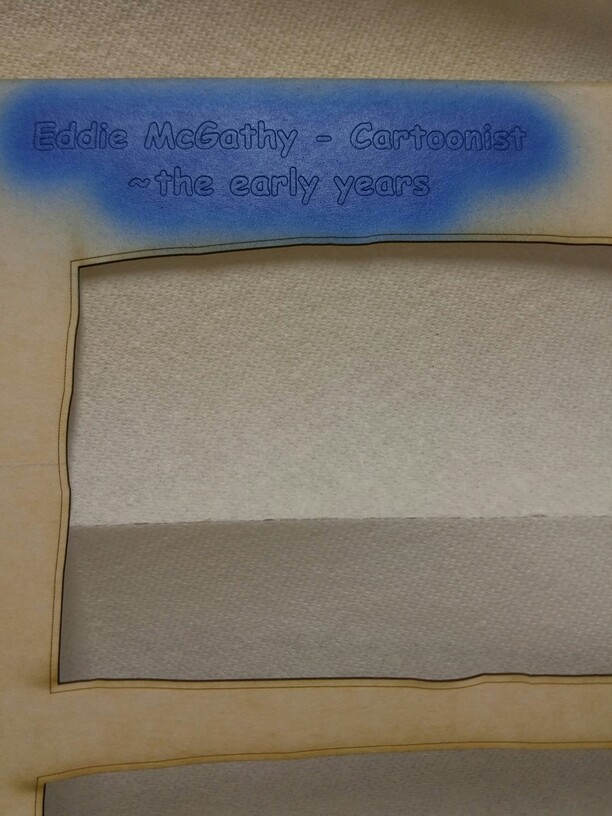
Masked and cut the mat board to fit, as well as vector engraved the words and border around the cuts and just removed the letters and thin strip of masking around the inside cuts so I could color them with the airbrush.
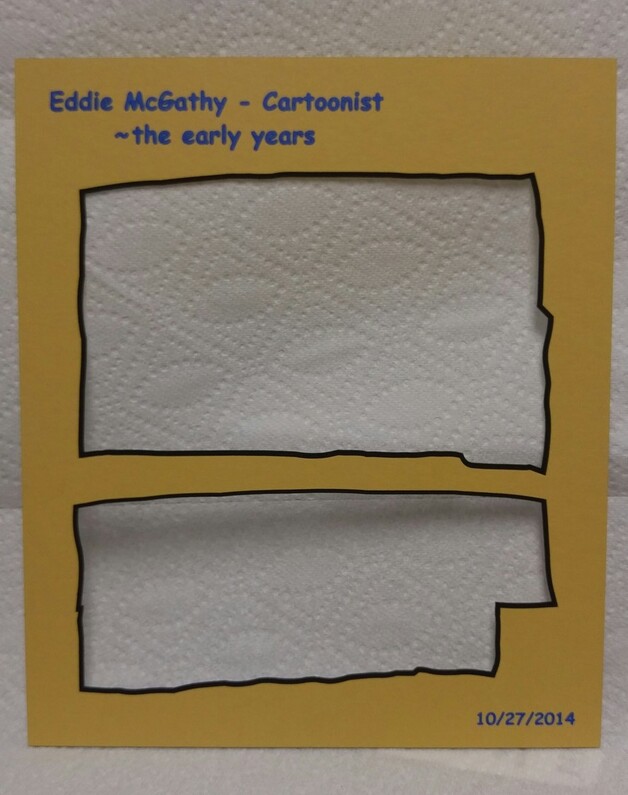
Removed the masking and laid over a piece of clear mylar.
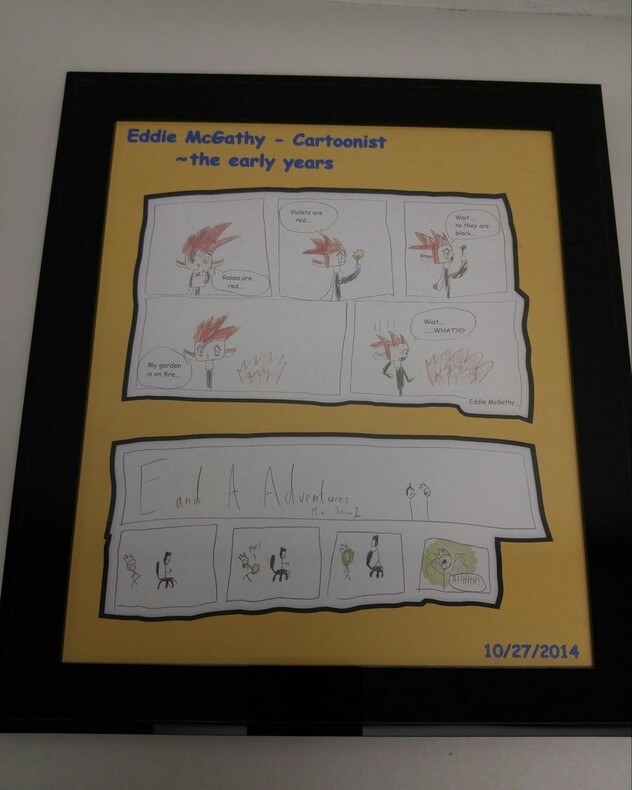
And taking the cue from @dan I made a black acrylic frame to fit. Backed with MDF

23 Likes

This is so awesome. Seriously I would have gone nuts for this as a kid!

1 Like

Amazing idea!

I’ve also played around with the idea of making a bevel cutter. It’s not like they’re any magical feat of engineering - might not be quite as ergonomic as store-bought, but I bet you could do it with scrap plywood and a box cutter blade in 10 min.

5 Likes

Made this many years ago for my sisters family. Cut holes for their faces then vector engraved the outlines and used watercolors to color it in.

7 Likes

I have both made and purchased bevel mat cutters. The key difference I discovered is that mat board is pretty delicate, and you need a very smooth and fairly broad sliding surface. You don’t want to leave shiny lines from pressing down hard and sliding and you don’t want to leave tears or embossing. The amount of force it takes to cut through good quality mat board is also higher than I expected and a few of my less well thought out attempts ended up with the knife pulling out if its holder and getting stuck in the board.

I threw out all my homemade ones and got one of these cheapos http://www.dickblick.com/products/dexter-mat-cutter/. It works pretty well and is less expensive then screwing around and wasting mat board.

4 Likes

I like the stage curtain design.

1 Like

You beat me to it! That was going to be one of my first projects was using the glowforge in conjunction with my Wizard CMC Mat Cutter. I’ll get the best of both worlds- beveled cuts with laser etched details.

2 Likes

Yep-- hobby blade and a paint stirrer for 90º, scrap wood cut or sanded as needed for any other angle…

9 Likes