I never got Snapmarks so haven’t tried passthrough yet. Really want to be able to cut larger circles though and assume that by using it I should be able to reach something closer to 20" in diameter (vs close to 12"), right?
I do love the new set focus feature, it really improved things tremendously. Is that what I should be using to try to cut a large perfect circle? Does anyone have suggestions on tutorials for achieving that that a) don’t rely on Snapmarks and b) hopefully make use of the greatest-and-latest features such as set focus?
In theory you could go larger to cut a single-piece circle. I don’t know how to get it perfect, but (again) in theory, you could start with roughly circular material and stick the edge into the passthrough and cut some sort of partial arc.
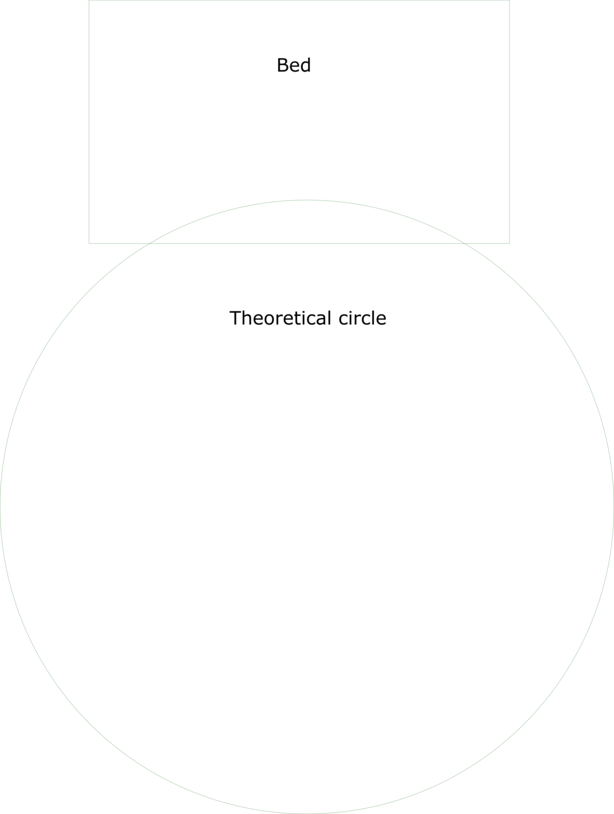
In this setup, for example, it’s a 36" diameter theoretical circle.
Of course, I have no idea how you’d align that to be “perfect”, so it’s probably a nonstarter.
You could make a multi-part circular frame to use as a router template, thus enabling virtually limitless size. Make the arcs interlock and form a larger circle, and then run your router on it.
In fact, that’s probably how I’d tackle it if I were doing it. Like so, here’s a 12-part 36" interior diameter or so circular ring, ready to assemble.
That can be cut in one job, it’s 1" wide and fits nicely in the bed.
Of course, I didn’t kerf adjust this (and subsequently flip half of them to make a better fit), which I’d feel compelled to do because that’s how I am, but this is the general idea.
Sometimes the laser is a metatool for your larger goal. I’m willing to bet that the router solution will be nicer faster than trying to align a ton of cuts in the passthrough.
As long as you have the router and shop room to use it. A reciprocating saw a nail and string could do a 48" circle if doing it on the Glowforge were not the OP though doing it as pie slices of alternating woods could make a nice table and even make butterflies to lock the joints
For a single piece of material. If you’re willing to slice it up it’s pretty limitless. Without snapmarks, and without the “passthrough feature” released then manual indexing is your only real option.
This entirely depends on your interpretation of “perfect”. I have snaps, and they are routinely accurate to within a millimeter, but that’s not perfect by any stretch. I always always can tell where the gap is, and so for me, snaps have no real use.
Now the print and cut crowd will defend their snaps to death, but that’s not my jam, so I’m underwhelmed.
Mine is always literalist, but as perfection is not possible in an imperfect world I substitute really good unless the discussion is around a scientific instrument.
I can always tell as well*, but I know where to look. The bigger the piece the larger the acceptable tolerances so it gets there.
*I have some multi-color fill engraves on ceramic tiles where I engrave one color, sharpie, clean, place back in the snapmark jig and repeat and cannot find a laser-blameable imperfection where two colors meet. On cuts and scores most of the meets are unnoticeable to my eye, but there is always one or more that is clearly noticeable. So I fix it by hand or ignore it.
A mm would not be acceptable to me. When they are off it is sub-millimeter, like a tenth or two.
I don’t know, I’ve done print and cut and it is nice but I’d not lose my mind if I lost them.
I can do the same thing manually, just slightly slower setup.