Things I learned and you might want to know about:
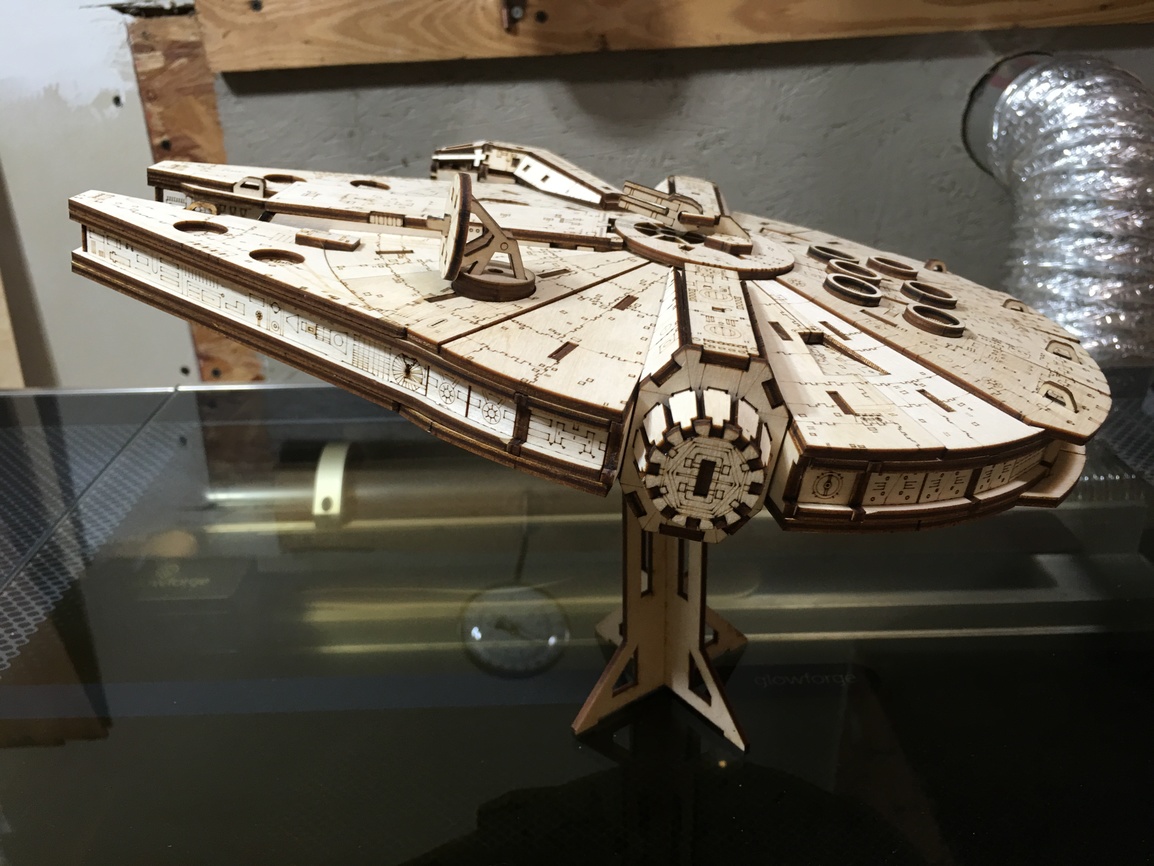
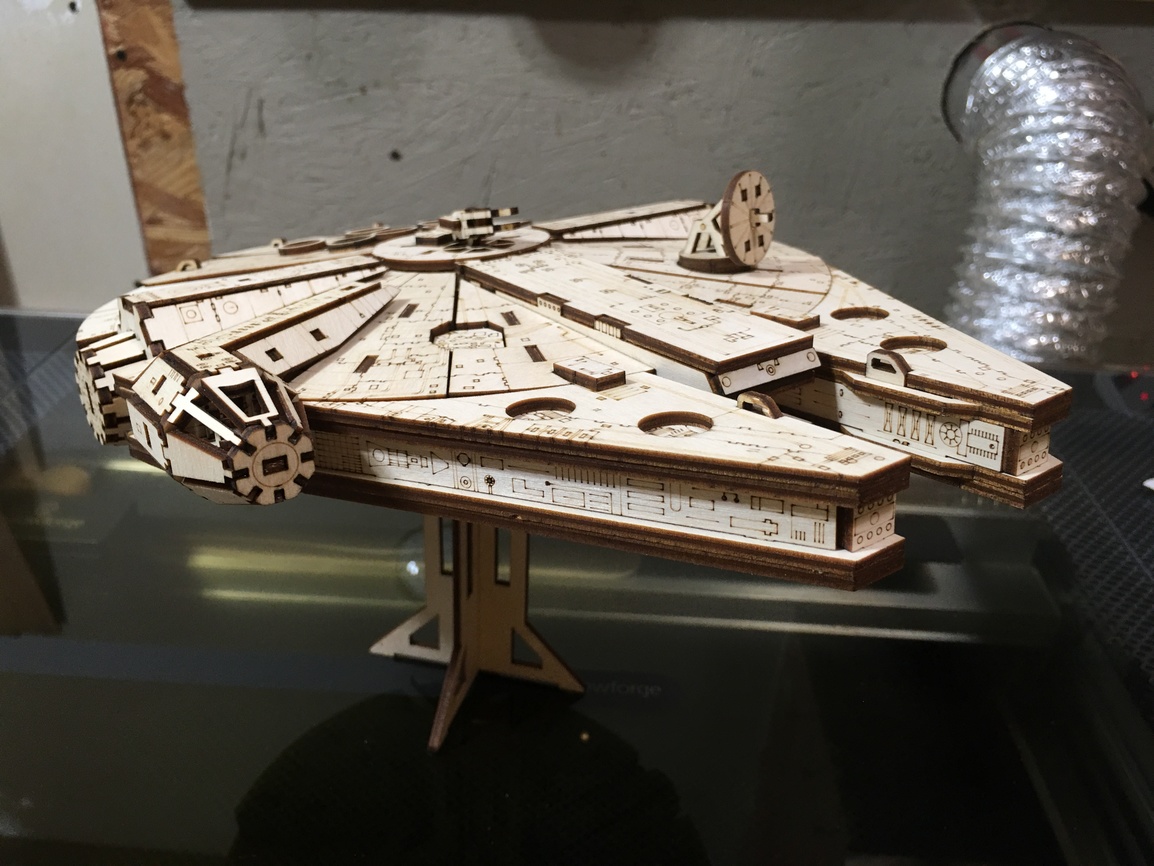
It’s a generally great model, and when you’re done it’s pretty awesome.
Assemble in order of letters/numbers. That is, A1, A2, A3… until you’re out of A parts. Then onto B1, B2, B3… and finally the M-series parts. With one exception listed in a second (see gun turrets)
The entire model is worth it for the gun turret design, that’s clever. (K1, K2, K3 parts). Do yourself a favor and print an extra set, you’re probably going to crack one of those pieces, especially the K1.
Speaking of gun turrets, don’t put the bottom one on until the very end. You can’t set the model down on a flat surface once you do.
I wouldn’t mask it again. It’s a pain and really it will probably look great with smoke.
Some parts are not labeled.
The bottom says this side up. They mean 'this side down". That is, the “this side up/down” message should be on the “outside” of your Falc CY-1300 sandwich.
The “D5” label on part C2 should read “D2”
The C4 parts go into the unlabeled slots between and adjacent the C1 and C3 slots on part A1/A2
The G1 parts go into the slots that are between the (unlabeled) C4 slots mentioned in the last bullet. Basically the horizontal slots. as they’re laid out in the pdf.
I went for a friction fit, and got it. I regret my decision. It was much harder to assemble. Scale for a snug glue fit, you’ll be happy you did.
Keep some sandpaper and small files handy in case you need to slightly adjust things as you go. This was an issue for me because of the friction fit I mentioned before, but it’ll probably happen even with a glue fit.
The display stand feels weak – I will probably redesign it, it’s not sturdy enough. It works, but it twists too easily.
Oh yeah good point about the orientation. I modified the pdf massively and made really tight cutsheets, saving a lot of materials… but the way the PDF is laid out would be perfect for GF smoke, as least as far as the main body panels go.
I’ll have to redesign my cutsheets. In the end I saved what, maybe a sheet of baltic? not worth it. I’d rather go slightly less tightly packed to get the orientation of the parts right for the smoke. Good thinking.
Oh also, assembly probably took like 10+ hours because of my insistence on friction fit. I had to sand and file way too many slots to make it worth it. I think the limiting factor if you made it a glue fit would be the glue dry time.
If you made it a nice glue fit and went light on the glue to help it dry more quickly, I bet it’d go together in about 2-3 hours.
It was a fun build. There are some cool tricks in the construction that might give you ideas about how to design things of your own. It’s kind of hard to describe their clever joinery without actually doing it.
So 10 hours assembly (or 2-3 based on type of fit). But how many sheets of what size BB ply?
Just an awesome job. I’m with you though - packing parts is generally a waste of effort considering the time it takes for the amount of inexpensive wood it saves.
I did 1/8" bb ply, compacted it down to 3.5 full sheets.
Without compaction, it would probably take more like 5.
It’s definitely not super cost effective to repack if you’re just doing one, but I wanted to minimize setup time if I cut more later. Fewer jobs means fewer times loading the UI, calculating, etc.
Given how well it turned out, I’ll probably scale it up by about .01" width on the slots and give one or two as gifts.