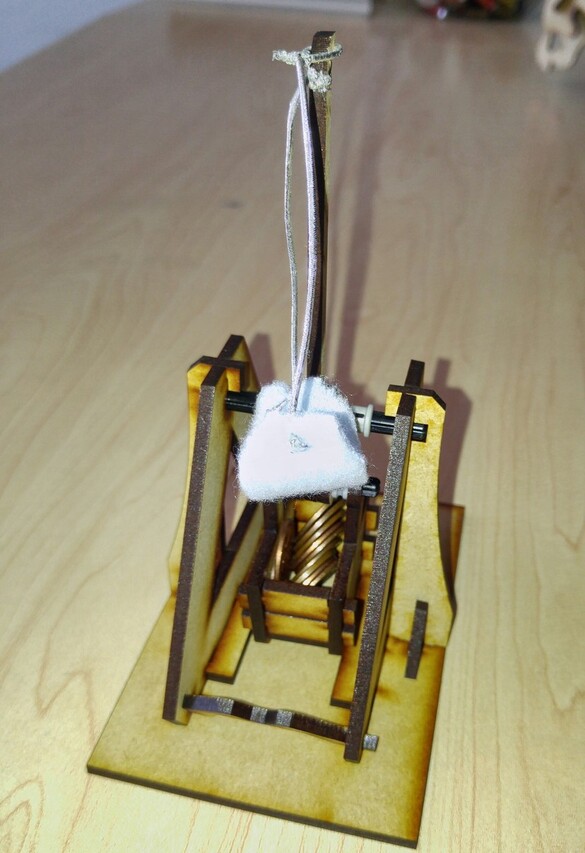
found one mistake… the bottom piece for the weighted basket is not wide enough.
**Correction, the side pieces are too wide…and it needs some washers in between the basket handles and the middle piece to reduce friction, so both the bottom piece and sides need adjusting.
I was just thinking that. I ballista I built with my son somewhere out in the woods I think. I used oak staircase banister spindles for the bow arms. I’d have to figure something out using laminates of 1/8" or 1/4" stock. I think it would need to be wood stock not plywood so the grain could be lined up so it doesn’t just fracture the arms…hmmm…
For example on 3mm MDF the kerf for my laser is .003. You make the tabs .0015 bigger than the centerline and the slot .0015 smaller than the centerline so when the laser takes off the kerf, the sizes are the same so it fits snuggly. No glue needed
It’s amazing that such a small kerf makes such a big difference. luckily path offset makes it easy enough to correct.
Sadly, I don’t think any of the programs have tools to quickly correct for being bad at measuring
Dan has stated that we will be able to designate what’s the part and what’s the waste in the app before we hit go, and it will automatically adjust to put the kerf on the waste side of the lines, which should make this a lot easier to get right.
@rebecca
So if someone were to post a design and another person happens to have a laser… would it be ok to post the results of said design cut out on a different laser than the glowforge?
Here’s my “entry”:
I made assembly drawings for it as well.
Added disclaimer - design has not been tested
I have not adjusted for kerf, and all joints are sliding fit at the moment, a couple places would probably need glue but it would hold together without. Any 1/4" material will work but I think wood would look best.
Brilliant. How about an entry with no pencils, screws, or bolts? I know the rules allowed fasteners and glue… but I’m curious if anyone can do it with nothing but plywood!
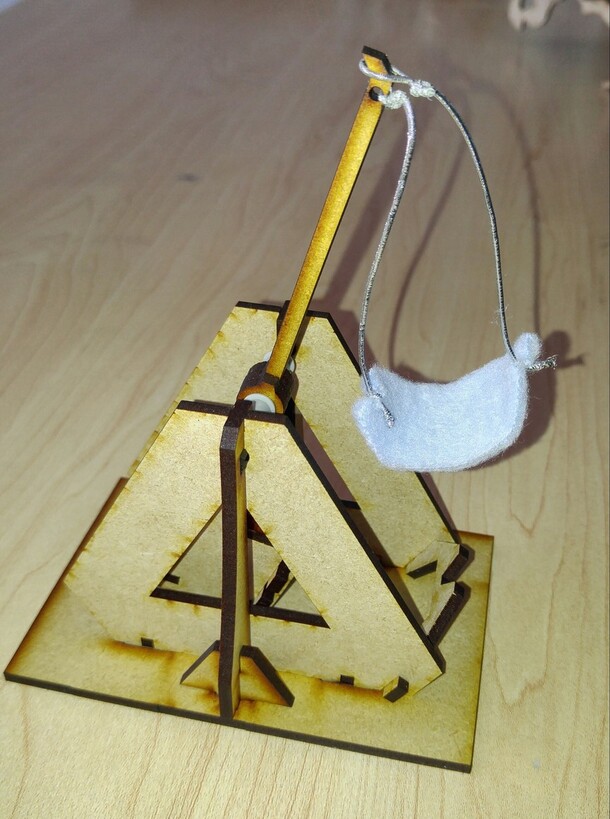
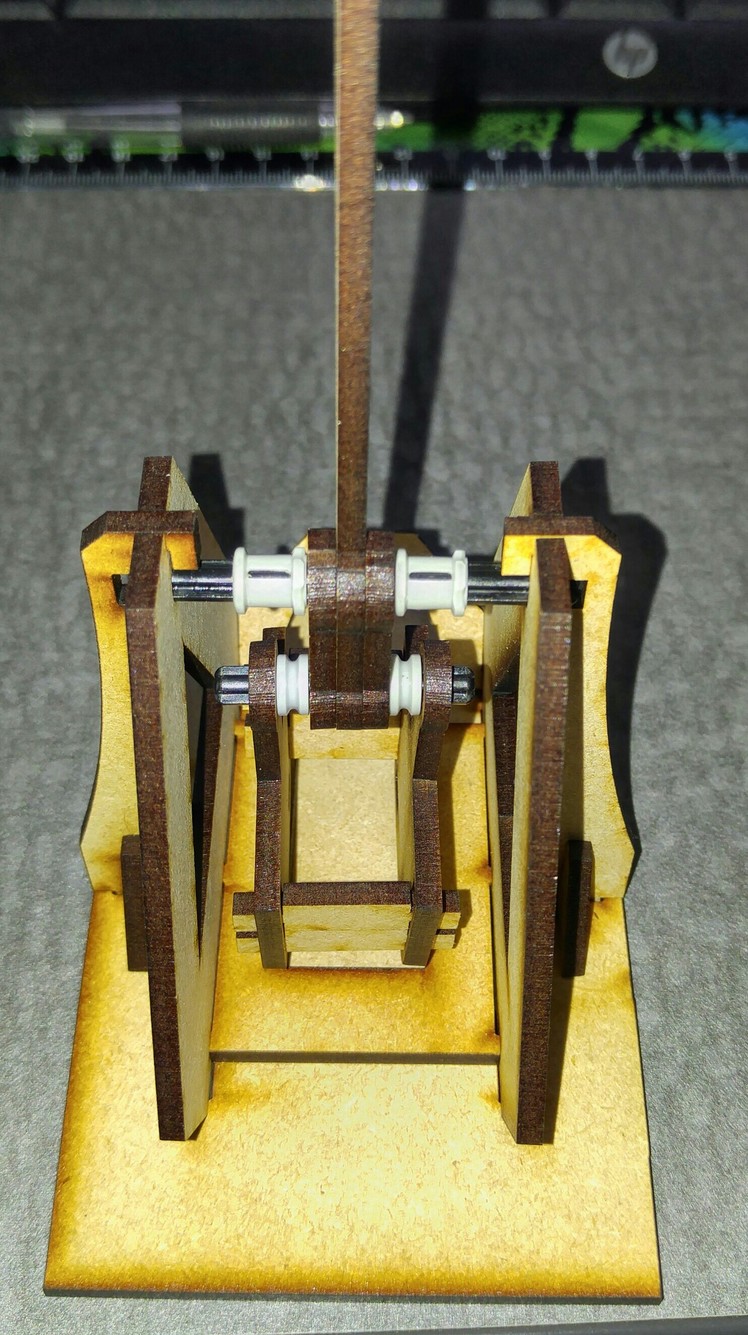
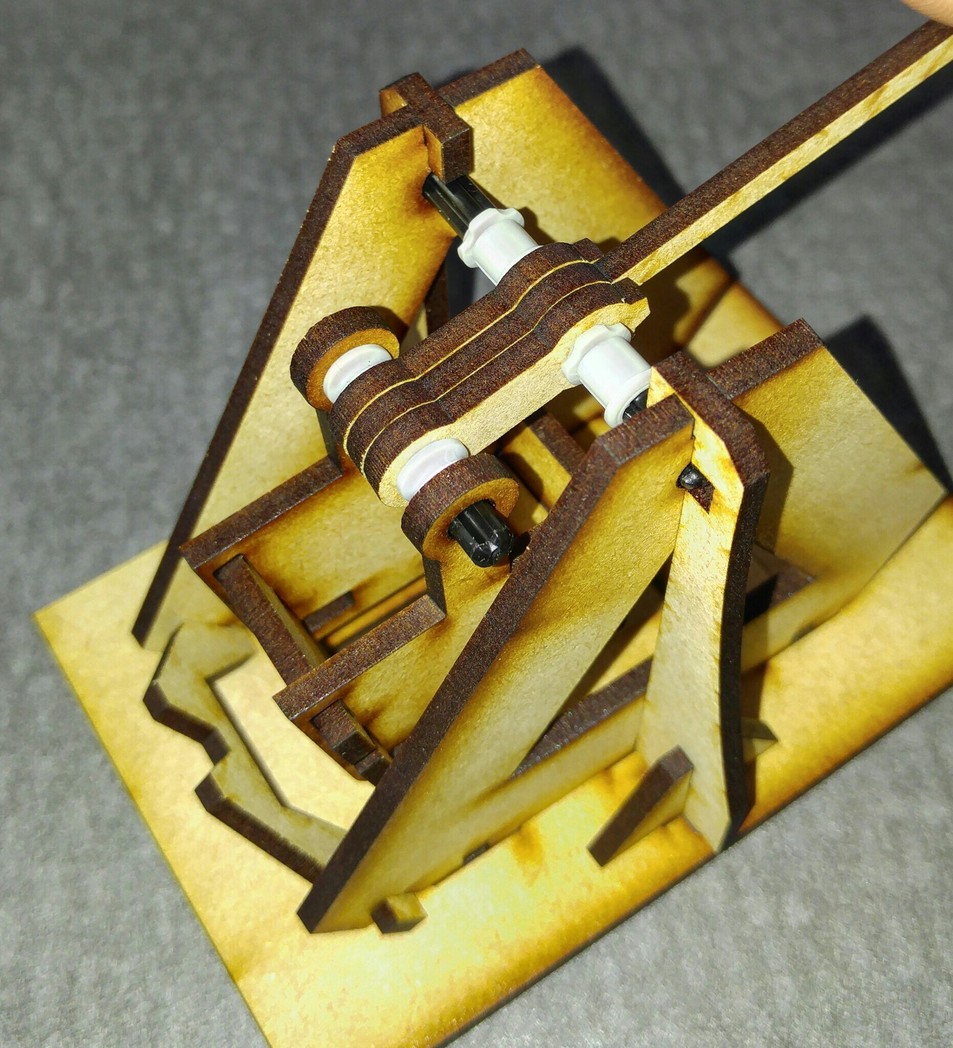
Yes, I’ve been talking to the designer @likeablejerk the whole way through and showed him my results. He said yes so here is a little video showing that his design works…the only changes I made was to scale down his design to work with 3mm MDF and used lego pieces for connectors and added a sling.
Enjoy
Truer words have never been spoken, @likeablejerk!! My first real laser cutter project was to make an interlocking waffle model of a 3D form out of chipboard. Of course, they told us nothing about kerf, so when I went to make all the finger tabs, I made them all as wide as the material itself. Since I was using 1/32" thick chipboard, my tabs were so big and my material so flimsy that the whole thing just would not stay together no matter how hard I tried…pieces would fall off that thing left and right if anyone so much as looked at it


 .
.