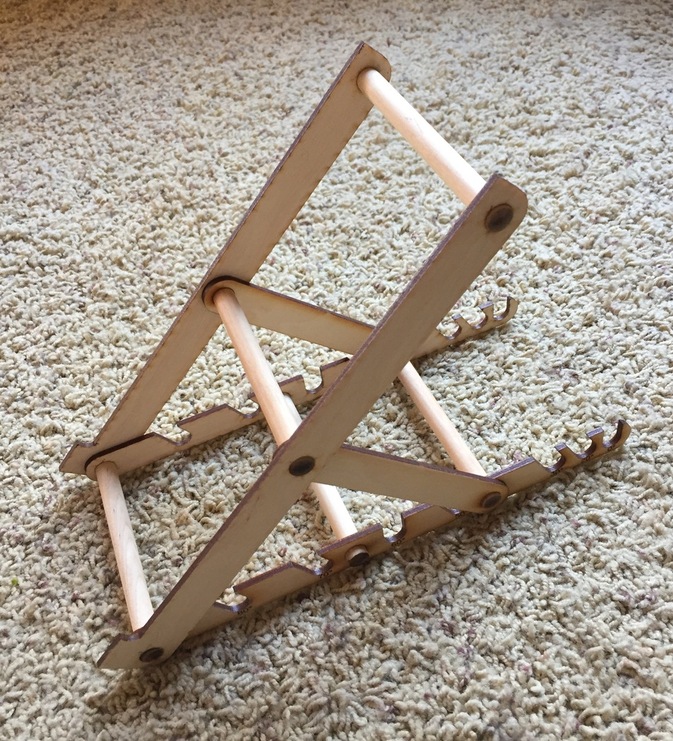
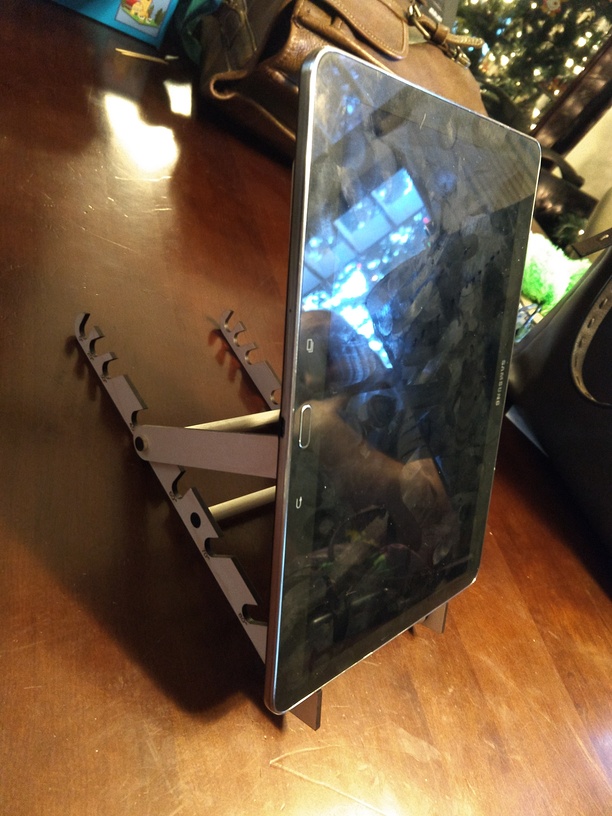
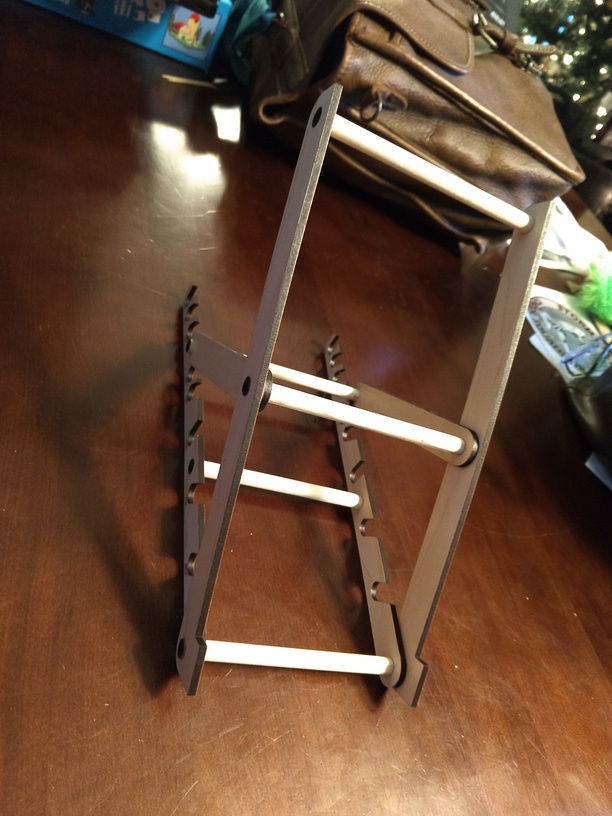
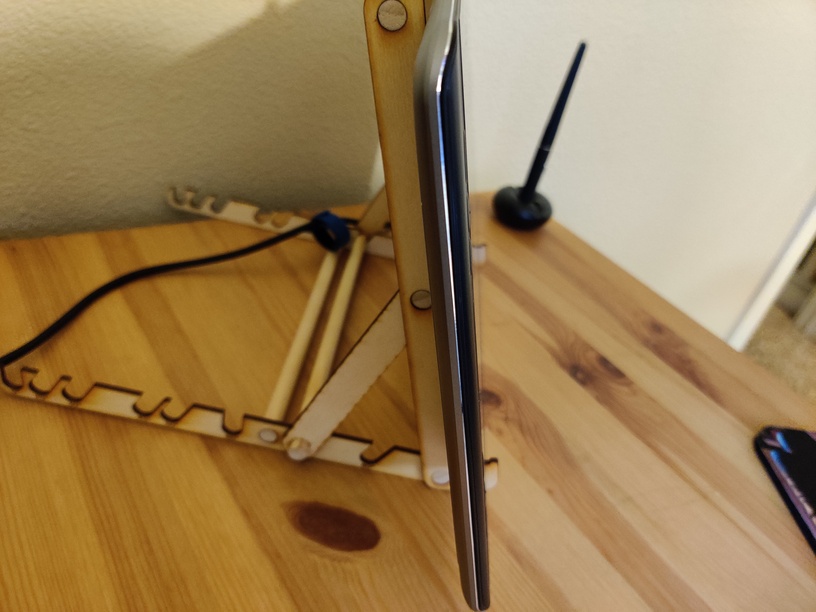
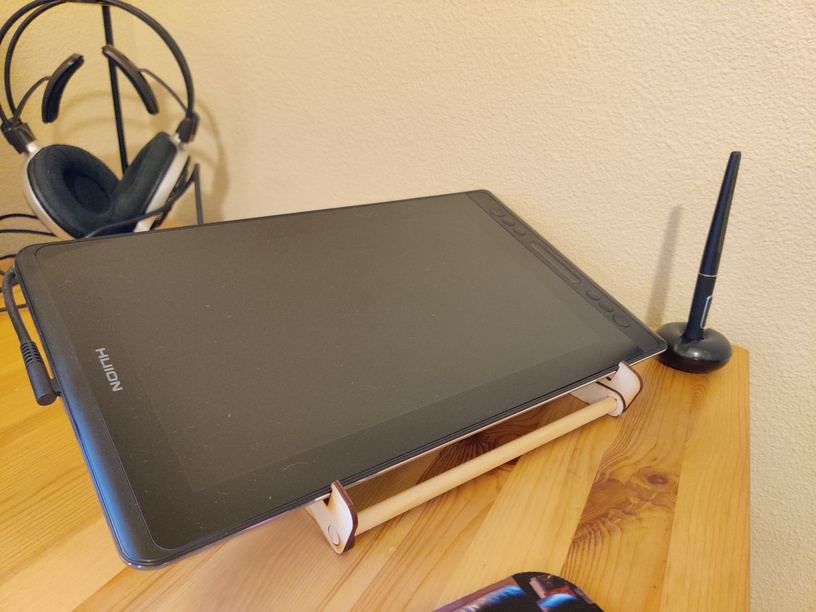
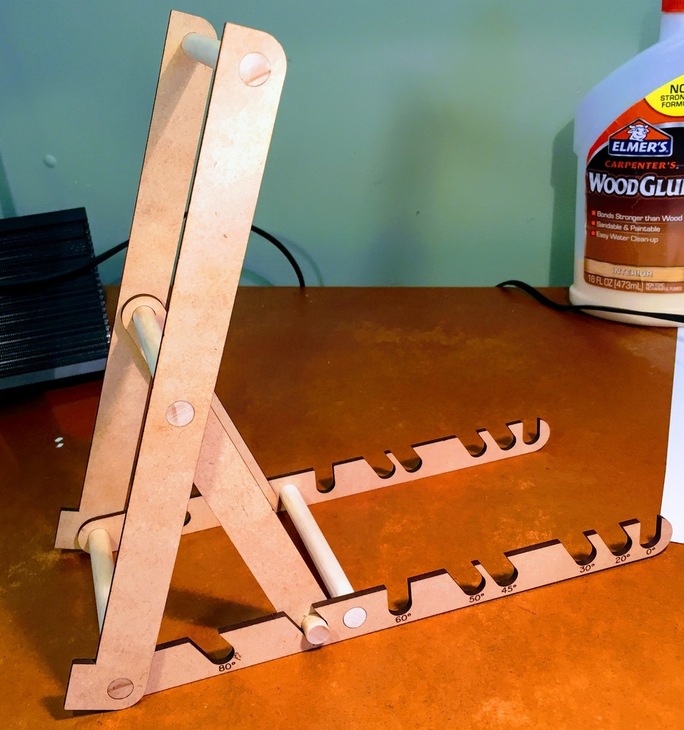
This is the design for the iDevice stand described in this other post. It looks like this:
Materials:
- 3/8" dowel stock. If you choose a different size, or even if you don’t, see Adjusting for Dowel Size about getting the right fit.
- medium ProofGrade draftboard
I found glue unnecessary and did not use it. The dowels are pressure fit.
Attached Files
-
Original Adobe Illustrator file used for design:
iStand.ai (1.6 MB) -
A PDF of the final design ready to upload to your Glowforge:
iStand-GF.pdf (771.6 KB) -
My dowel hole fit testing design in PDF format:
Dowel 3-8 Inch Test.pdf (17.5 KB)
Cutting
Import the pdf and arrange the steps so that the angle labels engrave first, then the holes are cut, and finally the pieces themselves are cut out.
Dowel Prep
You will need to cut your dowels to size. If you are using an electric saw, a couple of layers of tape will keep the wood from splintering as the saw leaves the material. The lengths of the dowels determines the width of your stand and is up to you. I chose to make my dowels a little longer than 10.5cm (4.13in) so that an iPhone 5 would fit sideways on the stand. Cut the support dowel for the slotted pieces a little shorter—twice the width of your plywood shorter. Similarly (and optionally) for the dowel on the swinging end of the support beam.
You don’t want any dowel material extending beyond the original cylinder profile of the dowel as the result of your cuts, so if you see that, give it a gentle sand with high grit sandpaper. Also, for a nice finish, make your cuts an exact right angles and smooth the cut faces with high grit sandpaper. This will make them completely flush with the flat pieces which looks and feels nice.
Assembly
The assembly is pretty much self-explanatory. You just need to know to use the pressure fit holes on the support beam for the swinging end, not the hinge end.
Adjusting for Dowel Size
Maybe your dowel supplier is slightly different from mine and provides slightly different sized dowels, or maybe you want to make this design with a different sized dowel. No problem, you just need to adjust the holes. (It’s a little more involved is you INCREASE your dowel size, as you would then also have to widen the slots, too.)
I measured my 3/8" dowel stock with calipers and did a test cut of a pattern of hole sizes (attached) ranging from the largest measurement taken of the dowel down to, say, 1.5 mm smaller than the largest size, which turned out to be way overkill. I used Adobe Illustrator’s Blend Tool to do this easily. I ended up with a bespoke measuring device for 3/8" dowel stock that looks like this:
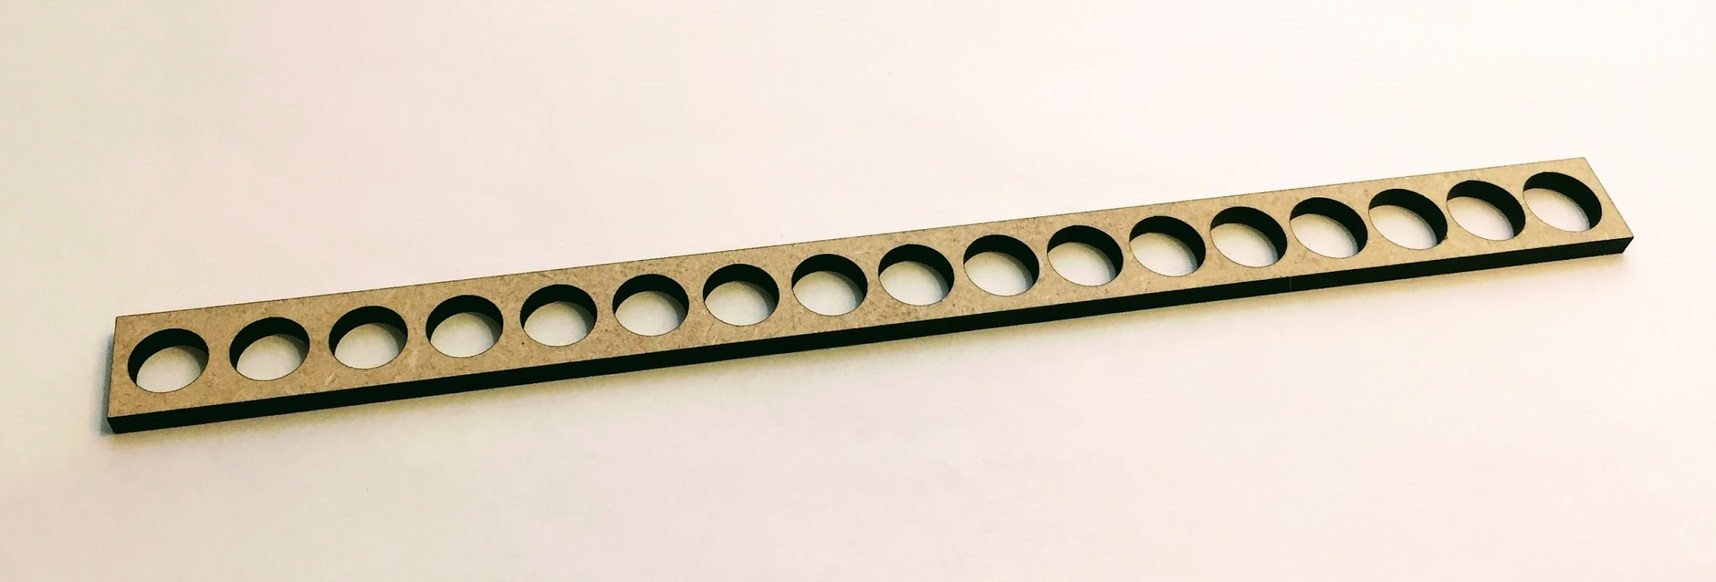
This gave me the exact sizes I needed for different kinds of fits. The stand uses at least three sizes of holes, one each for: hard pressure fit, loose fit for moving “hinges,” and very loose fit for the catch slots. Despite its appearance in some of the pictures, no glue is necessary for this design.