PETG .020” - .040” works incredibly well and is non-porous and very easy to clean.
1 Like
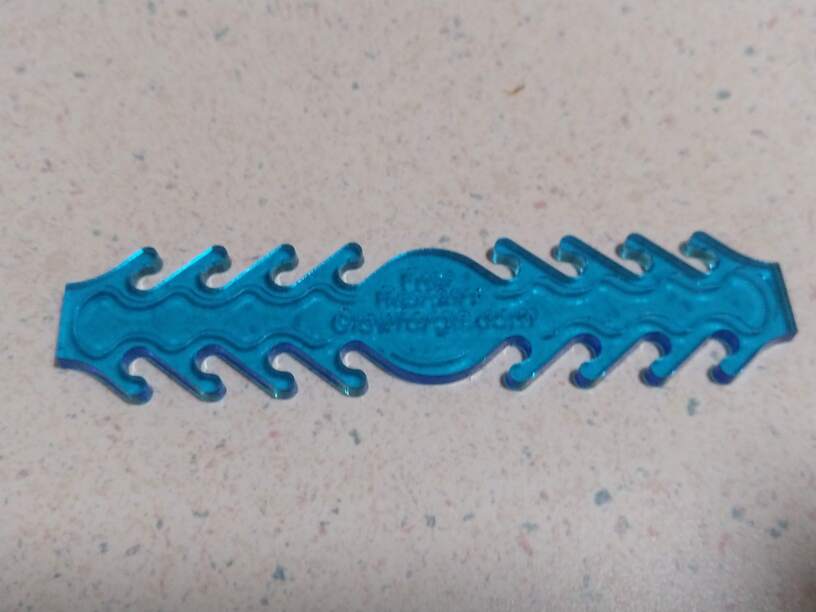
I’d recommend starting with the Glowforge Proofgrade settings for Medium Blue Acrylic. There are two operations with the file: Score and Cut. The inside of each EarSave is scored. The outer border is cut. Use the Set Focus command under the three-dot menu on the GF app screen to adjust the focus. Then hit the Print command. After printing don’t move the acrylic: check the cuts to make sure they go all the way through. If not, set the Score operation to Ignore and Print again.
I can’t even see the file when I move it to my Glowforge design page. I thought this would be easy enough to figure out.
Some part of the file must be off the printable area. Can you share a screenshot of your interface?
The feedback I’ve been getting is the ear savers need to be longer. Will Glowforge update the design?
1 Like
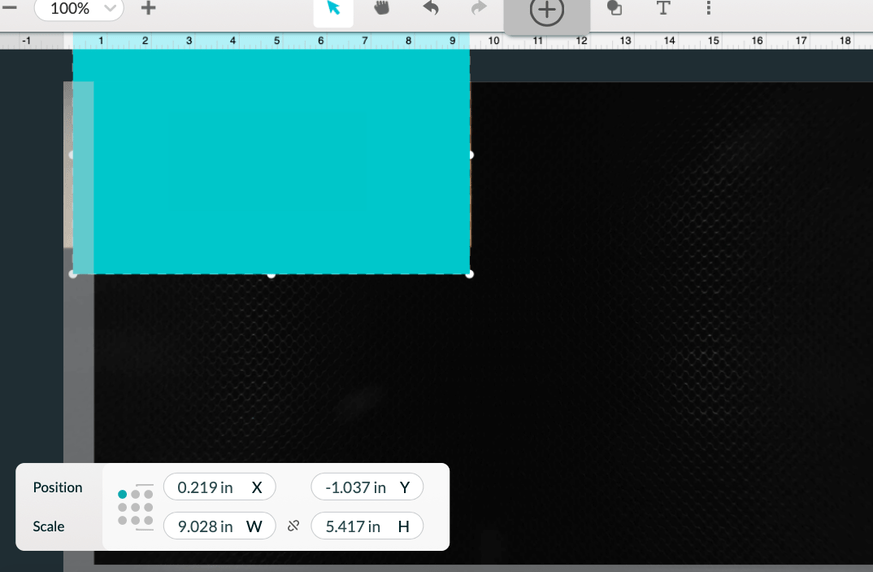
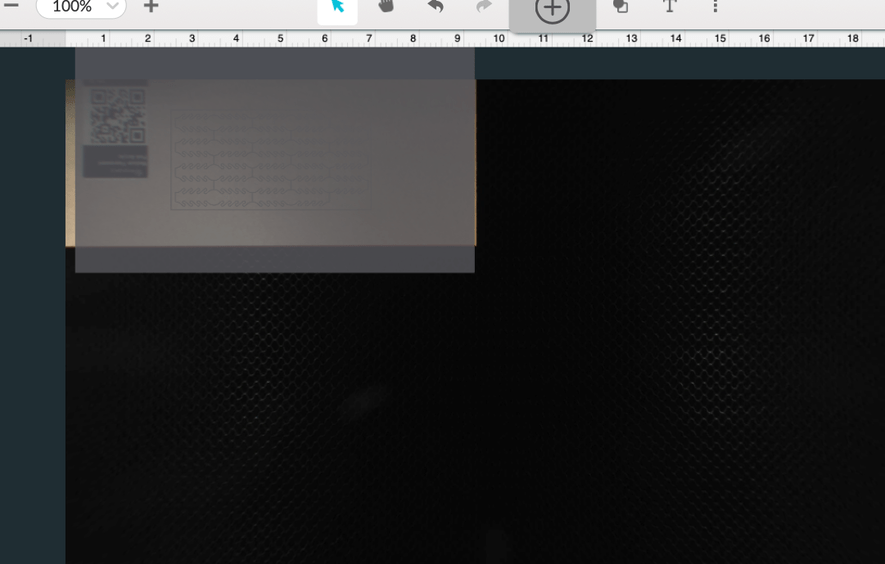
I get the blue square or if I mouse over, I get the gray box with the design almost invisible and it says no artwork.
I think I got it. It worked when I imported a pdf. What is a svg file? I thought those worked, but this one resulted in the images I showed you.
Any chance you’d be willing to share the file for that design as well? I’m trying to source some .20 PETG locally as we speak
This is a good observation. When I was designing the Gecko and Eagle mask clips, I learned that, while many people were fine with a 3" or so distance between the sides, many people needed a wider distance, particularly to hold the elastic straps off their neck. Gecko’s range is is 2 3/4" to 4 1/8" and Eagle’s range is 3/1" to 5 3/8". Ear Saver’s range is 1" to just under 3".
I can’t imagine a 1" distance being useful for a mask with earloops (edit: previously said N95), but perhaps it makes sense for a homemade mask. If anyone knows of a situation where a distance of <2 3/4" makes sense, I would be very interesting in learning about it.
1 Like
This is an amazing idea! I signed up to print some, but when I shared the post with the signup information, people are just contacting me. I’m assuming this is ok since I know that they work either in the local hospitals or are firefighters.
1 Like
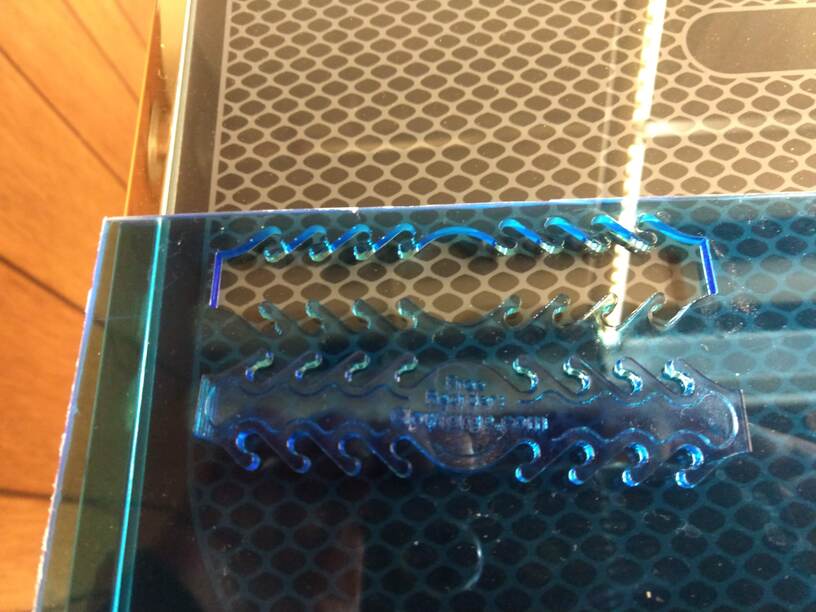
Thanks for the design and file @dan! I printed three sheets of them and gave them to a friend who works for a local hospital. I had to sacrifice some of them, because the sheets I get from estreet plastics are only 19 inches wide. Mine are being delivered today, can’t wait to hear how they like them!
For everyone else who is making them, are you weeding or leaving as is for the recipients? I hated leaving the burned paper on them, but after I got done weeding over 200 of them, I wondered if the finished clips would have stayed cleaner if I had left the paper on. Either way I guess they need to be sanitized. Anyway, great idea thanks for giving us all a way to pitch in!
1 Like
I also spent hours weeding them before giving up.
Now I just rubber-band them into packs of 10, begin peeling the masking on the back of the bundle (side without scoring), and fold it onto itself to make a tab. Then I write “Remove Tape” with a fine-point sharpie so it’s clear the tape is meant to come off.
I think it saves my time for more productive tasks, and encourages the recipients to sanitize the ear savers when the masking is removed.
Many hands make light work, so why not distribute some of the (minor) workload?
1 Like
Good to know! I just felt bad because my fingers were seriously black after peeling off that many strips of flashbacked tape. But that is a good idea about starting one and labeling it, I’ll definitely do that next time!
1 Like
at a minimum, you could peel the top side masking off before you cut. the vast majority of any mess that gets on the acrylic is on the bottom, flashback from the honeycomb. at least then you only have to unpeel one side of them all.
3 Likes
That’s a good point. I’ll remove the top masking from the full sheet before printing the next batch. I don’t mind peeling the backs; it was only the front where the scoring was that ended up being tedious, even with my normal tricks like duct tape.
Thanks for the tip. Good to know I don’t need the masking on the top.
Yep, that worked.
Didn’t know you could select a proofgrade material without that QR code, this is great!!
Here’s what it looks like:
3 Likes
im sure theres many posts about where to buy acrylic on here beyond the proofgrade acrylic. my first question is can you participate without using proofgrade? second question is what is the best place to get acrylic right now?
I typically get mine here: https://www.estreetplastics.com/Default.asp
Although they have a message up saying due to high demand, it’s at least 5 business days from order to shipping. Normally they are fast to ship and the prices are much cheaper than proofgrade though (and that’s what I used to cut mine, as I already had some on hand).
3 Likes
I just got a 1/8" sheet of acrylic at a local Menards.
This was actually 0.118". Worked fine using the proofgrade material selection.
So I suggest trying places like Home Depot, Lowes, Menards,
Ace Hardware etc for 1/8" acrylic for what’s already in stock.
3 Likes