I hesitate to post this but I ended up down a rabbit hole for the past couple of weeks chasing something that ultimately is going to change so in one sense it was wasted time and useless education because engraving controls are not stabilized and we know from a preview version of the software (since pulled back by GF HQ) that extraordinarily better control is coming. ![]() So in a sense, nothing about the settings or results here are likely to be relevant a month or two from now.
So in a sense, nothing about the settings or results here are likely to be relevant a month or two from now.
I wouldn’t have kept at this for so long because of the impending software changes but I was getting different results with acrylic engraves than @jules was and that bothered me. The answer to that issue ultimately came down to some counter-intuitive settings changes.
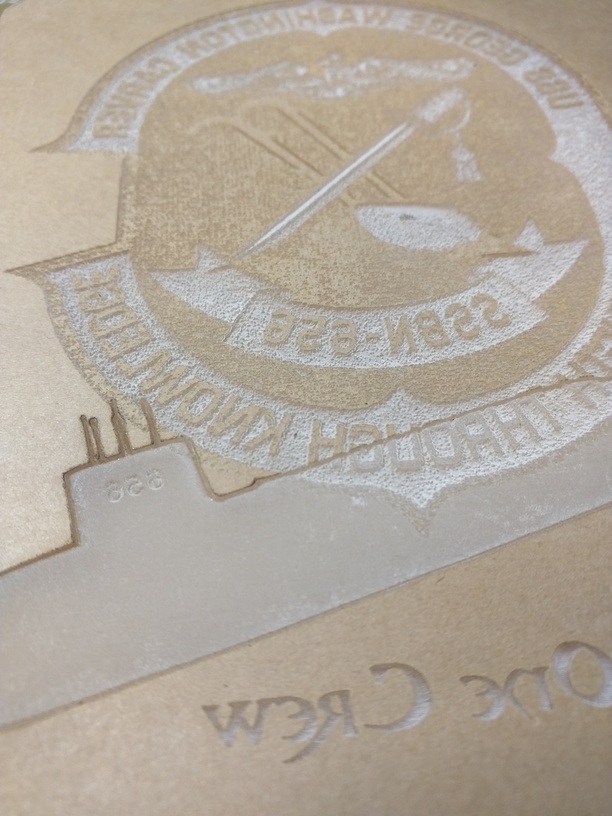
With other lasers I’ve been able to get nicely frosted looking engraves in acrylic. Like the sub below. I have gotten raster lines exhibited in engraves but can minimize or almost eliminate them by defocusing the laser. You can see those lines in the tag line (“One ship one crew”) below as well.
With that being my expectations, I did an engrave of a coaster design on Proofgrade white acrylic. This is a set of stylized Tai Chi hands in the form of a yin & yang symbol. I intended to paint it black before peeling the masking.
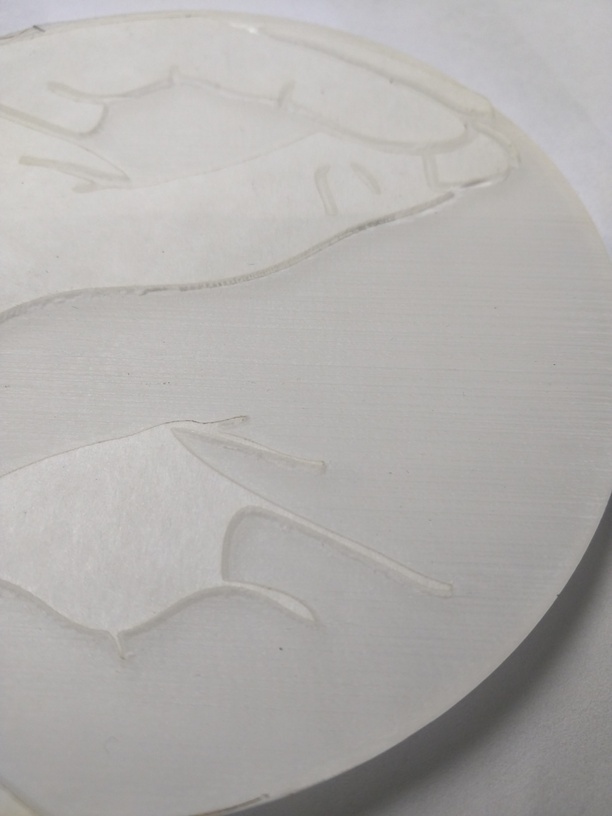
This is where I started down the rabbit hole. The results were okay but not great. Wasn’t what I expected. More grain (raster lines) than I usually see and wasn’t what I hoped for. I noted that in a post about acrylic engraving results and would have dropped it until the engraving improvements come back in the software. But @Jules reported different results than I was seeing. She got cross-hatching instead of the ridges I was getting and she reported “fuzz” that she was able to remove via scrubbing. My ridges weren’t going to be removed with anything less than a Dremel sanding disk.
So I tried some non-PG acrylic and got this.
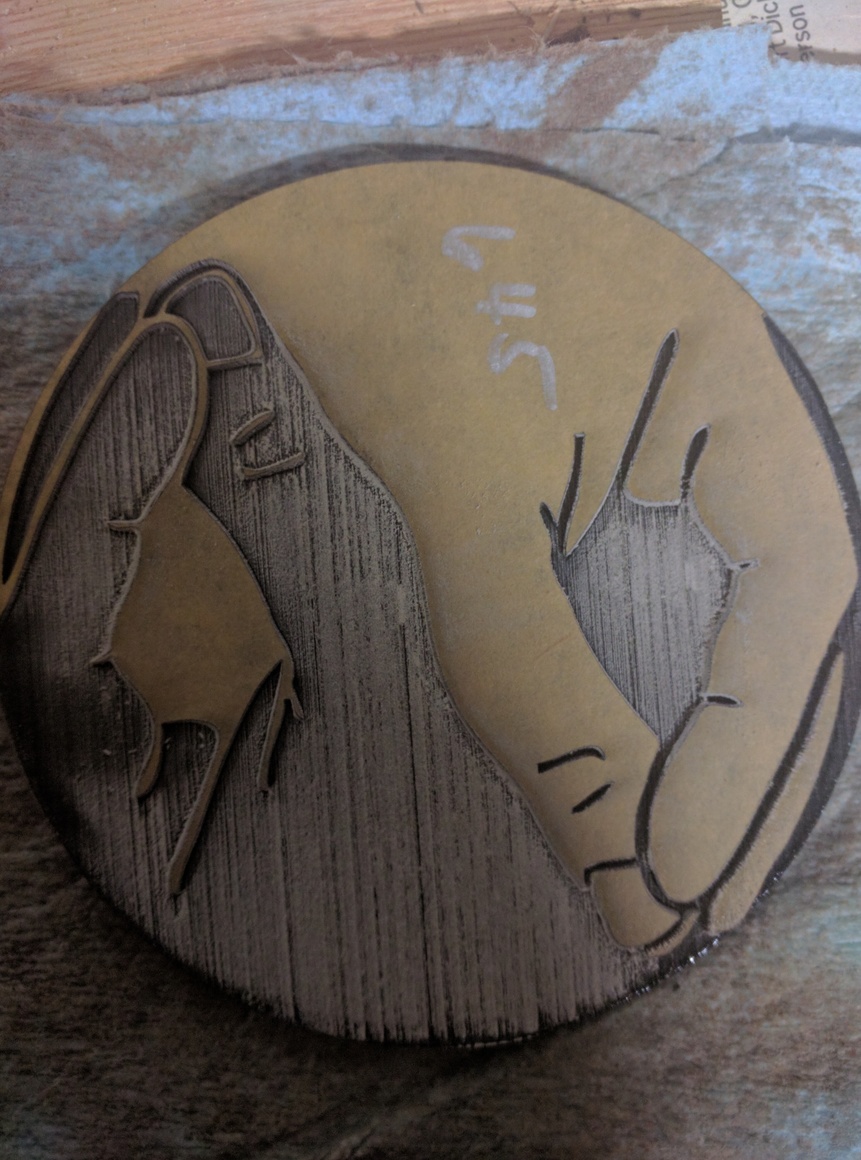
That resolved the question of whether it was material dependent. It wasn’t. A lot of discussion occurred about laser beam width, relationship to LPI settings, overlaps, etc. None of it seemed conclusive.
A bit of information is needed in terms of how engraving settings are currently implemented in the GFUI and what parameters we have available for tweaking. But these are going to change. A lot. We’ve seen a version of the GFUI with radically better control available (to the point where PRU users saw engraves that worked one day suddenly looking like ghosts the next day). That very fine control of power was removed again the following day while they work on stabilizing it. In the meantime we can set power, speed, LPI and focus height. Because of the power control limits now, the generally practical power & speed setting is 1% power at 335 in/min. You’d expect that to be minimal engraving “laserness” from hitting the material. Not so. Right now that’s too hot for an awful lot of materials especially at very high LPI settings. The Proofgrade settings of light/dark (or light/medium/dark) are variants on these along with defocusing by setting the focus height higher than the material thickness.
So my typical settings are 1/335 and I use the LPI or number of passes (or a combination) to control depth or darkness (on wood) for engraves. The low end LPIs (50, 75, etc show very pronounced spacing between lines. Those spaces go away and the engrave gets denser & deeper as the LPI increases to the 1355LPI max.
Acrylic shows the increased depth of engrave but the lines/ridges do not get shallower or eliminated which you would expect based on what we see with engraves on wood. Again it’s something I’d ignore, move on with other projects and wait for the software to catch up. Except that @Jules reports different results. Since there is a delta between our respective experiences it’s either different settings or some hardware issue.
Enter the rabbit hole. I started playing with changes in the LPI settings since I can’t go faster or lower power. Ran lots of those at an hour(ish) of execution time for each iteration.
Jumped to a new rabbit hole for a bit trying an alternate way to get rid of the ridges. I’ve had some success in the past with using acetone brushed on the acrylic to smooth out edges and artifacts. So I tried that again. Acetone can be aggressive so it’s a “be careful, go lightly” thing.
Taking a coaster, a can of acetone and brush, I brushed it lightly on the coaster. And worked my way up to more and more acetone. Here’s what it looked like.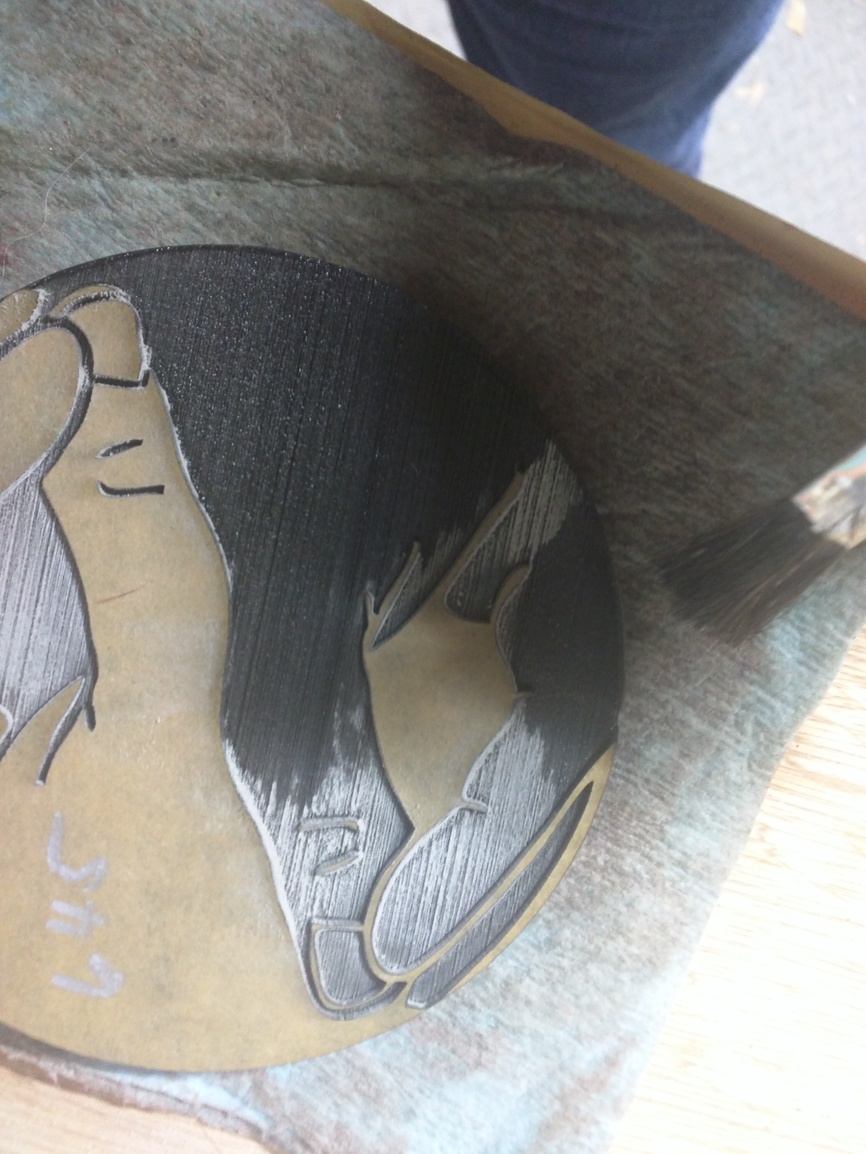
Normally I’d see acrylic melt in addition to the removal of the white acrylic engrave dust that is common with laser engraving of acrylic. The dust was washed away but the ridges remained without any “melt” to smooth the acrylic.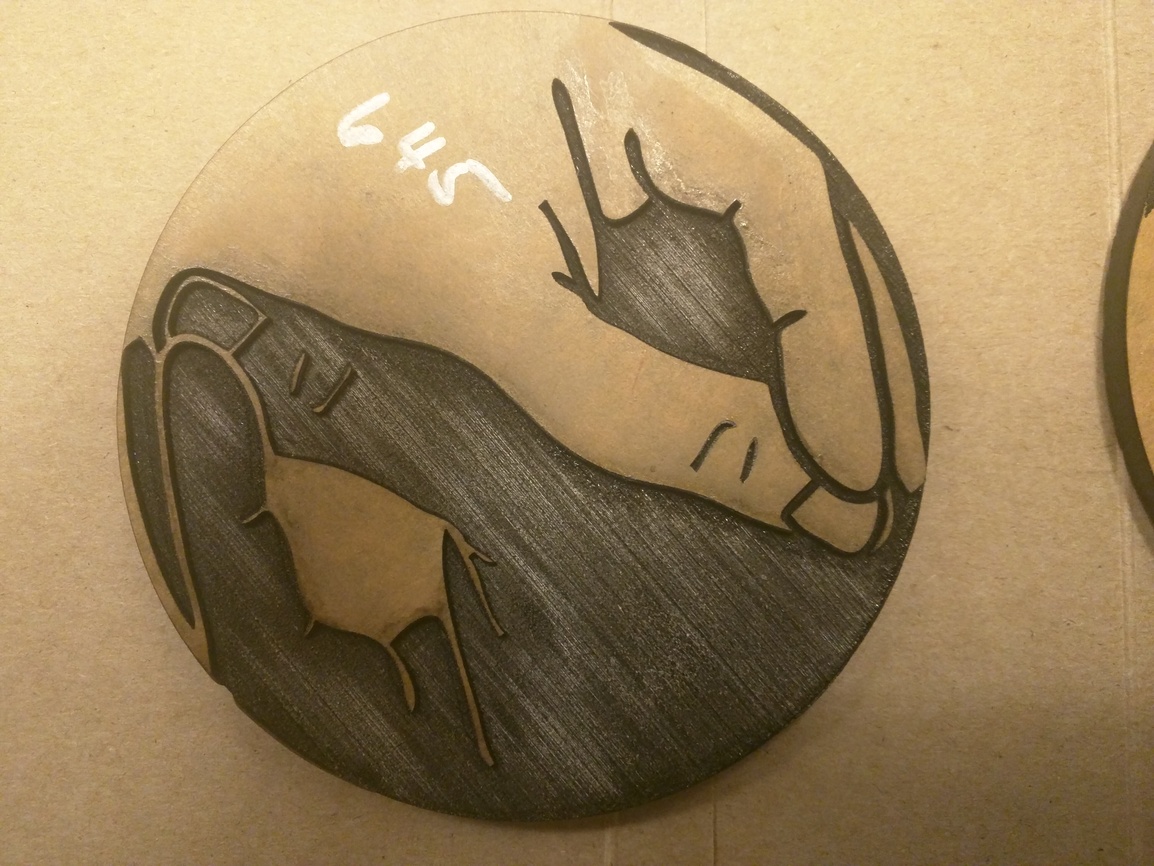
Okay, that’s a puzzle. Continuing on this digression from the rabbit hole I started down, maybe paint can fill the valleys. Gave it a shot. Turned out okay (paint before removing the masking).
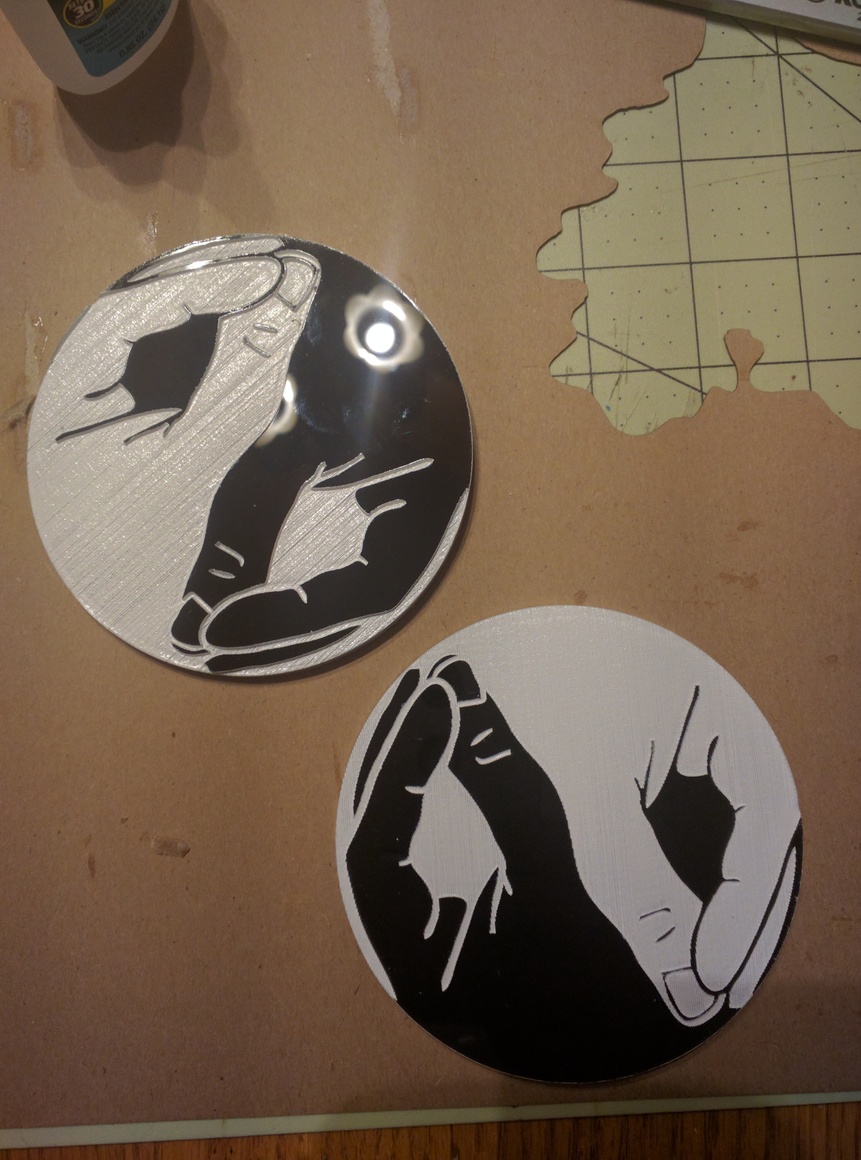
Not bad. (Disregard the bright spot in the black area of the upper coaster - it’s a reflection of an overhead light.)
So I have a workaround for my lines & ridges issue and can move back to the main rabbit hole - why am I getting very pronounced ridges and no cross-hatching when @Jules isn’t getting objectionable ridges and gets cross-hatching instead.
Enter a flaw in the data collection part of the troubleshooting process. Finally asked @Jules for her file or her settings to see if it’s the design & settings used that cause the difference or if it’s hardware. She couldn’t share the file but her settings revealed the counter-intuitive cause of the difference.
My settings focused on changing LPI while using minimum power delivered settings (1%/335"). Turns out @Jules was using what would seem to be far more delivered power - 20%/200". You (or at least I) would think that 20% power is radically more than 1% and 200"/min is much slower than 335"/min which would seem that higher power at slower speed would be punching out way more power on the material.
Using her settings, here’s what I get.
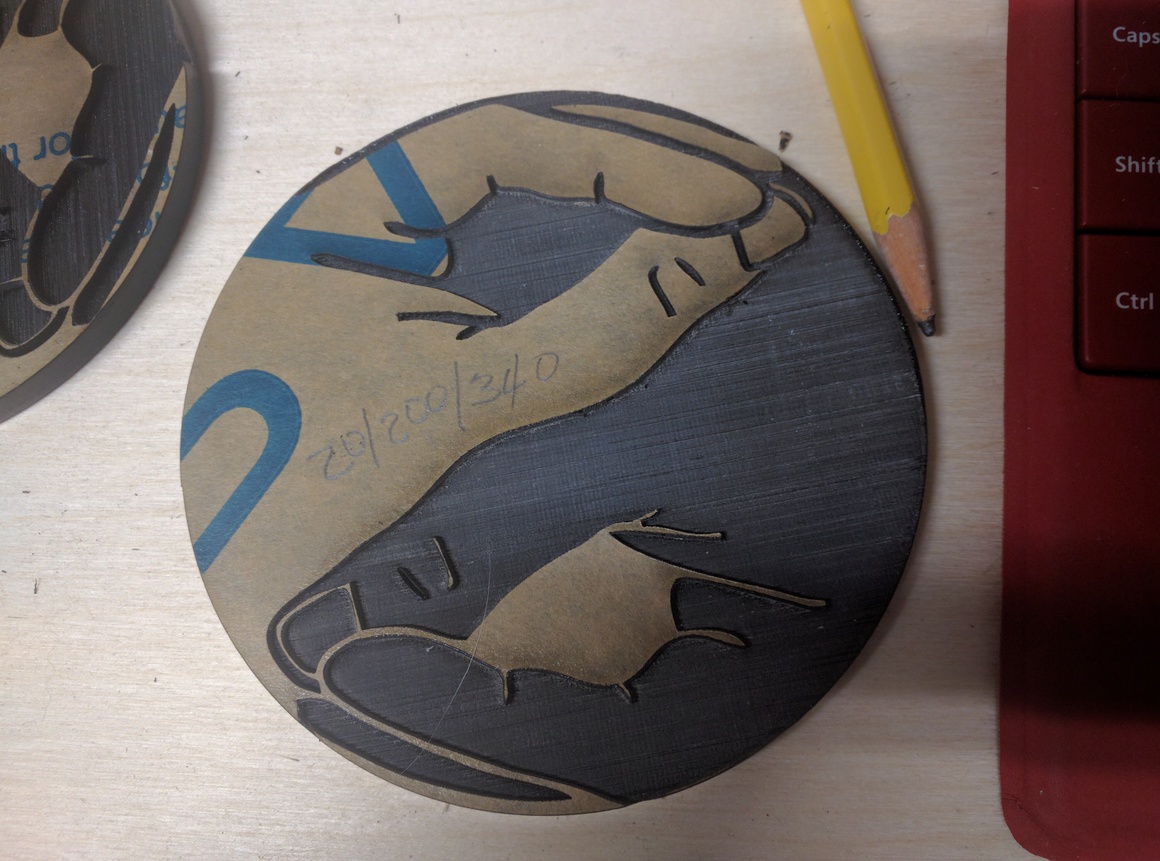
Ah ha! Reduced ridges and cross-hatching. I suspect that whatever causes the vertical lines in the cross-hatching is what reduces the ridges. Virtually flat. Not bad at all. Why 20/200/340 settings are so much better than 1/335/340 or even higher LPI levels escapes me.
The 340LPI setting ends up being a pretty optimum setting. Lower LPIs result in less precision in the engrave and higher one start going really deep.
The 20/200/1355 result still looks good but the engrave goes nearly halfway through the 1/4" acrylic.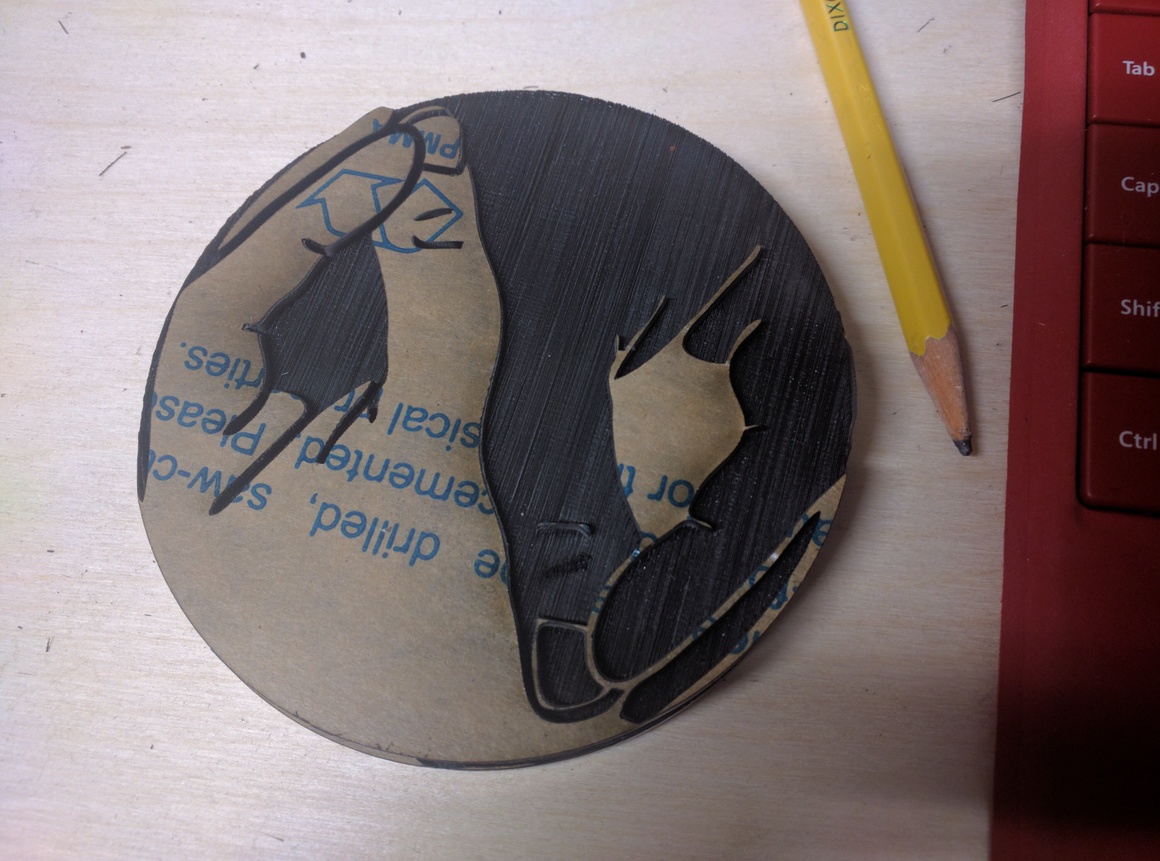
Okay, I’m done. Escaping the rabbit hole now. I can replicate @Jules’ results which means the only issues are whether the results are acceptable (if not, you have to wait or use something else) and when do we get the update to the GFUI that reinstates the wicked cool engraving control at the low end of the power spectrum.
Now I can get back to making productive things. ![]()


