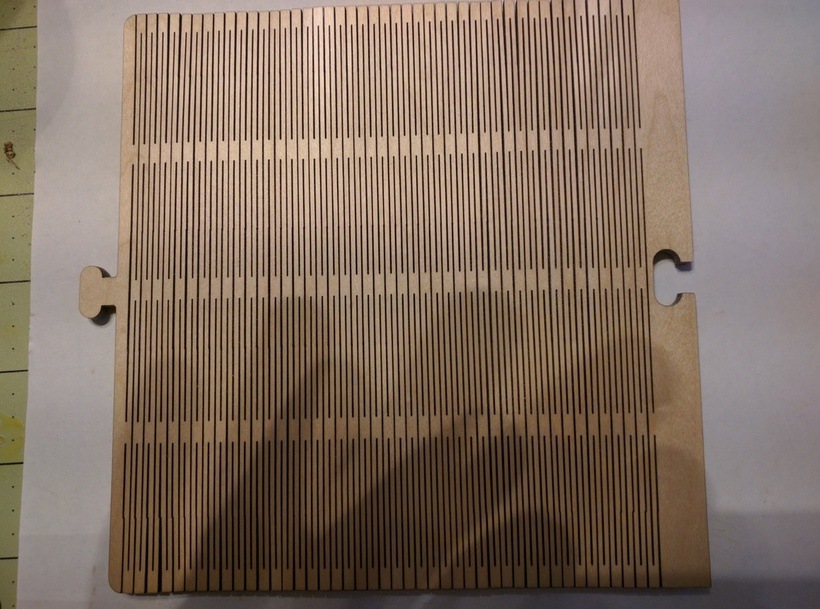
One of the things that lasers do really well is make very thin cuts in things. That makes something called a “living hinge” practical for all sorts of projects. Living hinges allow materials that don’t usually bend, curve or fold easily. One of the things that most amazes non-laser people is seeing things bending that ought not to. Putting those together is a marriage made in heaven and gives you a little extra “Wow!” to help explain why the wait for your Glowforge was worth it.
Since the winter has finally left (![]() ) the Northeast, it seems appropriate to break out the sunglasses and what better way to hold them when you’re not wearing them or to hold your regular glasses while the shades are on your face than a sunglass case made from a living hinge?!
) the Northeast, it seems appropriate to break out the sunglasses and what better way to hold them when you’re not wearing them or to hold your regular glasses while the shades are on your face than a sunglass case made from a living hinge?!

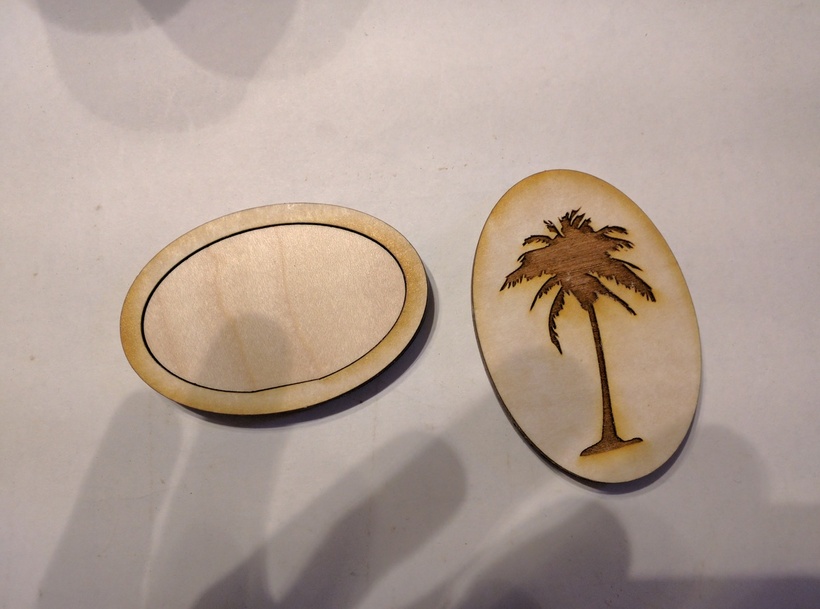
Obrary Designs has some nice pre-formatted projects you can download. Some are free and others have a nominal fee. Similar to how I expect the Glowforge catalog to work. Taking a shortcut so as not to have to map out the whole living hinge case, I grabbed their sunglass template.
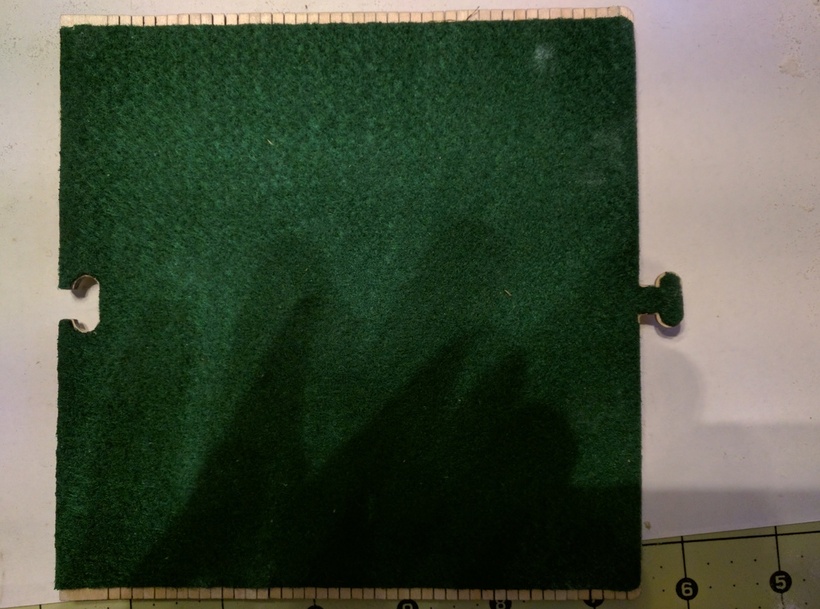
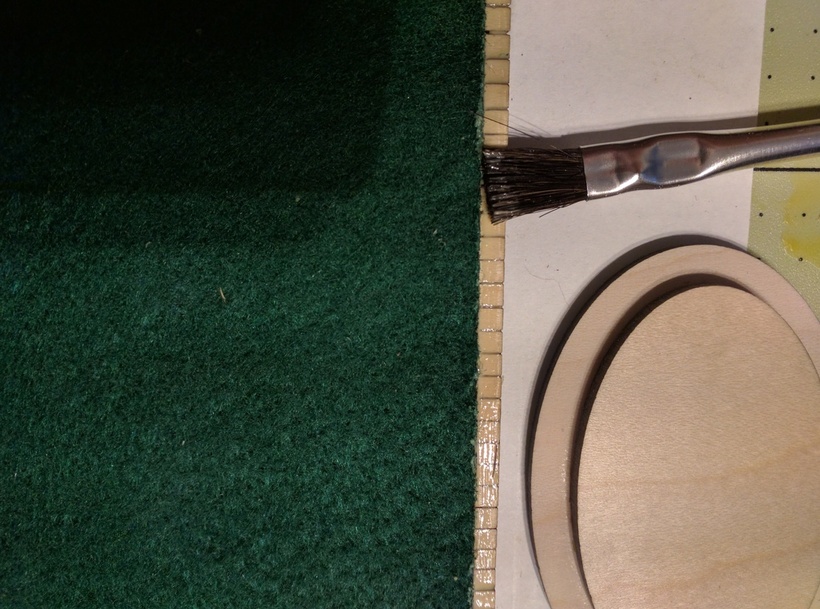
It comes with a wood pattern as well as one for cutting out the felt lining. The lining was simply a rectangle that presumably is glued in the center of the case before forming it. But it is short on the ends and side leaving more wood exposed than I’d like and making it look as if it were an afterthought. I copied the pattern for the case, deleted all of the living hinge cuts and narrowed it 1/8" on either side and then cut that out of my felt.
That lets the felt completely cover the interior of the case and perfectly fits the curves and the tab closure. I think it looks better. The felt I used was craft store polyester with an adhesive backing.
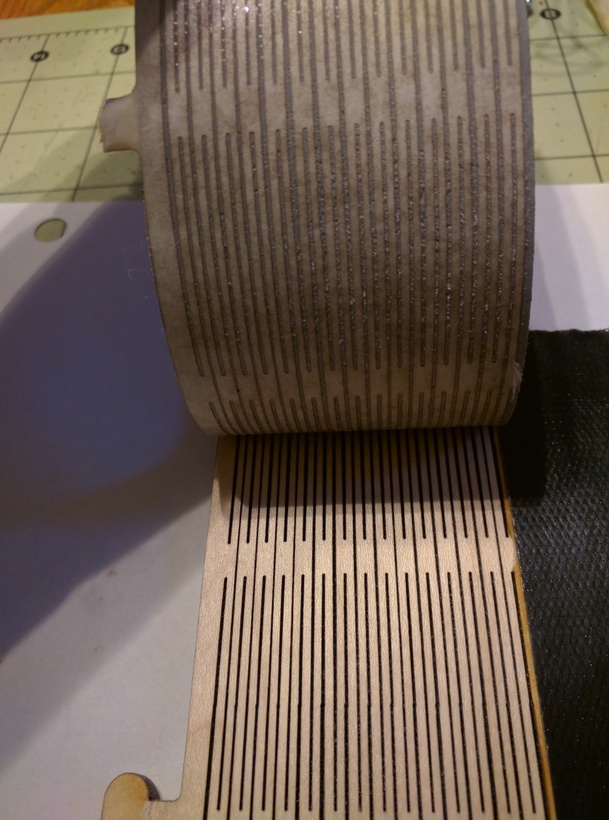
The wood pieces I cut out of 1/8" Proofgrade Maple Plywood. I used plywood because living hinges flex better with the non-homogeneous grain that is a result of the plies vs the unidirectional grain of a solid wood.
Coming out of the 'forge it’s a little smokey and this is where the Proofgrade masking and pre-finishing come in handy. And where it poses a couple of “gotchas”. The masking means I won’t have to sand it which can be tricky with living hinges - catch an edge and you break a hinge piece and the whole thing is ruined. But that masking means weeding lots of thin little strips of masking material from the wood.

Fortunately duct (or Duck brand) or Gorilla tape has a higher grab than the masking. It’s a matter of placing several (3 per side) strips on the masking, rubbing it down and then pulling both the Gorilla tape and masking off.
You do have to give it a start sometimes by peeling back the Gorilla tape a bit, starting the peel of the masking, pressing the Gorilla tape back down to grab those loosened ends and then pulling the Gorilla tape off and along with it the masking.
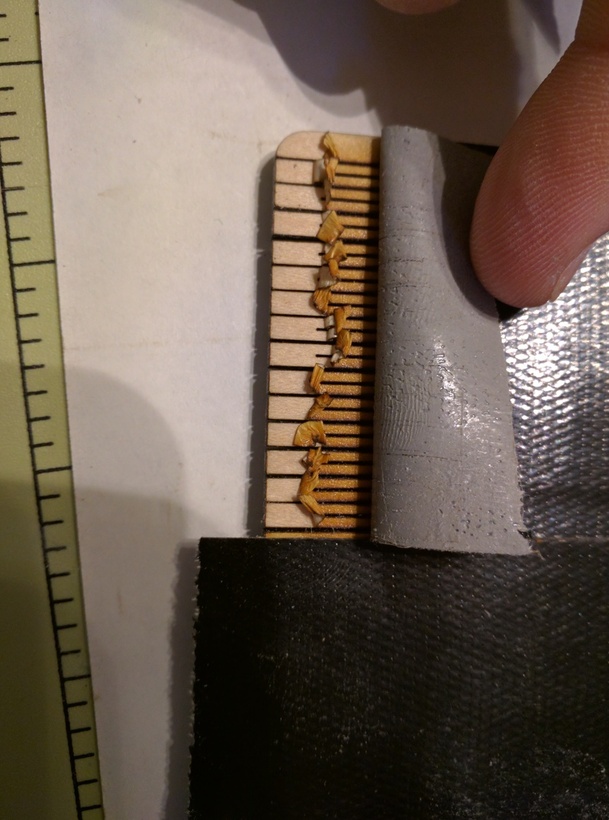
Short work to weed the living hinge.
Then it’s time to prep the interior and the glued portions of the end pieces with a little sanding to get the finish coat off the wood to allow for maximum glue adhesion.
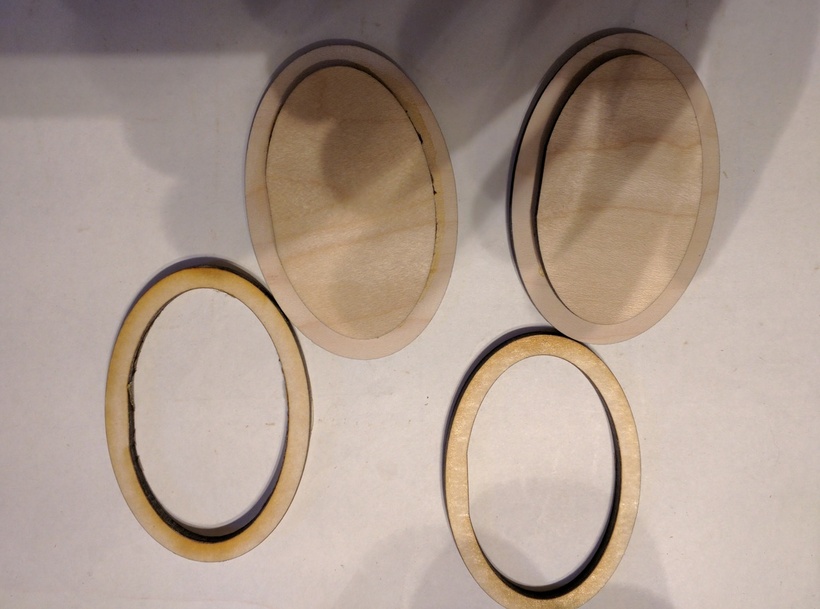
The ends are two pieces that form an end-cap. The inner portion is set back about 1/8" or so to allow the body of the case to wrap around and held in place with a bit of glue. Getting that inner piece lined up just right would be a challenge except the inner end piece is cut out of a piece the same size as the outer end piece. That leaves a ring the exact shape and size of the outer piece. So it’s a simple matter (after sanding the inner & inside of the outer piece) to glue up the smaller inner piece and place it inside the ring and sandwich together with the outer piece. Once the glue dries (a couple of binder clips work as great clamps) the inner ring pops off (if you didn’t let glue seep out from under the inner piece ![]() ) and it’s ready to glue to the body.
) and it’s ready to glue to the body.
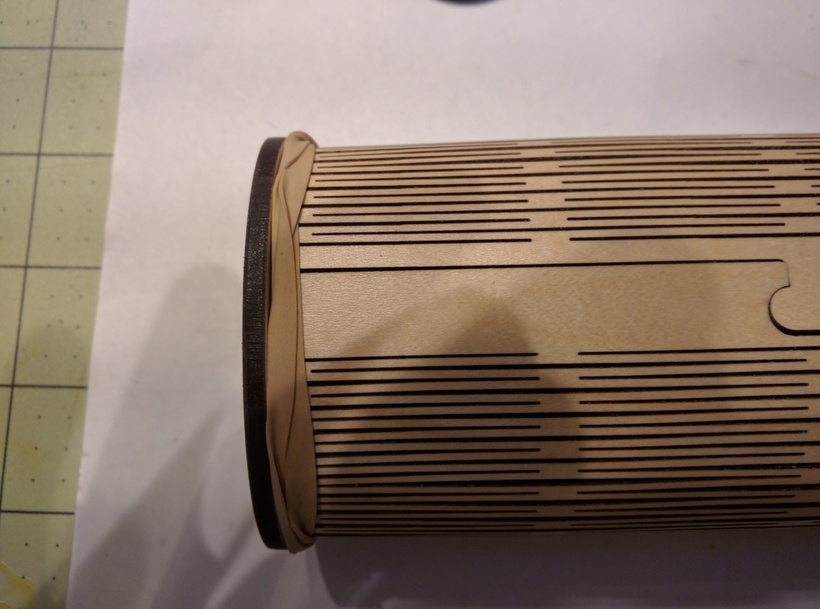
Place a line of glue 3/4 of the length of the body from the larger horizontal strip up towards the tab end. If you glue the whole thing the hinge won’t open ![]() This is why I narrowed the felt by 1/8" on each side. It leaves the wood exposed on the very edge to rest on the inner ring.
This is why I narrowed the felt by 1/8" on each side. It leaves the wood exposed on the very edge to rest on the inner ring.
Use a couple of rubber bands to act as clamps until the glue dries. I start with a wood glue (Titebond) to seal the wood and then a stripe of Crazy Glue (isocyanoacrylate glue). I may add a couple of 23ga pins to “nail” it to the end piece inner disks if I decide it needs reinforcement but I’ll see how it stands up to a bit of use first.