If you have a vector image that’s larger than the printable area of your bed, and want to break it up into pieces, here’s one way you can approach it, using Affinity Designer:
- Draw a rectangle the size of your printable area (10.5 x 19 ish). Replicate it (ctrl-J) several times until you have enough rectangles to cover your whole image. (Make sure the snap function is on; it’s the little magnet at the top of your screen. That will make it easy to make sure the rectangles are aligned exactly against each other.)
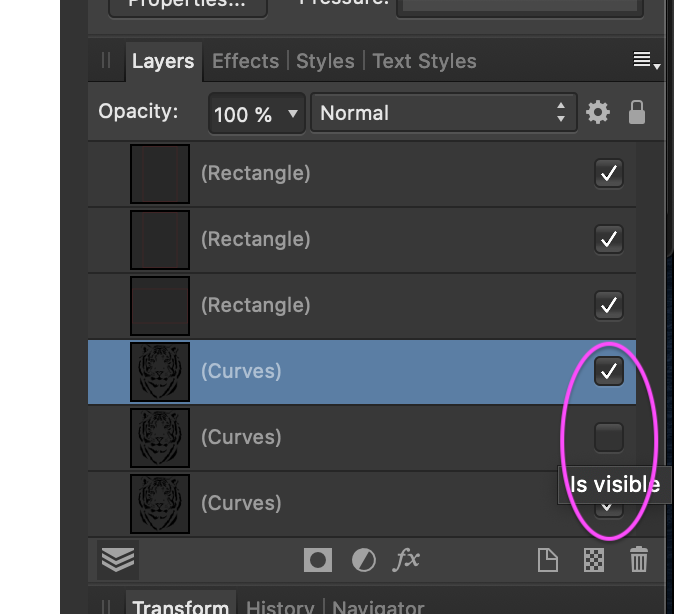
- Replicate your vector image (ctrl-J again) so you have as many copies of it as you have rectangles. Hide all but one, so that you can see what you’re doing.
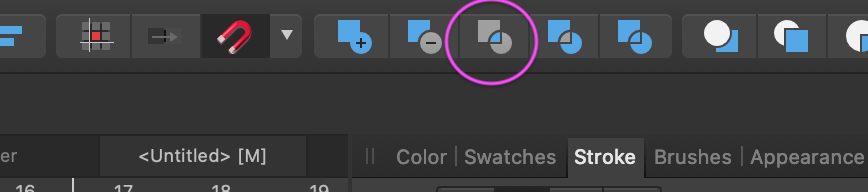
- Hold down the shift key and select the visible vector image plus the first rectangle, and click the “union” boolean function in the top menu bar. This will leave you with only the portion of the vector that fits inside the selected rectangle.
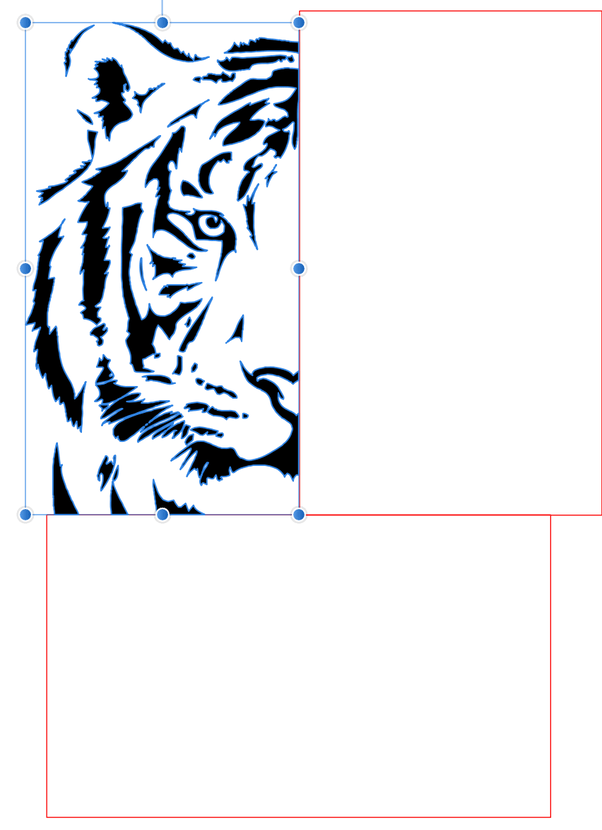
- Now make the next copy of the vector image visible, and repeat #3 with the next rectangle, until you have a piece of your vector for each rectangle you created.

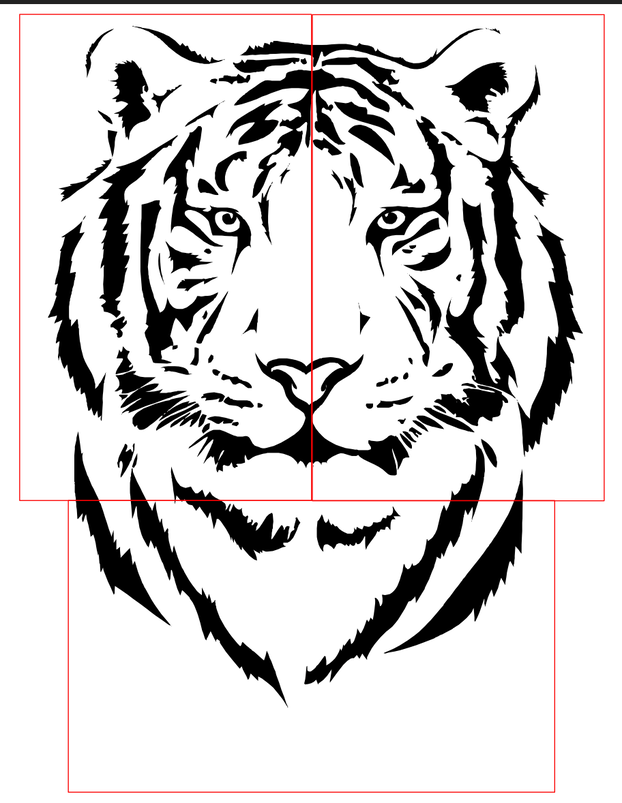
- Here’s how it looks when I move the sections away from each other so you can see them individually: