Finally moved my GF inside to the mother-in-law suite. I’ve seen some Diy versions of the window vent, but why not employ my laser.
Cut from Home Depot Baltic Birch sheets measuring 2.77mm so the inside panel fits very snug in the outer panel. Also, use the quick disconnect dryer vent holder from Walmart for the hole. This was a very snug fit (used WD40 to make the vent slide in, but I’d maybe cut the hole very slightly larger next time). Didn’t measure how far it expands but I know it’s more than 40" as build.
I still have the CDR and DXF files if anyone needs them as well.
Full disclosure, I used my large 500x700mm laser to cut the pieces, but you could use the GF and just cut individual pieces.
Nice! It looks like it works just like the steel one I bought from Amazon. The only thing I added was an edging made of air conditioning hose insulation (like a pool noodle) slit up the side and placed along the top edge where it meets the window. I find that gives me a pretty good seal where surfaces may be uneven.
Oh, that’s a good idea with the pool noodle.
I need to build out my venting solution this weekend. I’ve either not had a chance or it has been raining. I’ve just been tossing the hose out the open window and bringing it back in when I’m done.
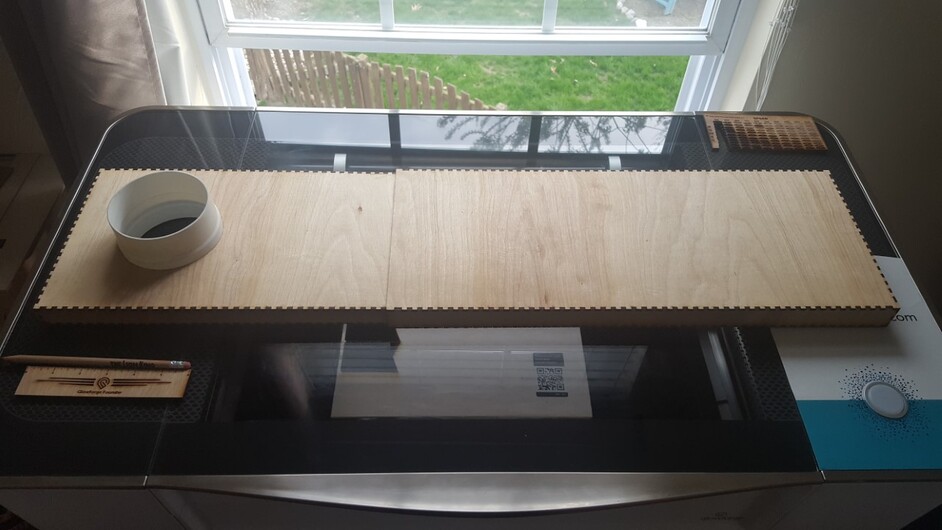
Put it back on there during the garage to in-law suite move. Lots of writing on the other side when I was doing manual calculations of non-crumb tray engraves.
ha ha ha…nice! So far, there has only been one night I was lasing with the window cracked and the room started filling up with bugs. It was pretty hot that night (I’m in Mississippi and in the spring, we could have an 80 degree night, or it could be a crisp 56 like this morning). The LEDs really attract the bugs!
The pillow hasn’t moved since November. I really need to finish that up. The saving grace is that my “back yard” is only about six feet wide with an 8 foot block wall. There are two gates on each side of the house and three of the four are also eight feet high. I haven’t had any problems with people climbing in the window.
When I bought the house every light switch and special feature was labeled. Since this isn’t in a living area I never pulled off the label. This room was originally designated as the “messy art room” for things like paint and clay. So far it has only been home to my GF and the rack for my home automation stuff. Some day I’ll finish moving in.
I did put up my first draft of the “Warning, do not look into laser with remaining eye” sign next to the switch. The second draft is on the door to the room.
Thank you so much but i got a question do you make it with a GF Pro or the regular because the big panels doesn’t fit on my camera view ans also in the action corner says engrave no cut can you Help