I am getting pretty tired of all the problems I have encountered with my short time with GF and how much material it has ruined.
Today I am encountering that it just does NOT cut the same strength horizontally as it does vertically. Why is this? When the artwork was rotated and I cut it vertically, it cut perfect. I was excited I found perfect settings.
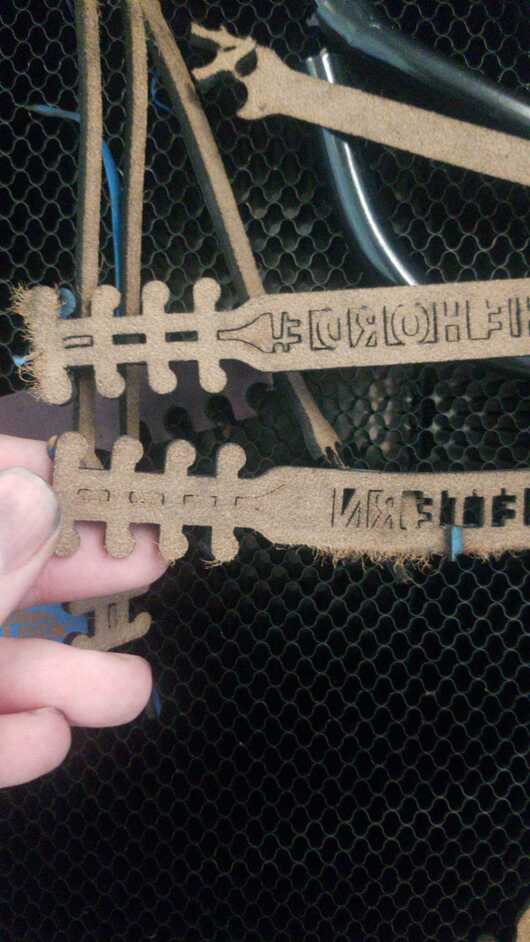
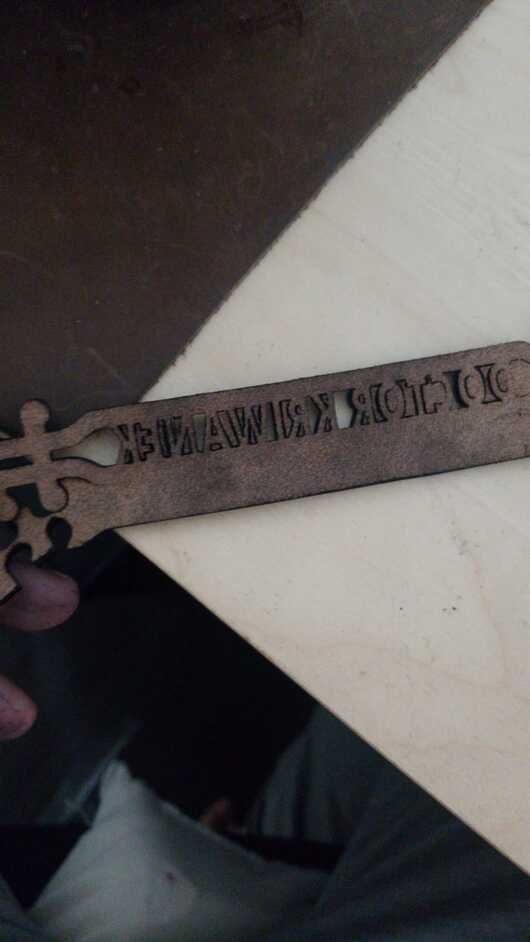
So to fit on a sheet of leather, I have some that are horizontal oriented. I cut an entire sheet, and it didnt even cut through and it looks like it cuts vertically just fine, but the horizontal lines are iffy. Why would it only cut some of the time? How is that precision? Someone explain to me why a laser that I would assume does not vary in power while cutting, somehow only cuts ‘some’ of the time.
I know what someone is going to say, lower the speed. I’ve lowered the speed multiple times now, I even have 2 (TWO!) passes for leather, I shouldnt even have to lower it any more. If I lower it more, it practically sets the leather on fire. My current setting is 150 speed and 100% power. 2 passes. 2 passes and it still isnt cutting all the way thru. Something isn’t right
Someone else is going to ask if I am using proofgrade leather. I am not. But that doesn’t answer or explain the lines that are only sometimes cut
The problem you would have with trying to cut that particular design on leather, is that it can twist and warp as soon as it is cut free, and the subsequent cuts, like the horizontal lines on the interior cutouts, might not be focusing in the same place. I have a lot of trouble getting clean cuts in one pass on veg tanned leather - it’s just the nature of the material.
What you can do that might help…cut the leather on a Seklema mat. It’s expensive, but if you are doing a lot of them, the stickiness of the Seklema will hold down the leather flat as it is being cut, giving you a better shot at getting through it in one pass.
Alternatively, if you are planning to smooth/burnish the leather with something like Tokonole, it’s better to do that first across the entire back of the leather before cutting it out. Veg tanned is bad because the fibers on the unfinished back side let a lot of air in there, and a laser doesn’t work in air. Smoothing and compacting that first will give you a better cut. (And a better looking bracelet when it’s done.)
(I’m not a fan of burnishing. But it does give a nicer result.)
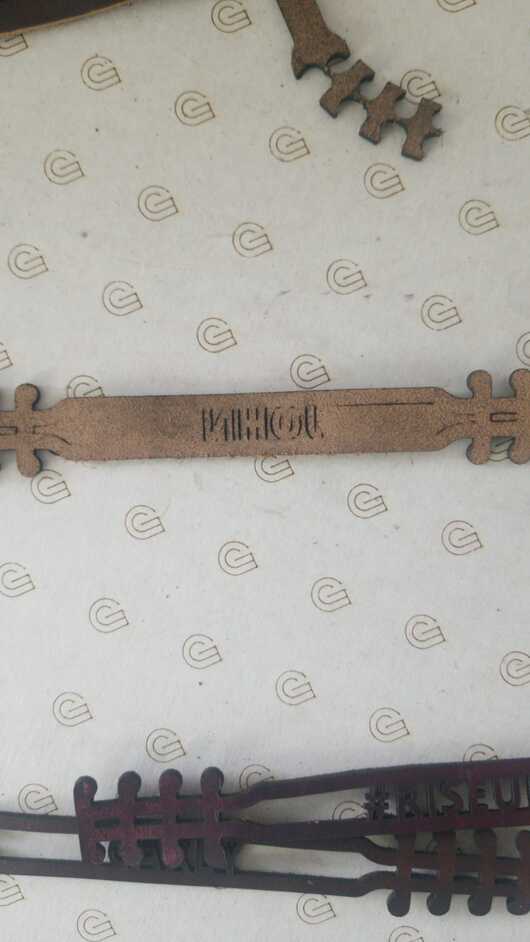
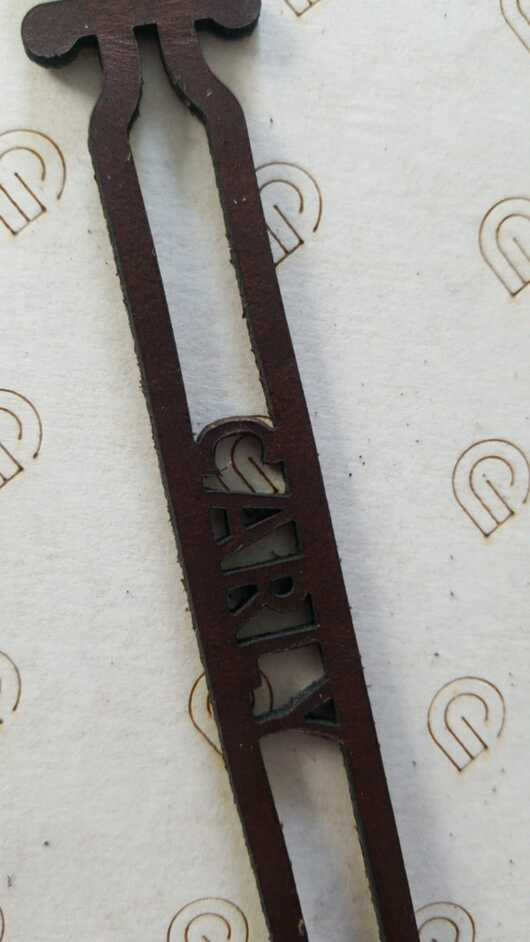
Thanks for the tips. I will have to try on next ones. I just am having a hard time trying to understand why my first cut was perfect, it came out clean, and now I cannot get this machine to cut. I am seriously wondering if my machine is broke or what. Look at this first cut that was clean (left), vs this one, which is ANOTHER sheet of leather ruined i cant salvage or save this project (this is like 16 of these pieces). I seriously didnt change any settings.
That’s not normal, the machine does not vary power depending on direction of cut. Once you have determined settings for a material, they should work regardless of cut direction.
There are occasionally issues with “spotty” power, most often on new machines (with tens of thousands sold, some will have issues.)
Unfortunately, support can’t help with problems on non-Proofgrade materials. Posting here opens a support ticket, they will ask you to print the Gift of Good Measure on the spare Medium Draftboard they supplied with the machine.
It has a mix of engraves, scores and cuts in all directions, and that can be used to determine if your machine does indeed have an issue.
I have only made a few luggage tags in leather so far. One thing I do know for sure is that if you do not have what you want to cut perfectly flat on the bed, no matter what it is, it will cause a problem.
I just don’t understand how something that is supposed to be as precise as a LASER cuts one side perfectly fine, and the other side there isnt even the slightest clue that it cut all the way through. I just do not understand. I haven’t had these issues before today.
Alas leather will be frustrating to laser cut–since it’s Hide and Flesh from an animal, all leathers are split and also burnished under rollers to obtain target thickness (weight) and top finish. And quality of processing varies greatly between tanneries. So anticipate a 5oz leather from source A will need different settings than source B–happy dance if both work.
And the inherent density of the hide varies greatly across the area of the animal. The back, shoulders, and butt are tougher than belly leather. So you can easily find a setting that’s perfect for one piece, but not as successful on the next from the same hide.
And if the top is dressed, you can’t see any scars or bitemarks, and like knots in wood, these are very dense area in the hide, and will cause localized differences under the laser.
And that’s not even getting into dyes or stuffing…
I’m so sorry to hear that you’ve hit this snag. I appreciate you working with the community, and providing such great details.
Based on the behavior you are experiencing, and the material you are utilizing, it can be difficult to determine what could be causing the trouble.
I’d like to perform a baseline print for your Glowforge, and ensure that it is performing within specifications.
Could you please do the following?
Turn off your Glowforge, then turn it back on
We included an extra piece of Proofgrade Draftboard with your materials shipment for troubleshooting. Place Proofgrade Draftboard in the bed and load the Gift of Good Measure design.
Set the score and engrave steps to ‘ignore.’ Print the Gift of Good measure using the default settings. Allow the print to finish.
When the print finishes, leave the lid closed and wait until the fans stop and the picture of the bed updates.
Check the completed print:
If the Gift of Good Measure fails to cut, please let us know the date and time of the print
If the Gift of Good Measure cuts successfully, please try another print of the design you saw the issue with, and let us know the results.
If the issue still occurs, please let us know the date and time of the finished print.
Once this print completes, I’ll extract the log files from your Glowforge, and compare it to the prints on the leather you are utilizing, and see if we can see what could be causing the hangup.
If the cut is going front to back it is most likely to flame and when it flames it cannot cut as deeply. There are Two major causes of this, Either there is reduced power in the form of even the lightest of films on lenses or windows (including the one hiding under the left side) or there is insufficient air blowing the smoke away,
If it flames it will leave soot on the work and both the existence of te soot and the pattern it makes will tell a talle. If the soot streaks toward the front, then it is not the fan, but if it curlicues and wanders off to the left, then it is the fan or at least reduced air movement from an obstruction blocking the clean flow of the air,
It’s been a little while since I’ve heard back from you. I hope that’s because everything worked out! If not, just let me know and we’ll get it solved.