So, when you have another half who collects Barbies, having a Glowforge leads to the obvious question: “Why don’t you make some furniture for my dolls?”…
All designed using Fusion 360 - then put flat using Nester and created the cut files with the Colorific post processor… Learned a lot doing all of this And, none of this uses glue - all sticks together with tabs and slots so it’s been quite the adventure to nail down my approach.
@Bernie These are fantastic! I have yet to experiment with acrylic tabs that friction fit, but am getting better with my solvent cement application skills I was curious as to how you you are getting the door hinges to work? Are they simply tabs going into a round hole at the top and bottom?
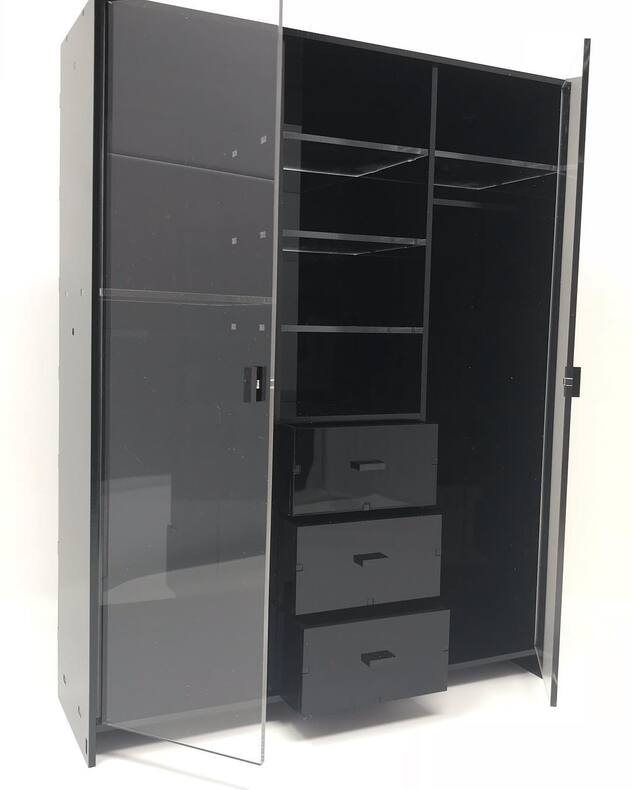
Hi @sqw - I used quarter inch acrylic - but they are very stable, I was surprised as well after the first trial build… with the tabs & slots being quite tight it holds everything together neatly…
Hi @pho - the doors indeed have small tabs (same as the thickness of the material) and then fit neatly in a little round hole at the top and the bottom… And then I also had to create a small cutout on the sides of the shelves where the door bumped into them otherwise the doors were scratching the shelves But with Fusion360 that’s all quite the breeze (once one learns that tool of course!)
My 2 biggest struggles were the following:
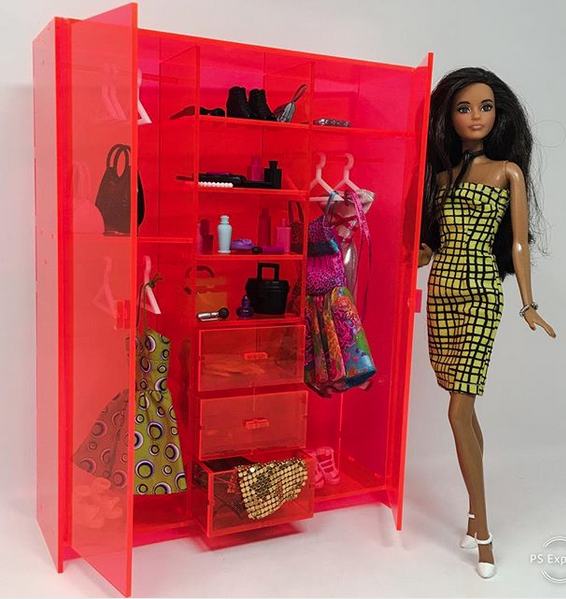
the variations in thickness between different acrylic sheets and even within 1 and the same sheet -> so I take a lot of measurements (8 per sheet, 3 at top & bottom each, 2 on the sides) and then average them out. As the closet, for example, requires 4 sheets, I then select sheets with closely matching average thickness.
getting the kerf right -> getting tighly fitting tabs requires the kerf to be measured very closely -> I used the template @BobVHOWTO: Kerf Measurement and Jig (Thank you BobV for that!!!) - and then take 3 measurements for “A” (top, bottom and middle) and average those out - then the B measurement gets deducated and divided by 10 -> this gave me a perfect fit!!
@brokendrum - you are right - we have indeed sold a few of them on eBay - there are indeed some collectors out there who like them
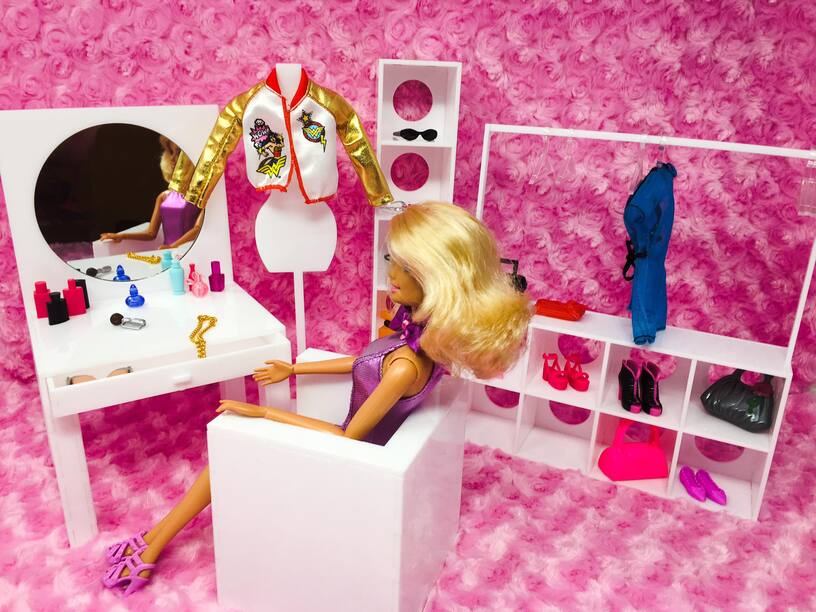
@Tom_A - the setup and pics are not my work - we did get a little photo booth to make the pictures - makes the lighting very good for this kind of detail…
@Bernie The variations in thickness is really annoying, but I’m learning thats the nature of the beast with all materials. I like your methods for averaging them out, I’m going to have to give that a try. I’m also going to try out the jig as well (thanks @BobV). Thanks again for sharing!


 I was curious as to how you you are getting the door hinges to work? Are they simply tabs going into a round hole at the top and bottom?