Though this might come in handy for leather-working noobs (like myself):
https://makezine.com/2017/01/23/handstitch-leather/
Of course, we shouldn’t need the chisel forks.  (Awls should still be handy, though…)
Though this might come in handy for leather-working noobs (like myself):
https://makezine.com/2017/01/23/handstitch-leather/
Of course, we shouldn’t need the chisel forks. (Awls should still be handy, though…)
Indeed! Thanks!
This is exactly how you get a bunch of likes and bookmarks.
Yep! Did 'em both.
This is a nice, simple tutorial. I’ll be sharing it!
It’s worth saying that not all leather projects needs to be double-stitched, and the double-stitching method is really only good on veg-tan and otherwise fairly hard or thick leathers. Soft-tempered (very flexible, soft-to-the-touch) leathers don’t take to it well.
Thanks for that!
I’m outta likes again  …but thank you for this. I’ve saved it. I’m really looking forward to working with some leather eventually.
This tutorial makes it really easy to understand. Good find!
Is there a specific stitching technique you use for that? Like say glove leather?
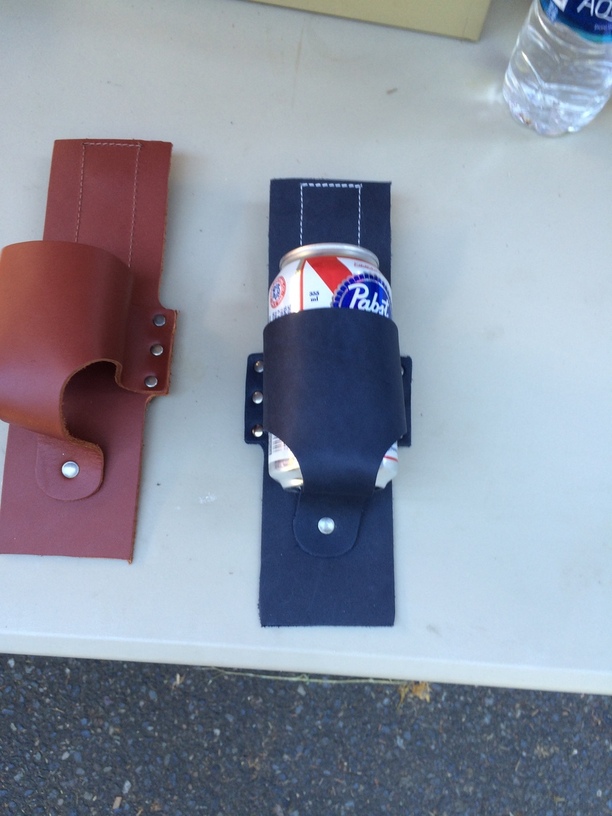
Anybody got any leather work ideas for me? I have lots of small scraps of leather but just can’t think of what to do with them besides bracelets and earings. I really like @karaelena’s wife’s bracelet.
I’m thinking about engraving an image on leather… kind of an enhanced photo engrave I can hardly wait to experiment!
Got that braided leather bracelet in the Free Files. It’s not too large and should fit some scraps.
I think they make pretty good coasters, don’t they?
It all depends on the project, but for something like glove leather that’s being turned into a garment or bag, I’m pretty much always just going to run it through my Singer Heavy Duty sewing machine using a straight stitch. If I want heavily reinforced seams, I might do a glue layer using something like Eco-Weld, then sew it with double seams (like on blue jeans) after it dries completely. However, if you’re going to need heavy-duty seams, you need a heavier-duty leather as well, otherwise, any tears will just happen in the body of the item instead of on a seam.
Here are some more specifics (I might add more once I’ve fed us dinner):
Sewing Machine Foot
Depending on the texture of the leather (smooth vs grippy), you may get much better results by using a Teflon sewing machine foot or a walking foot, or by just putting a piece of Scotch tape on the bottom of your standard foot, so that it slides over the leather instead of binding up. On more than three layers of leather or anything with complex curves, you’ll probably have the best luck with a Teflon foot. For what it’s worth, I’ve had very good results working on thin layers of very smooth, coated leathers just using a standard foot.
Sewing Machine Needles
You’ll typically get your best results by using a leather needle, which has a slightly flattened tip that looks (and works) a bit like a spear point or arrowhead. It cuts a tiny slit in the leather, instead of just trying to punch through with the fairly blunt tip of a standard sewing machine needle. If you don’t use a leather needle, you’re likely to break your needle at some point in the project, which SUCKS because you’ll have to tie off your thread by hand and glue it on the back side and then start a new line.
Sewing Thread
You’ll get fewer breaks during the sewing process and longer wear on the item if you use nylon (preferable) or 100% polyester thread. Cotton breaks down far faster. Do use the same weight thread in the spool as in the bobbin–otherwise, you’ll get tensioning issues that make for ugly, weak seams.
Fastening Pieces Together
Once you’ve punched a hole in leather, it never goes away, so you can’t use pins to hold your pieces together. Instead, use binder clips, or, if you’re going to glue a seam anyway, glue.
Basic Issues with Sewing Leather
To avoid ruined leather, you have to plan your stitching very carefully, sew slowly, and anticipate how you’re going to handle problem areas before you get to them. If you screw up a seam because you didn’t anticipate how you would sew a place where four layers fasten together, for example, it will be not only very challenging to pick the stitch out and replicate the spacing exactly (if you can), you’re likely to just ruin or weaken the leather in your attempt. For every time-consuming project I make, I mock one up in similar-weight vinyl before I ever touch leather. That way, I’ve addressed the problems I’m going to encounter in the sewing process before I face them in leather, and I can make any adjustments to the pattern itself if needed. Then, after I’ve finished the vinyl and before I start on the leather, I always take a couple of pieces of scrap leather from the project itself and practice sewing them together so that I have a feel for that material. I usually write some random words in block letters onto the leather with a pen and then practice sewing around the complex curves of the letters. The consistency and smoothness of those sewn lines help me gauge my own readiness to take on the seams on the project. If my sewing doesn’t look very consistent, I don’t move on to the project itself until my practice pieces satisfy me.
Wow. I can’t wait to see what you’re going to write once you’re fed! Thanks, as always you’re amazing. Must be the second brain! I’ve only riveted holster grade leather, so looking forward to stitching some stuff once I have the glow forge.
If they’re small scraps maybe you can make some keychains (mixed media, combined with wood, veneer or acrylic)
That’s why we call her the ‘Leather Woman’.
I learned there is a difference between a leather needle and a fabric needle. I have broken my share of needles.
Thank you for the tips, logical progression in testing. Measure twice, cut once. Leave no room for doubt - Take no prisoners.
And again I’m amazed at the wealth of knowledge I gain from all you forum members. Thank you
Also thank you @dwardio for getting this great discussion started with another great link!