This is what happens when you’re flipping between Inkscape and the browser… lol.
4 Likes
But it is still true. ![]()
1 Like
The kerf will always be different for all materials and thickness of the materials why cut a whole range of sizes.
All that waste of time and material. Just take a piece scrap material. Make the male and the female part the same thickness as your material and the length that you want and cut it.
Measure it and see what your offset should be for that material and thickness.
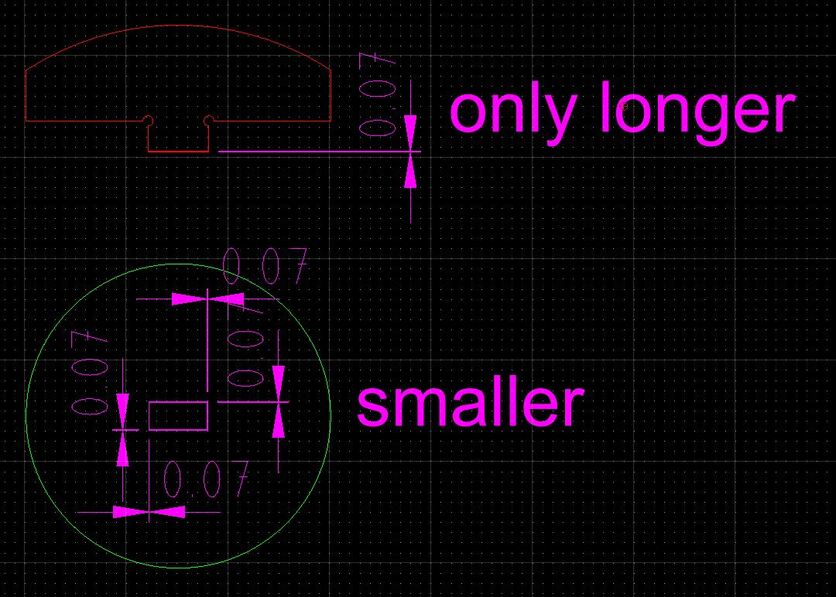
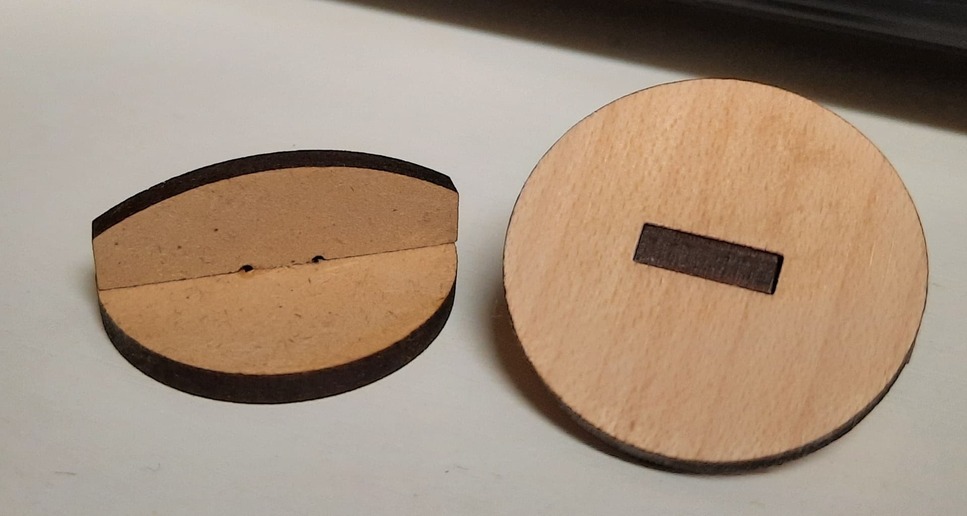
And put an offset on the hole of about 0.07mm smaller in all directions for medium plywood walnut or maple. and put 0.07mm offset more on the male thickness. (it’s will work for medium plywood for example)
It’s 5 minutes work and gives you a perfect sample if you like it or not. If you don’t like it make the offset a little bigger or smaller for your snug fit.
download zip file:
kerfs.zip (1.0 MB)
5 Likes
I have a small test design that has multiple slots and tabs of various sizes, and I cut it from my target material before any large job. I then choose the sizes that are working best and adjust my design (or create from scratch) as necessary.
3 Likes
Here’s an example, the one I use for 5/32" PureBond maple ply. It’s pretty consistent but I always check before printing a large design.

5 Likes
Once you know the amount of the kerf you can set the distance as the width of the line in Inkscape and then using Path>Stroke to Path turn the one line into two lines the kerf width apart. By using the outside line on the inside piece and vice-versa the kerf will take off the precise amount of material needed to get the distance you need.
2 Likes