Edge-lit acrylic pop culture displays

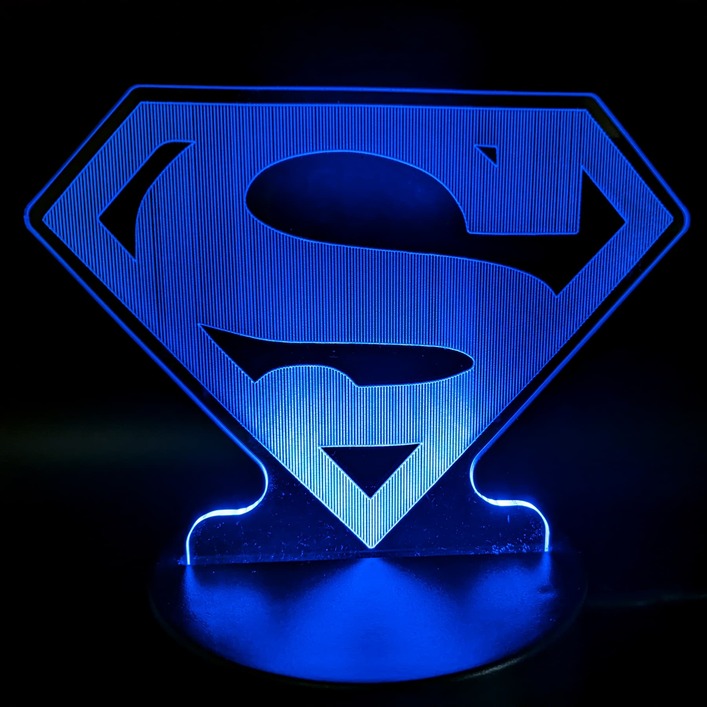
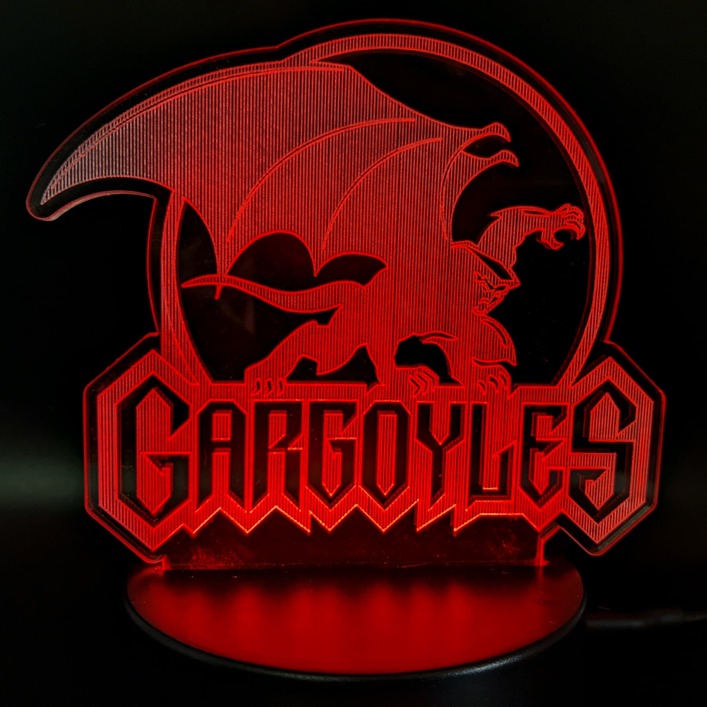
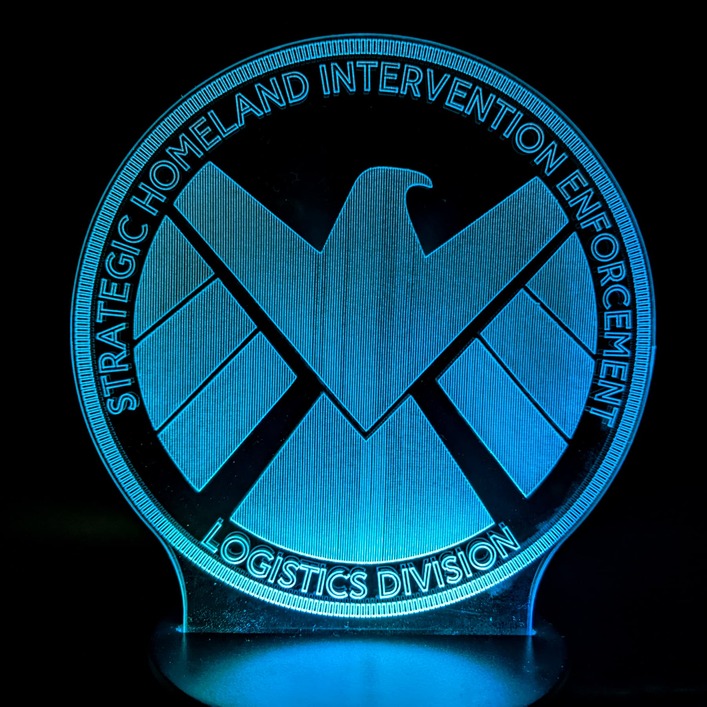
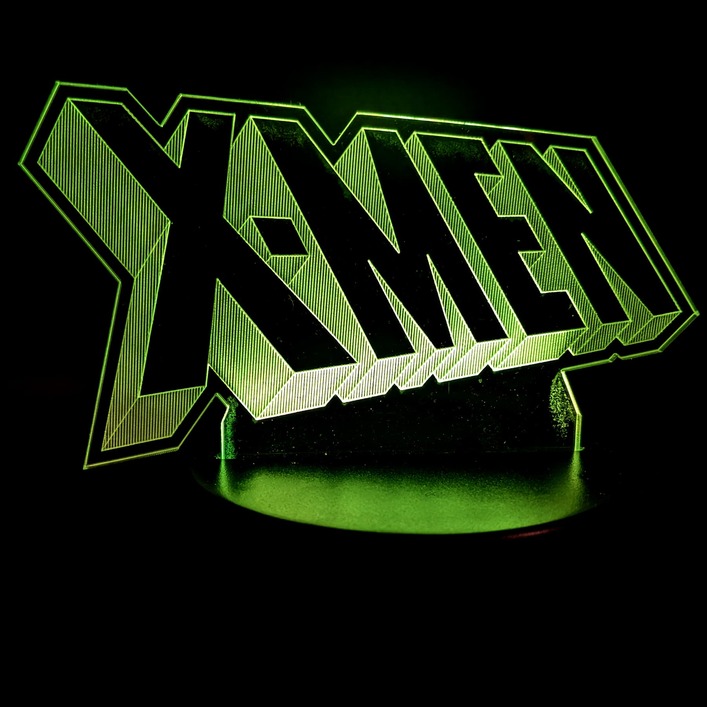
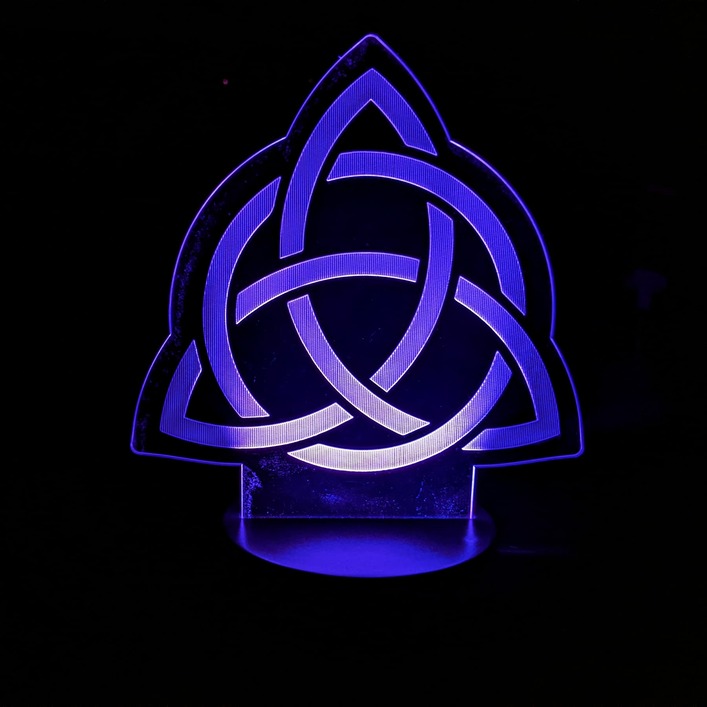
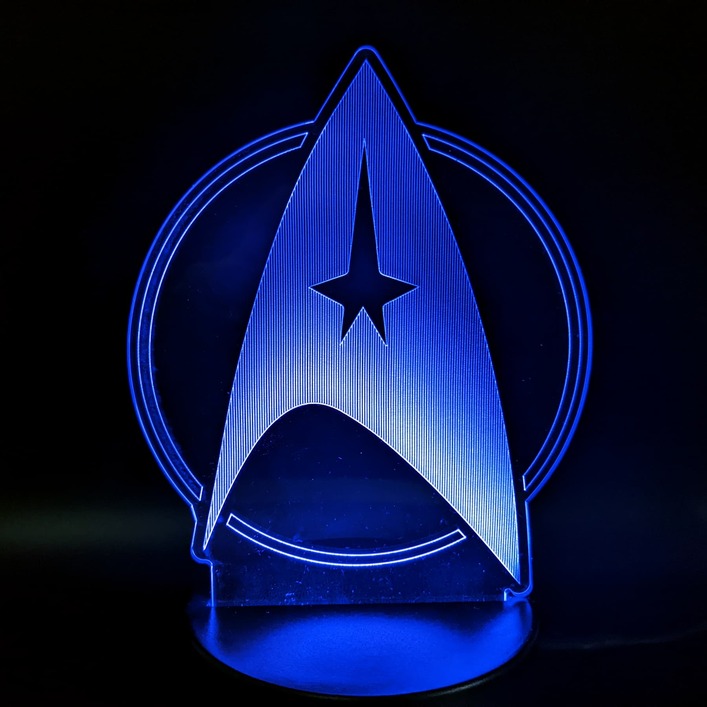
A friend has a birthday coming up fast, and I spaced on the date. I needed something fast, and since he’s a pop culture fanatic, I thought I’d whip up a set of edge-lit acrylic displays featuring some of his favorite franchises.

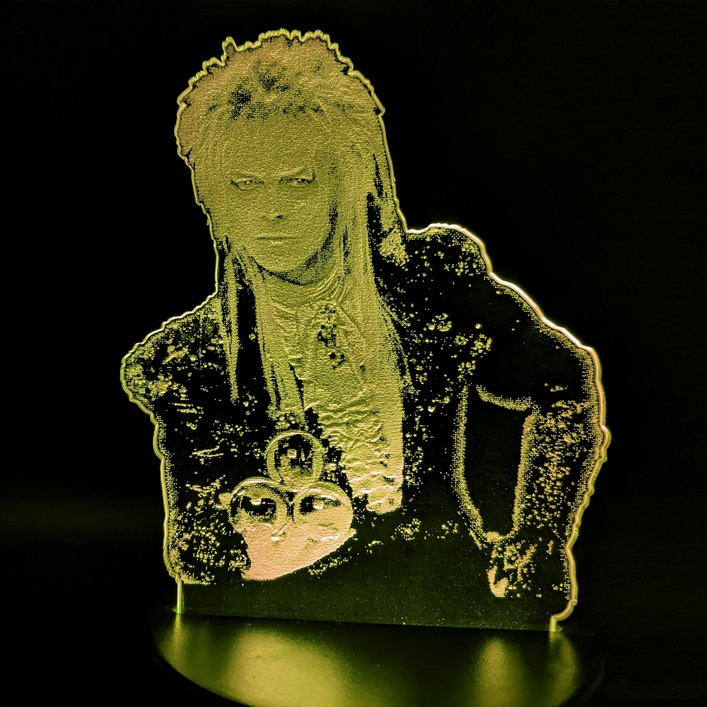
I used scoring for most of these, so the cut time was under 5 minutes for each. (Jareth from the Labyrinth is the exception, at 35 minutes.)

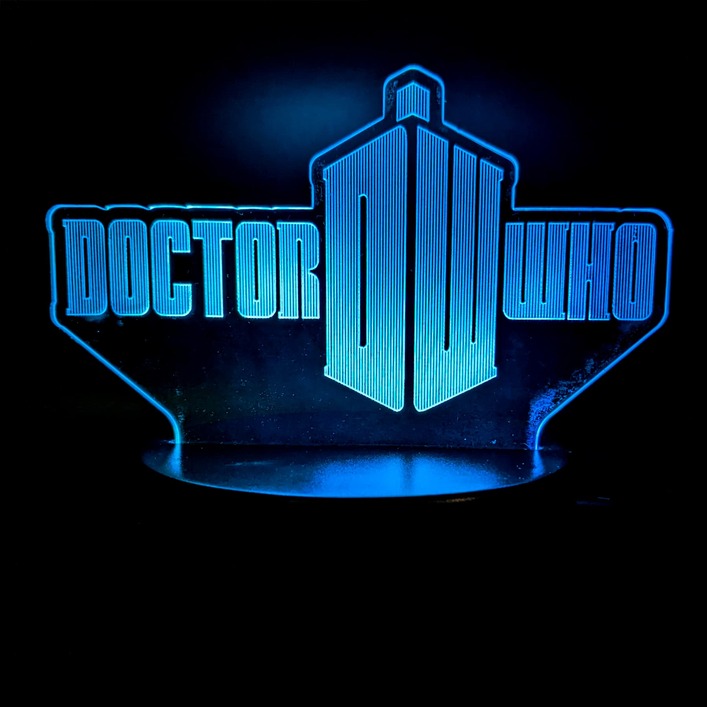
There were a few hiccups. Some of the earlier attempts were fading out at the top, so I dropped the size from 6.5" to 5", which was perfect. I got a bit of flashback on some of the edges, so I may lower the power a bit and try those again. And midway through Doctor Who, one of the damned front carriage wheels cracked in half, so my neat vertical scores turned into a seismograph printout. Luckily, I have spares on hand from the last incident.

Next, I’ll pack these inserts and the LED base in a nice custom cherry box engraved his name, and voila! A birthday faux pas neatly averted.

58 Likes

Such a great idea to do multiple different ones that he can change out, and they are all so good! I really prefer scoring to engraving just because it’s so quick!

3 Likes

Lucky friend. These are terrific.

4 Likes

The scoring looks really nice, I like it better than the usual full frosted engraving.

3 Likes

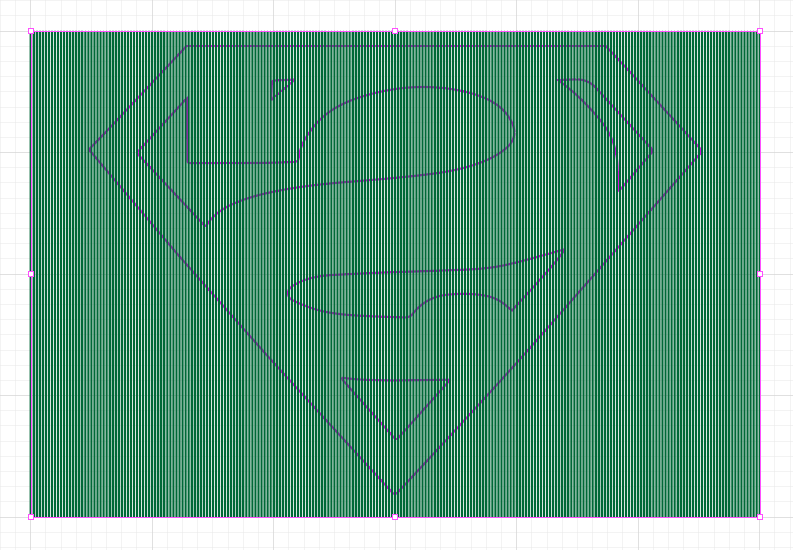
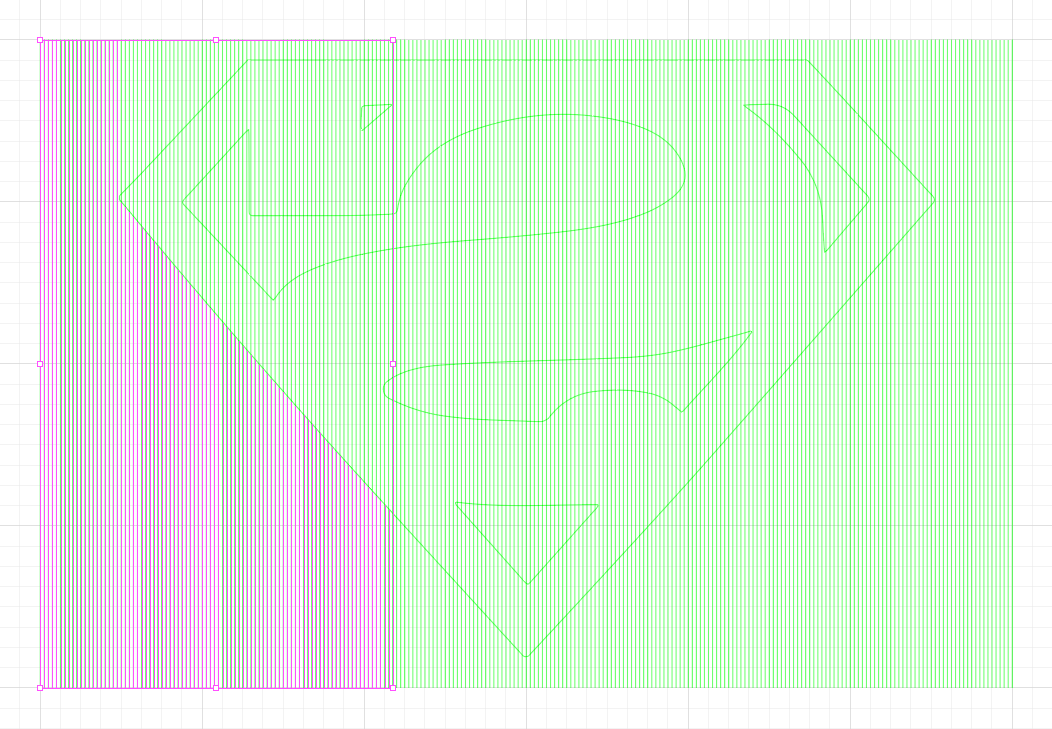
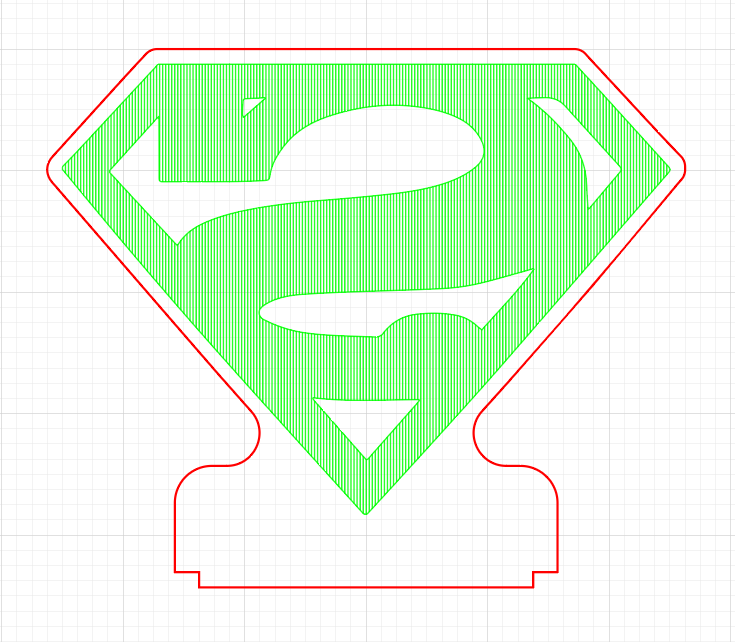
I was surprised at how well it turned out, and how quickly it cut. I tried horizontal and diagonal patterns, but they blocked more of the light. The verticals (spaced at 0.025") were perfect.

3 Likes

How did you create the solid areas with the lines for your scoring? I really like the professional looks of all of them.

3 Likes

Vertical scoring - very clever - looks great, possibly better than the engraved ones I’ve seen

2 Likes

I laid everything out in Illustrator. Step by step:

  1. Draw the outlines. I engrave from the back, so I reverse everything at the start (before I forget).

  2. Copy the outline and offset the path by .125", Round joins. This will be the cutline. Move it to a new layer, and delete any interior shapes/nodes.

  3. Add a base to this shape, sized to fit your LED base. Pathfinder > Unite to merge the shapes. Lock or hide the layer to keep it out of the way.

  4. Go back to your original outline. Draw a vertical line on either side of the artwork.

  5. Object > Blend > Blend Options, Spacing as Specified Distance (0.025"). Then Object > Blend > Make to create the blend.

  6. Object > Expand, and uncheck everything except the Object checkbox. Ungroup the new object.

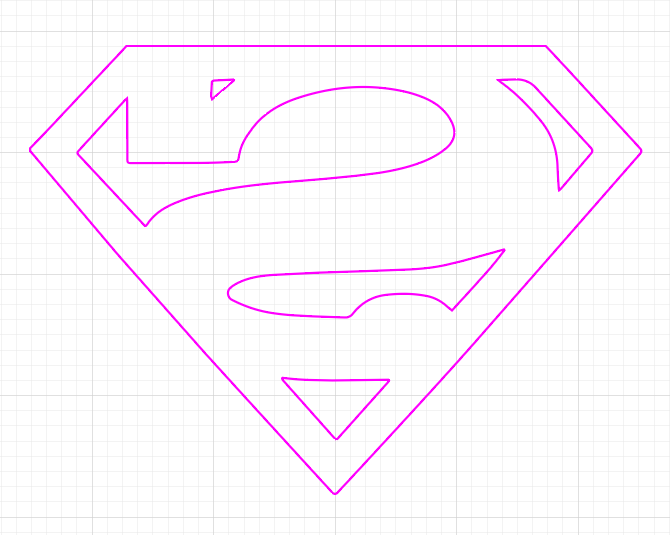
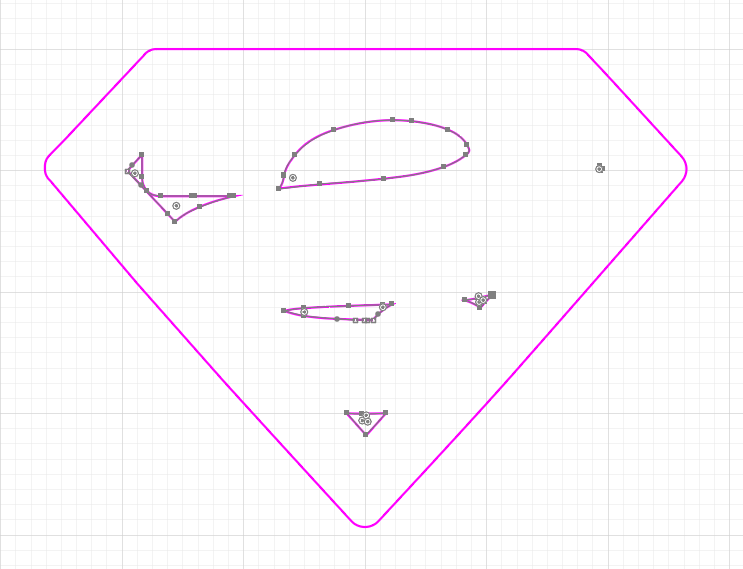
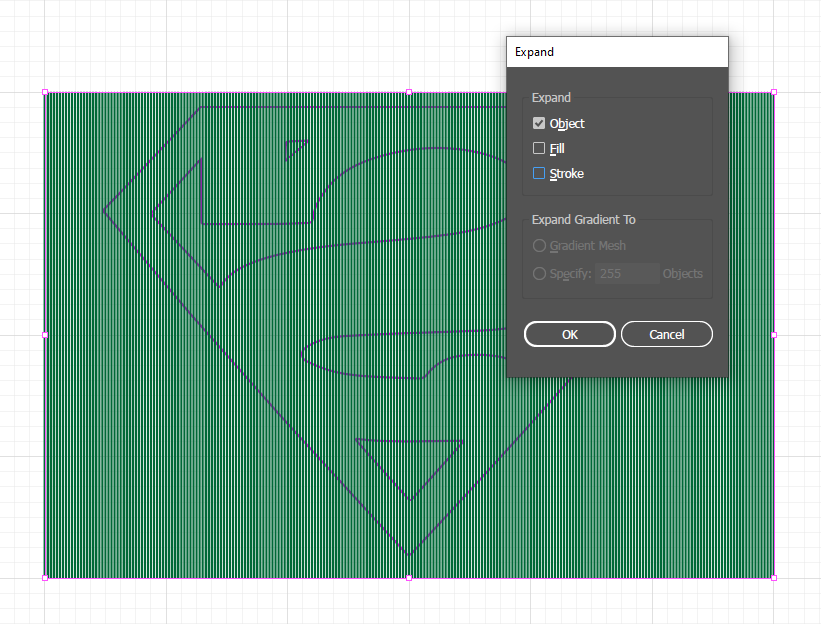
  7. Select the lines and your shape. Pathfinder > Outline. Ungroup. This will clear the stroke on the objects, so you’ll need to reselect them and assign a stroke color to make them visible again.

  8. Now your lines are split wherever they intersect another line. Delete the lines in the clear/black areas, and leave the lines where you want the acrylic lit.

  9. Turn your cutline back on, and export to SVG.

If you prefer diagonal or horizontal lines, just rotate the blended lines after step 5. If you want higher line density, decrease the blend spacing, but be aware that this will block more light from the sides and top of your design.

And that’s it! It’s easier than I made it sound here, and the only tricky part is ensuring that you delete the right line segments and don’t overlook anything.

22 Likes

I love the coring idea! You can lead the light to exactly where you want it. I learned something today.

3 Likes

Wow, that is going to be the coolest gift ever! He’s sure to enjoy it, especially knowing it was made specifically for him. Great job! And great write up on how you did it too.

2 Likes

Thank you for the detailed explanation of how you made the lines.

4 Likes

Thank you for taking the time to write this up! I am learned a lot. :+1:t3:

And your friend is going to love those! They look awesome. Amazing how quickly you were able to get them done ~ bravo!

3 Likes

These turned out great. I’m sure he’ll love it!

2 Likes

He will have quite a selection!! These look fantastic! Will have to try your method. Thank you for sharing your project designing details.

1 Like

I learned something new, thanks for the lesson!

1 Like

Man, I love these.only scores? Wow

1 Like

What a great look. Thank you taking the time to provide instructions.

I made one using cuttle.xyz

9 Likes

I used a screen recording plugin, which only gave me 5 minutes. Sorry for it ending so abruptly.

1 Like

Looks great! And thanks for the shout-out! :grin:

1 Like

Visceral. Just hit me in the gut there. You really nailed the connection between the design and the LEDs. Great share. And great execution.

3 Likes