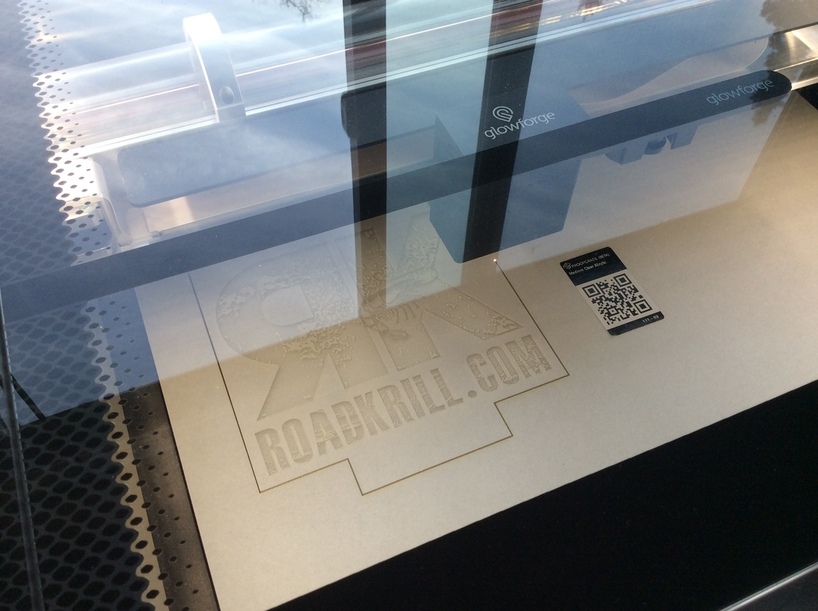
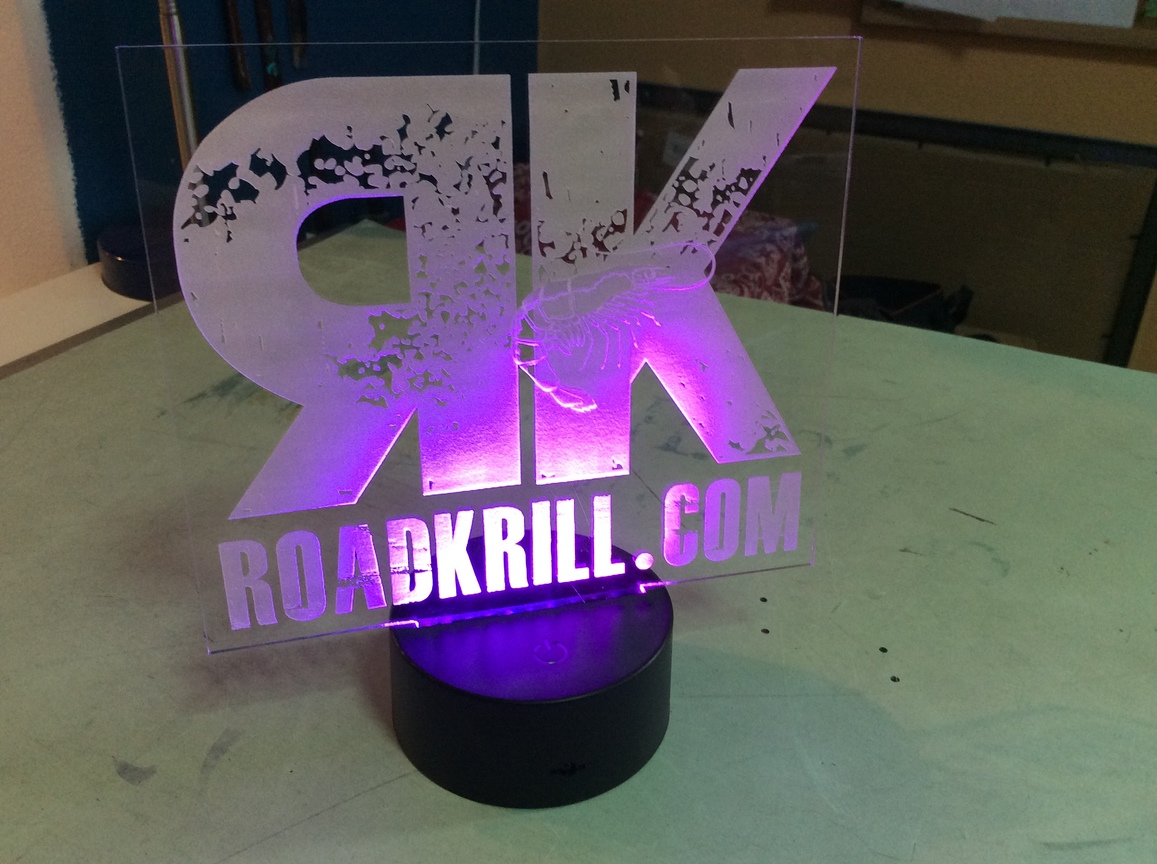
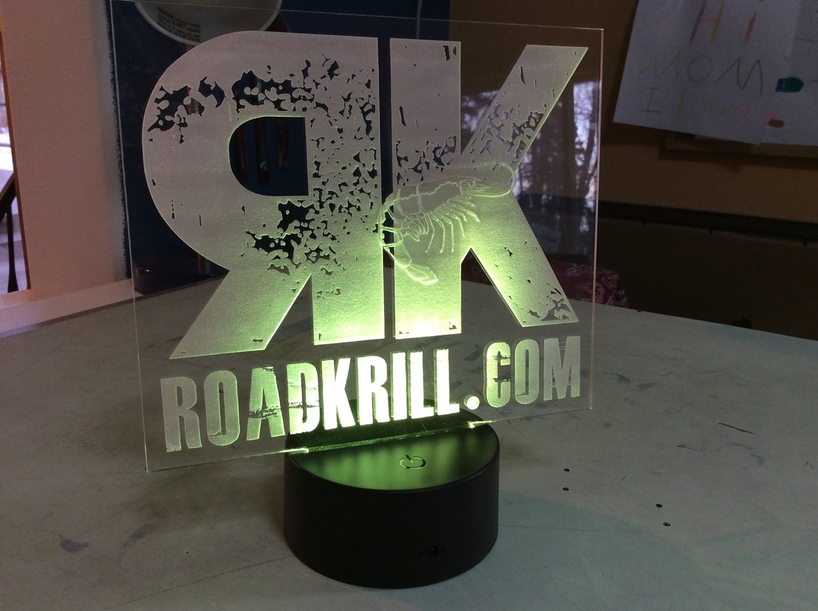
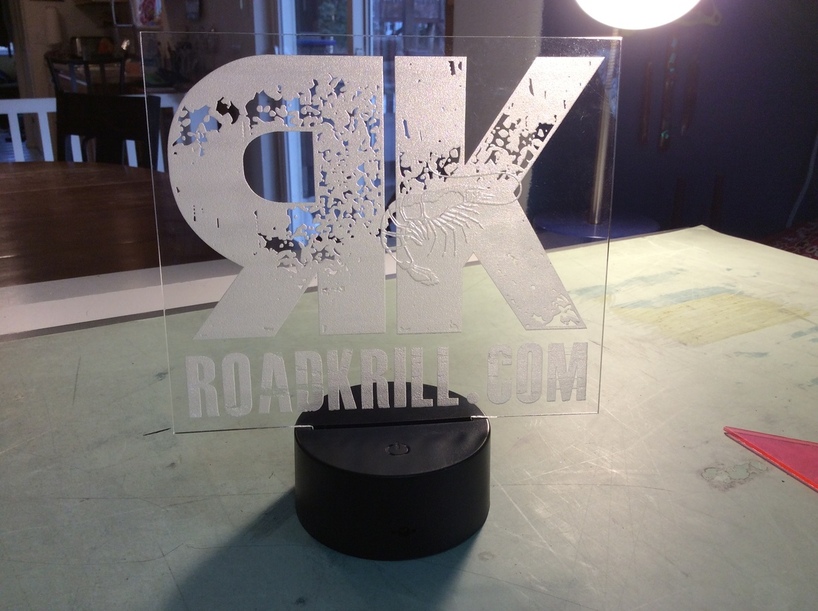
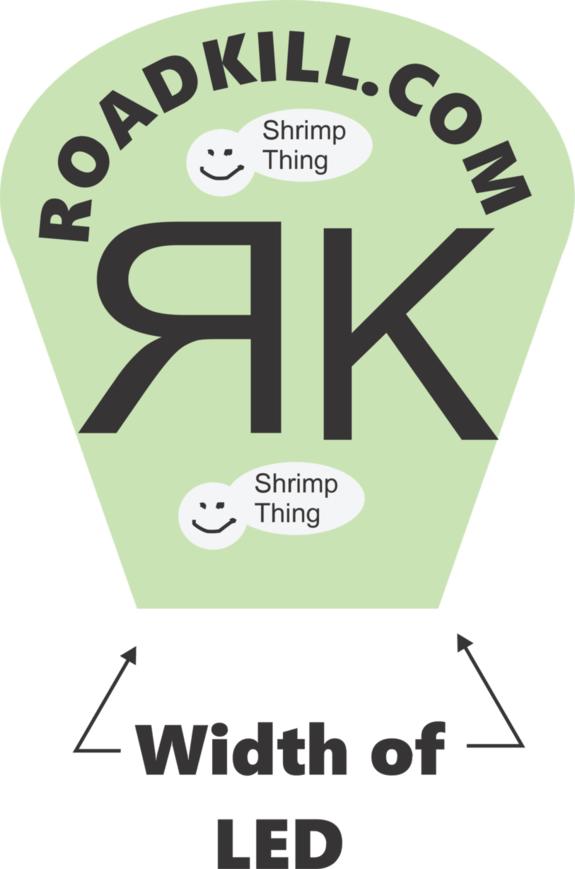
Yesterday I created my first edge-lit acrylic sign, for my husband’s band. I am generally happy with the results, but have learned a couple of things for next time and thought I’d share. First, the sign is too large for the light to cover the entire image in the way I had hoped. I’ll scale back the next sign a little. Second, while the idea to do a deep engrave on the shrimp (or, krill, if you will) was a good one, BUT it looks way better when viewed from the back. I will reverse the image and have a back-engraved sign next time. Finally, the teeny-tiny pieces were difficult to weed even with Gorilla tape, so I soaked the entire piece in a shallow dish with warm water and Dawn dish detergent. After ten minutes, I scrubbed it with a toothbrush (yes, an old one) and rinsed it right off. Will use this technique again!
What I’ve seen others say here about edge-lit signs is that you want to have different depths of engrave as you go up the sign so that the lower engravings don’t shadow the upper ones.
So if you are engraving using vary power mode, doing a back-side engrave, make the RoadKrill (BTW, I didn’t notice until I was typing it that it was RoadKrill instead of RoadKill–nice pun). a lighter grey and maybe run a gradient getting darker as you go up.
If you then make the Krill black, so it engraves even more deeply, it should stand out though it might shadow the K above it.
Nice! I love edge lit acrylic.
One thing to bear in mind when designing one is engraved images near the light (at the bottom) tend to shade those above. So plan on shallow at the bottom and deeper as you progress higher.
That’s one reason I prefer 1/4", so I can go deeper with additional passes if necessary.
Interestingly, that tip has been mentioned around a half dozen times. Every time someone mentions the fade, someone else suggests digger deeper as the engrave goes up. Probably for most people, as the number of posts increases, reading speed goes up, and the half-life of the memory goes down.
I remembered the tip about avoiding density of design too close to the light source, but not the deeper engraving bit. By writing this response I hope to lock it into memory.
I have so many things to TRY, lol. Lots of tips and clues lurking around here, and that’s a fact.
For this, I have seen it a few other times where the picture outgrows the led base.
One solution I suppose is to use multiple bases, but I have it in my head to expand out from the base with these things.
No idea how it would come out (no GF yet or would try), but here is what I meant, using your concept.
I make some wide edge lit LED signs on my K40 (can’t wait to get my so I can stop using the K40!). I designed my own bases for LED strips to print on my 3D printer.
These are 3D PDFs, if you have a PDF viewer that can display them,
The RGB one needs a couple of rails to support the acylic after if is inserted. I am going to redesign it to make a bezel to go around the acrylic. Both bases are designed around 1/4" (6mm) acrylic.


 so I can stop using the K40!). I designed my own bases for LED strips to print on my 3D printer.