Editing because the main issue that GF needs to know about is the Proofgrade Maple settings doesn’t cut all the way through - and haven’t for 5 tested boards. It needs to be slowed down to 150 on my GF Pro 45w.
Original post below so people don’t think I’m crazy:
Hey guys!
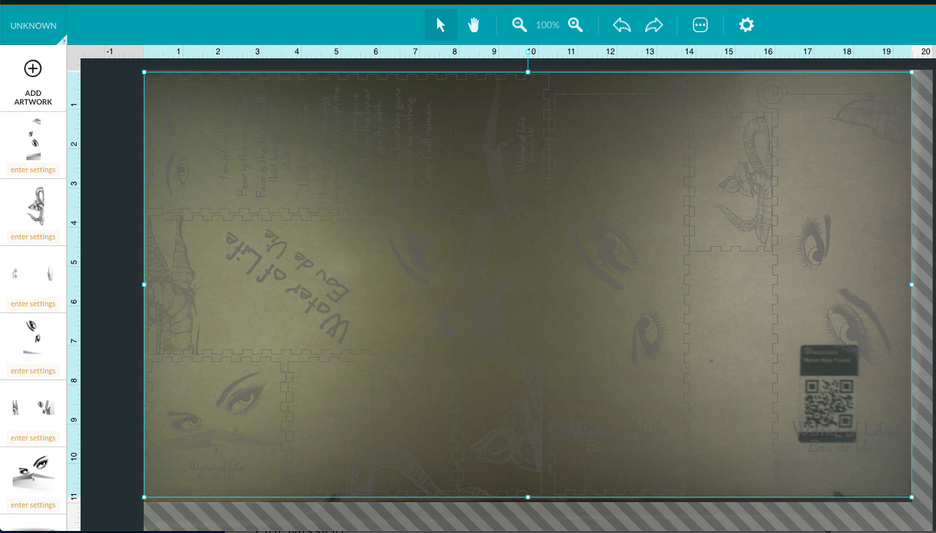
I’ve been running uncertified material and thought I would try the lovely Proograde stuff, and my active workspace shrank. Is it intentional? If not, can you fix it? I wanted to test your settings.
To clarify - it’s intentional, but will act the same whether it’s Proofgrade or not. The engraveable area changes dynamically with the engrave operation speed.
I used 495mm x 285mm, which ends up at 19.49 inches x 10.98 inches. This is separate from the workspace. And I had no settings entered at all, and with my settings, it’s like 1/4" on the left.
Good call. I wondered if that messed with stuff.
Thanks, that’s what I needed to hear. I did adjust the speed and found it getting smaller. Just… Not small enough to meet the workspace.
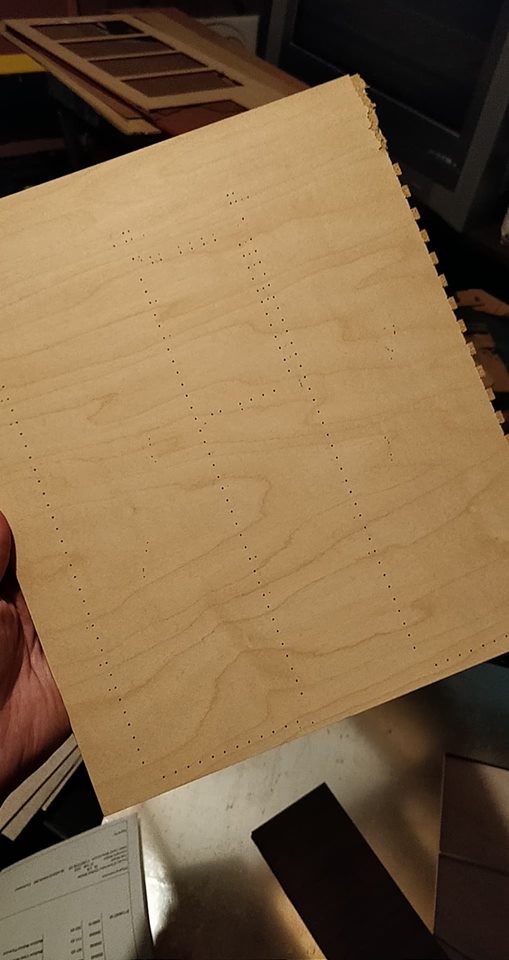
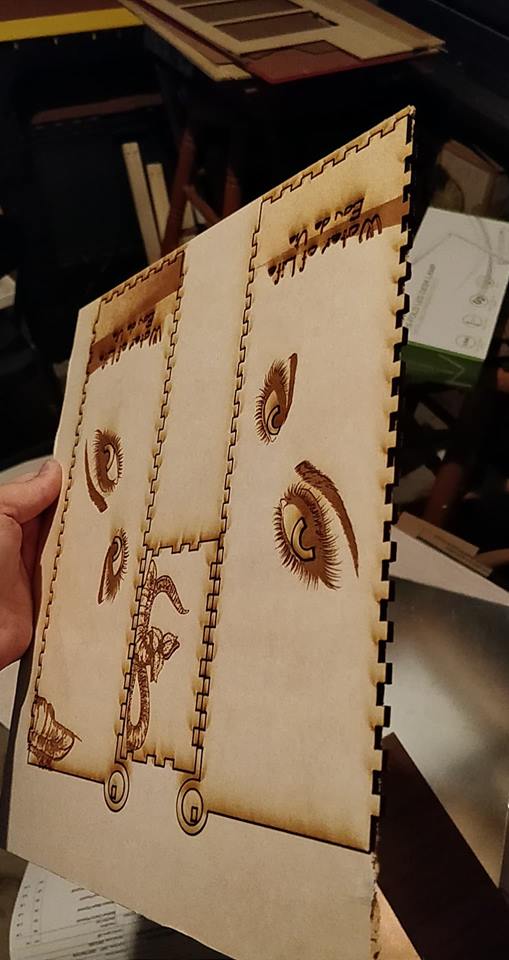
Problem now becomes that Proofgrade Maple Plywood default setting needs to be slowed down to 150 speed, because it doesn’t cut through all the way.
Your second screenshot basically shows the max engrave area. At its best, IIRC, it’s going to have a slightly smaller workspace area compared to cuts (it will go to zero margin on the left and a slight margin on the right).
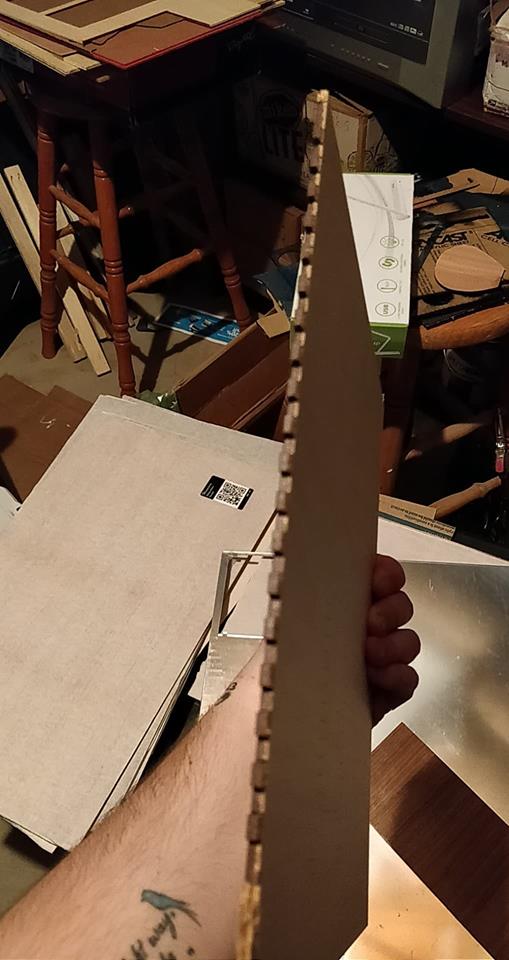
As for slowing it down, sounds like possibly either a slight warp or possibly the windows, lens and/or mirror needs a cleaning
Thanks to everyone in this thread for the help regarding the print area. As for problems with cutting through Proofgrade material, I’m sorry that your print didn’t come out beautifully!
To cut successfully, there are three important things to check. First, your material must lie flat. This requires a clean, properly installed crumb tray and flat materials. Second, there must be no obstructions, dirt, or damage preventing the laser light from reaching your material. Third, your design must be set up properly - for example, with lines that are fully on the material and that are set to cut. It’s hard to know which issue might be affecting your print, but if you follow the instructions in the [cut-through troubleshooter](https://glowforge.com/support/topic/troubleshooting/cut-didnt-go-through-material), we’ll be able to get to the bottom of it.
Once you’ve inspected and cleaned, please try another print. We included an extra piece of Proofgrade Draftboard with your materials shipment for troubleshooting. Please print the Gift of Good Measure on that Proofgrade Draftboard and let me know the result. If it doesn’t print well, please let me know the date and time of your print and send photos of the front and back of the print.
It’s been a little while since I’ve seen any replies on this thread so I’m going to close it. If you still need help with this please either start a new thread or email support@glowforge.com.