Thanks for all the info! Going to play with it tonight.
I just found out I’m getting a lot more high-quality scrap wood coming my way soon so I can play with these things more!
As for the file… It appears that the forum alters the file, at least in some way. (Remove transparency as far as I can tell.) I want to see the actual file you used so I can examine it more closely. And I want to make sure it’s unaltered.
Given the lack of any concrete information about anything that doesn’t surprise me. All I need to know is how the GF interprets each file type in each mode so I can prepare files for it to get the effect I need. I don’t need hints how to use third party design tools, etc.
The company I used to work for made the world first electronic digital photo booth in the late 1980’s that appeared on the BBC program Tomorrow’s world. It took your photo on a blue screen background and allowed you to superimpose it on a choice of stock scenes with celebrities or famous monuments. I was the system architect and the lead programmer, doing all the image processing, so I know a bit about processing photo images.
Those who are offended by the communication technique of sarcasm should not read the following.
[spoiler]OK, so you wrote the software to do something emensely more complicated 30 years ago, long before many of us were on the Internet, using computers in ANY capacity, or possibly before some of us were even born. That’s great. But what I think the people on the forum want to know is: have you bothered to read the tutorial about how to increase the contrast of an image in Photoshop?
I mean, sure, changing contrast is a process that takes at least 30 seconds and upwards of 3 mouse clicks, but if you refuse to read the tutorial it’s not worth talking to you. BLOCKED![/spoiler]
[edit]
I may have to work on my sarcasm (oh no!) because I meant for this post to be in solidarity with @palmercr.[/edit]
I don’t use Photoshop, I use paint.net and Picassa to process images. I know how to increase contrast, adjust gamma curves, etc. What I need to know is how the RGB values get interpreted. The fact that you need to increase contrast seems like a failure of the GF magic. Magic is fine while it works but if it doesn’t you need some understanding of what is going on the work around it.
Anyway I am quite capable of working out greyscale to power mappings, etc, when I get my Glowforge, by measurement and experiment. Seems bonkers to have to do that when buying such an expensive tool.
I could engrave a linear greyscale, scan the result on a scanner and calculate the correction curve. Something the GF could do itself with the lid camera.
on the plus side i just realized we can probably count on @palmercr to write the new firmware himself at some point which is worth a beer or two at least (or whatever vice you have. is it safety manuals? i’ll buy you a safety manual).
So my thinking was that I could achieve depths relative to shade, relative to material, that would allow me to design items like “the 3D engrave.” But it appears that the GFUI handles raster and vector files very differently. Where a black box, let’s say, that’s a raster will be relatively flat (like my photo above) and a black box created as vector will deeply engrave. In my (albeit limited) testing, that’s what I’ve been able to reproduce. I literally made a black box in Photoshop and started printing it and it was, basically, flat. I created a black box in Illustrator and it was amazingly deep. Of course vectors are going to give me super-clean, size-adjustable objects. So I feel like I’d rather design as vectors. But then I come to find that all vectors will be black which will give me 1 depth only. If I design something as raster, every shade appears to be relatively flat in comparison. So… I’m just not getting what the proper workflow should be to achieve varied depths.
The photo engrave I ran of your kids is deeper in the darker areas than it is in the lighter areas. If I had run a second or third pass, it would have had an even more pronounced effect.
I’m going to play with this one of these days…but for the time being, just try rasterizing the vector image and see how it works. It’s going to give you some 3D effect.
I know. I’m not explaining myself well. I realize that, as in the photo, there is some variance to the depth, based on shade. But it’s almost non-existent… not even remotely resembling “the 3D engrave” or the depth of engrave I’ve been able to produce from a vector object (like the heart above).
Just got through discussing with @karaelena and @henryhbk on another thread and apparently that depth engraving function you’re looking for has not been enabled yet.
(I honestly thought we were getting it with the grayscale engraves, but apparently not.)
The rasterizing is a work around. Try running a second pass for now if you want to get a depth effect…it might let you do a little sculpting.
Thanks. I can try that. But I don’t want to go through the effort of designing something if I’m just going to end up having to re-design it “the right way” later on.
Snag some of the depth maps from the free designs sections and see what you come up with.
This way you’re not investing time, and those files have all 0-256 shade values in them so you can get a good test.
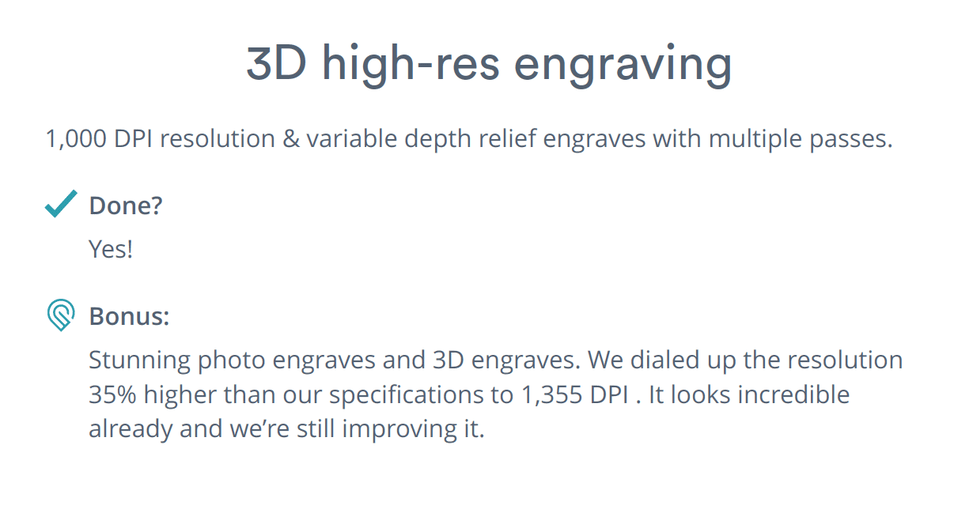
The email I received yesterday for confirmation says 3D engraving is done. Wonder if they just havent turned it on in the UI yet… Or maybe these emails really are tailored specifically to the user and I’m speshul? Nah, doubt it.
 .
.