This stated happening a couple days ago and I have since followed all of the instructions to clean all of the lenses, parts, etc. a couple times to make sure I didn’t miss something or put something back wrong. I can’t seem to get it working right though. I also checked other threads for clues but have had no luck This is a plus machine.
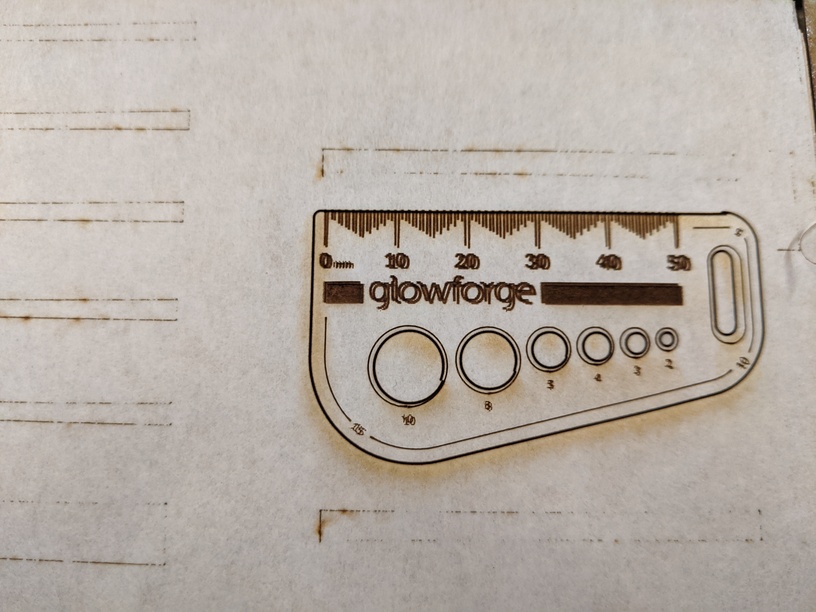
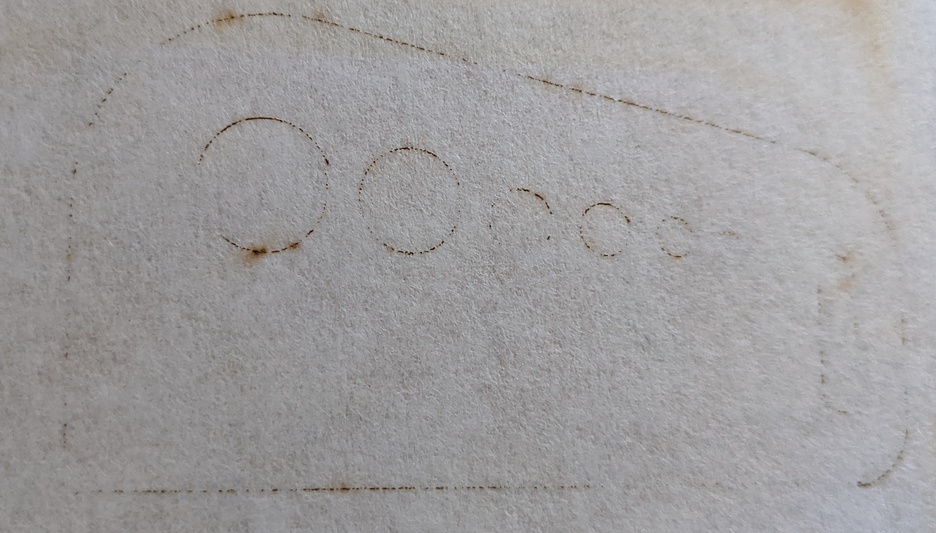
When engraving the machine creates a duplicate “shadow” for some reason and doesn’t cut all the way through on proof grade medium draft board. The only way I can get a clean cut on draftboard is to slow it down from the default settings but I can’t get the engraving to work properly anymore.
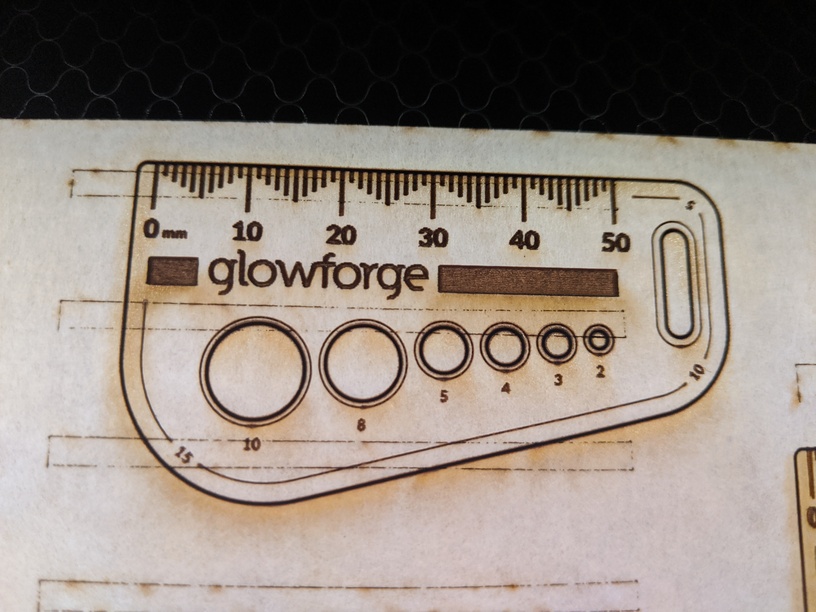
I checked everything on the other thread so far and none of the belts seem to be loose or have missing/damaged ribs on them. I figured I would take this picture too and upload since it was asked for on the similar thread
The “shadowing” on engraves and mis-alignment between start/end of cuts and scores are almost certainly a belt tension, broken/damaged pulley or carriage wheel issue.
I’ve looked through all of the posts about fixing tension and none of the belts seem loose. I am able to press on one side of them and the other side does not move.
Do you have other suggestions on how to check tension? or the pulleys?
Good idea! I’ll give that a shot and see if that makes a difference. The machine is only a few months old so I would hope that the tube/power supply isn’t on it’s way out.
I’m so sorry to hear that you’re running into trouble!
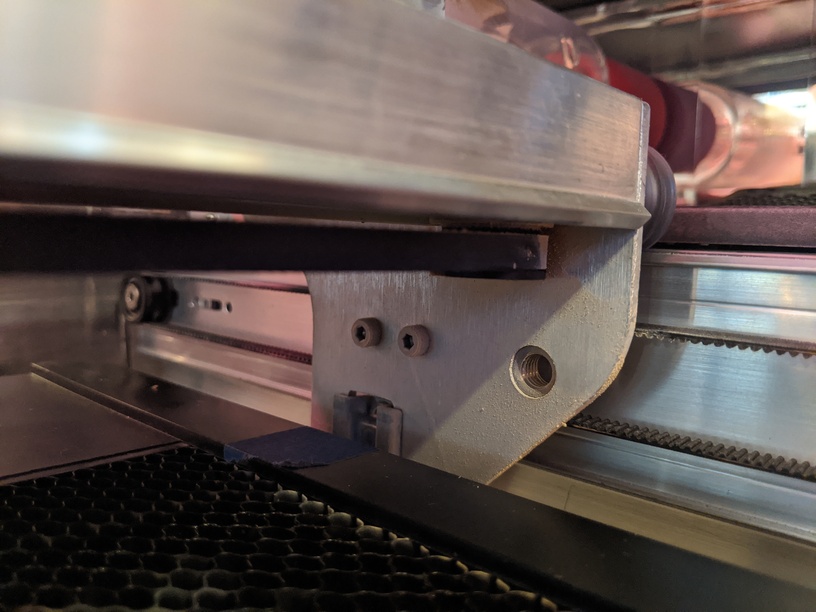
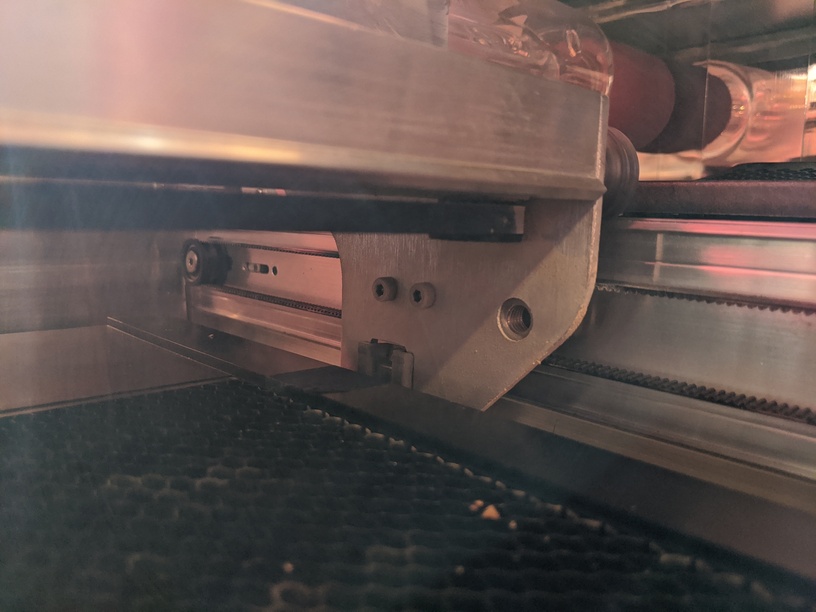
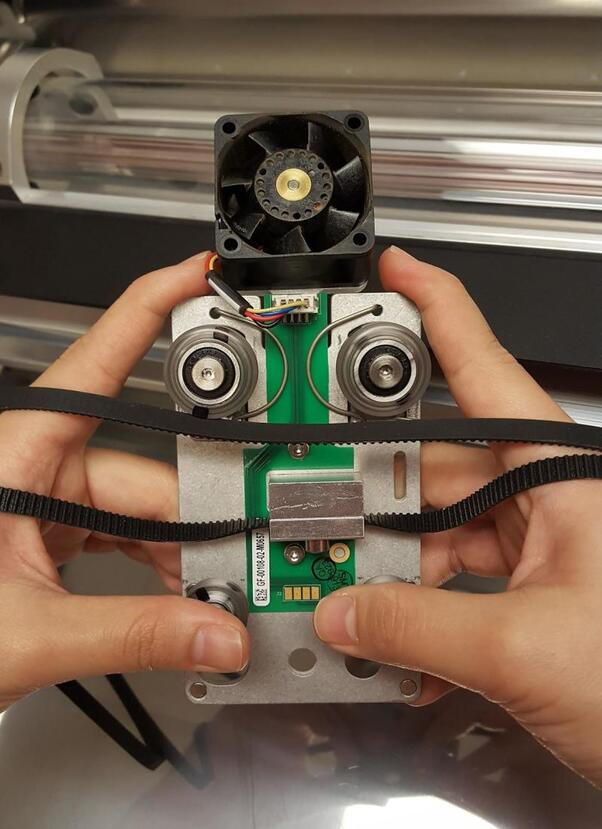
I appreciate you following some of the great advice from @Jules and @eflyguy. The pulley on your Glowforge appears to be installed correctly, and I’m not noticing signs that would indicate slipping. I’d like to review an image of the Carriage Plate located underneath your Laser Arm. When you have a moment, could you please follow the instructions here for removing the Carriage Plate, and send over a photo similar to the one below?:
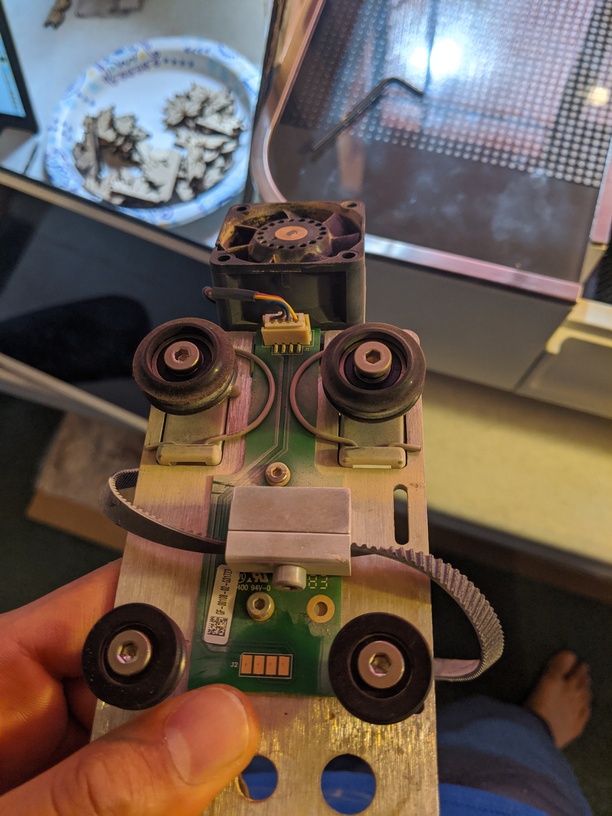
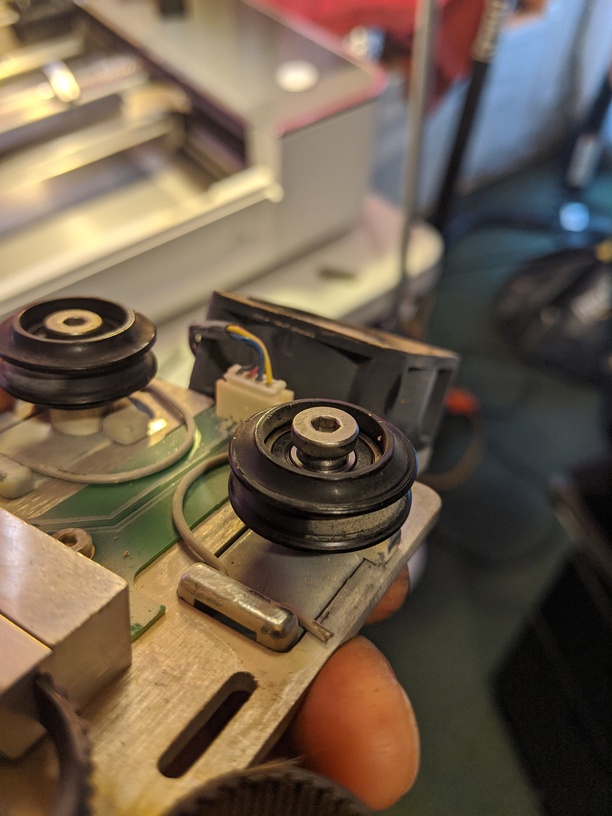
I managed to get it off and check the whole belt which looks good to me and the pulleys. I noticed that the right side back pulley seems to sit lower than the left. I checked with an allen wrench and it is fully tightened so that’s not the issue.
I had a hard time getting the whole cartridge back on without holding the right side wheel up in order to get it to sit in place. It doesn’t sound like that should be happening according to the instructions. I did manage to get it put back together and tried the cut again which worked much better.
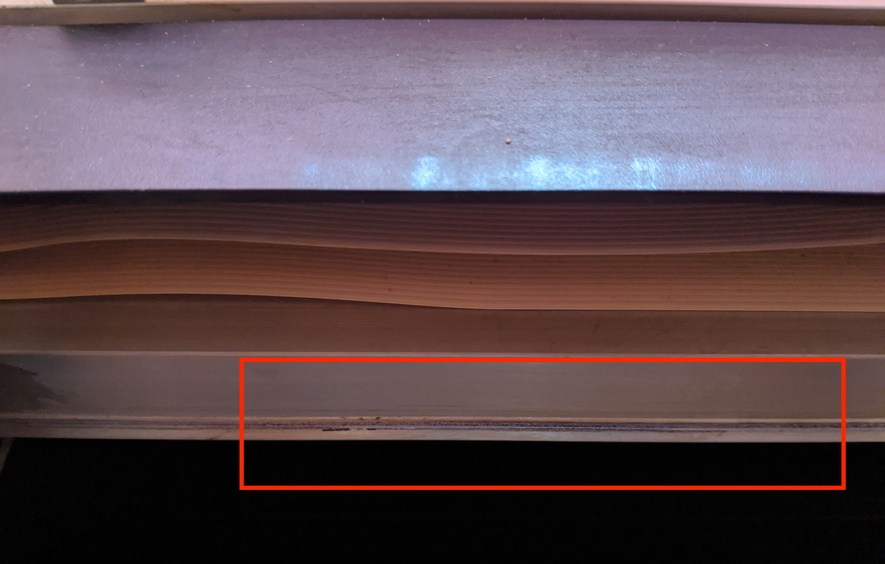
I’m not sure how that ended up off (I’m assuming that was the main issue causing the problems) in the first place but I’m concerned about it happening again somehow. As I was putting it back together I also noticed that the rail that the cartridge plate sits on looks like it’s been grinding /rubbing and it’s worn in the front which may make it not run as smoothly across:
I also tried starting a print and now it’s stopping a couple minutes in with a “Print Stopped” message. I don’t know if that’s related but it doesn’t seem to want to run for more than a few minutes and it’s not over heating or anything like that