How is anyone getting engraving to work when the image is anything other than a solid color? I was able to do a yin and yang style engrave, because it was black, and white, no grey. But every other picture I have tried has come out solid black and white again, meaning i can only get a silhouette, and not any sort of grey scale. I am turning the image greyscale before uploading, and I do some contrast changes to sharpen that up, but regardless, I get 1 solid engrave color.
I have tried all 4-5 of the proofgrade settings, I have tried varied power and the pattern and dots settings on manual…nothing is giving me any differentiation between different grayscale colors, I just am getting a binary image of black or white. Its been 2-3 days of fiddling with this and I am getting very frustrated. Maybe there is something wrong with my machine.
The effect can be subtle depending on your image. You might want to try a simple test with a stripe of black, a stripe of mid grey and a stripe of almost white. Vary power.
Some also have better luck using multiple passes. I’ll post a picture of a 3 color test I did. In a moment.
What you describe is very unlikely to be a problem with the machine. Wouldn’t worry about that too much. Descriptions are sometimes difficult to diagnose because we can’t see what you are talking about. Pictures? File?
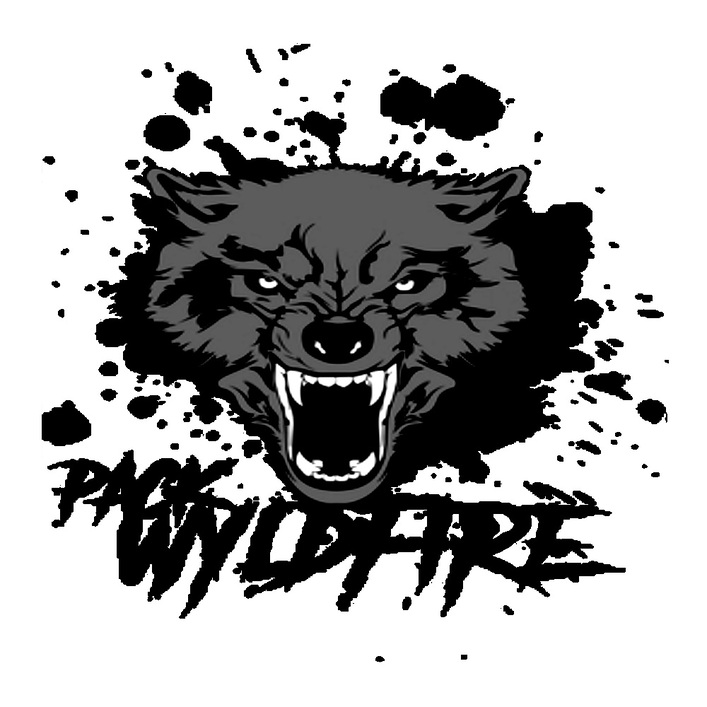
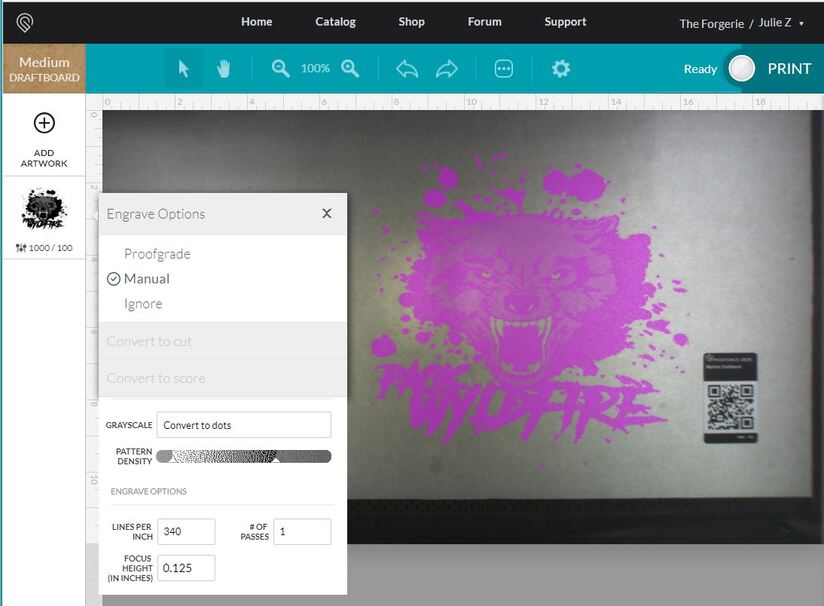
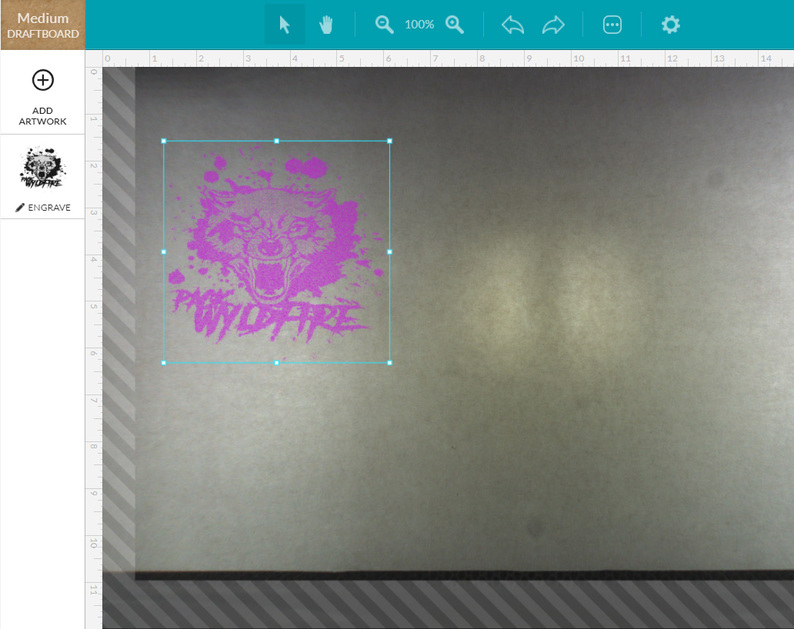
This is currently the one I am trying, but I have tried many variations with different saved settings and effects to try to get it to work. I am unsure what I am doing wrong, but I just get a solid black engrave each time.
Solid black engrave worked great for something like this, where there was no greyscale, but I am not looking for only the silhouette in the first picture
Ah. I don’t know how I missed that in the first post. Plywood isn’t the best choice for 3D engraving. You want to use hardwood for that. Half-toning works for photographs into plywood, but you’ll still want relatively high contrast images for it to work very well.
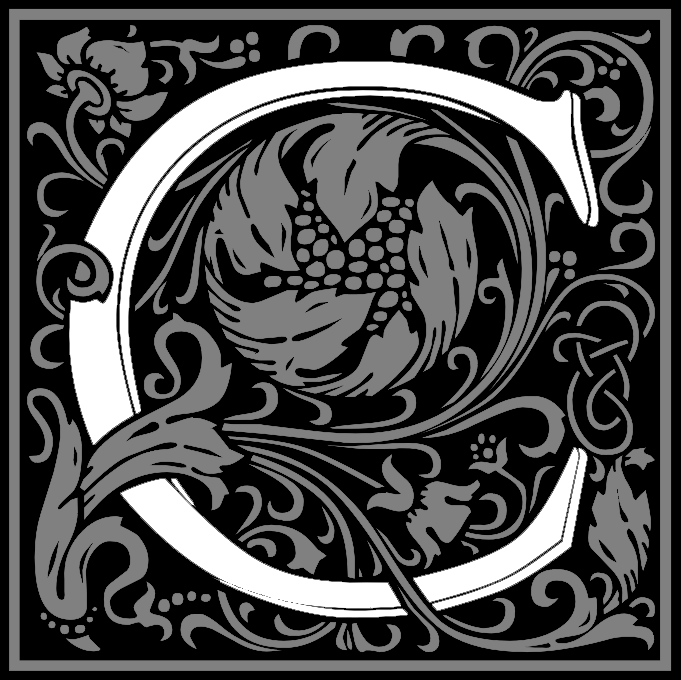
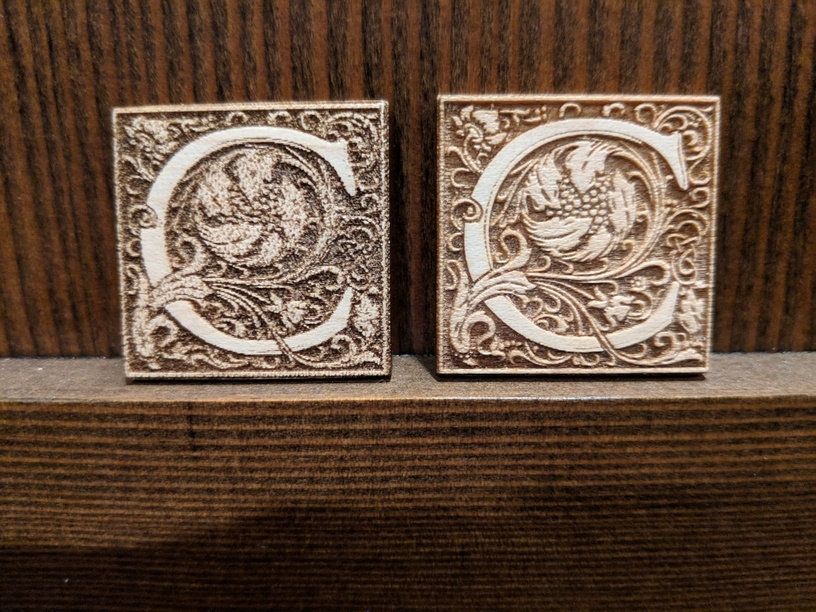
My first test of grayscale engraving was with a Goudy Initialen letter (free version of Goudy Cloister Initials, the original version of which was published in 1908). I’d used them for a 3D printing project and for that I wanted three depths. It turned out for making my leather stamp, monochrome worked better, but I did some tests on Proofgrade Maple Hardwood:
In the photo, the one on the left is halftoned and the one on the right is vary power.
Aside: I’d decided to use Goudy Cloister to customize one of the catalog projects thinking I’d add something original, but of course @jules beat me to it and Discourse showed me that old thread as a “recommended” one at the bottom of some other thread I was reading. It probably noticed I’d been poking around looking at the font again via Google. The internet, it’s stalking me.
Sorry, this is my first laser. I am very very new to all this. I was trying to make 8 coasters for some friends, and I dont know that I have enough hardwood to do that currently. I didnt realize I was not using a material that works well for what I wanted to do.
Thanks all. I appreciate the help.
Also, how do you determine the speed and precision power, (and the minimum power for varied power)?
No, its a jpg. The one that only needed to be black and white was a pdf because I made it have the circular cut on the outside all in 1 image, and jpgs cant be cut. But the image I am currently trying to do is a jpg.
There are only two colors with engraving, burned and not burned. What half-toning or dithering does is approximate shades of gray based on how densely the spots of color are placed. (Like an old-time printed newspaper image.)
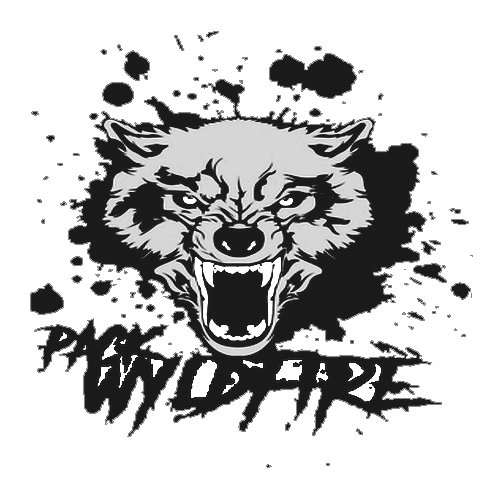
What you’ll want to do with that image is increase the contrast between the dark gray and the black, like @rpegg did above, so that you get a more clear difference between the two.
Great! Thank you all. I am sorry I am such a noob…but I seriously have been trying for like 15+ hours to figure this out and somehow had still not done so (which is hard to admit, as I was a 3.8 GPA Mechanical Engineering graduate)
Sorry. Half-toning is that technique they used to use in newspapers where there is only dot or no dot. They simulate the grayscale by changing the density of the dots. For us, it is actually called “Convert to dots” in the Manual Engrave. I suggested that before I knew what you were trying to engrave. You might be able to get away with convert to dots on plywood for this one, but it’ll likely give you a dotted texture that might not be what you’re after. And vary power might be hard to dial in on the plywood…
I think you’d want to start with minimum power at 0. The automatic settings for the photo engrave on hardwood gives 500/66. That might be too deep for what you are doing particularly since it’ll punch all the way through the first layer of plywood. So maybe start with something lighter (500/40 maybe?) and if it is too light (ie not making it through the mask, do multipass. You can even do it manually on the same piece if you’re careful not to move it between attempts. Got magnets?
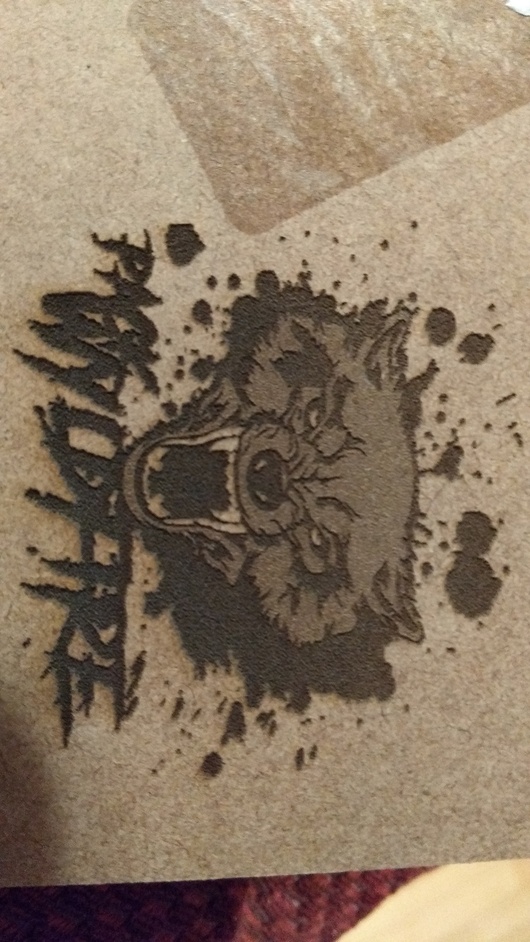
The wolf picture was too dark. The version I uploaded was lighter but still a little too dark in the face. Here are the results at only 225 lines per inch using the other automatic Proofgrade settings which are too hot for this type of wood. I used trash MDF wood. The PG would have been a little better.
I also was trying to go off the “ready” screen instead of printing more because i felt like I was wasting too much material, and the ready screen was showing solid red even for @rpegg 's image, but I took the leap of faith and started printing that one, and its working great, so I now know i cannot use that preview as a double check, lol.
Yeah, the preview is an exact representation of what you’re going to see, so if it looks a little dark to you, you can save some material by canceling the print and changing things up. (Very nice feature.)