I found this post from a year ago. Wondering if there’s any more thoughts on this:
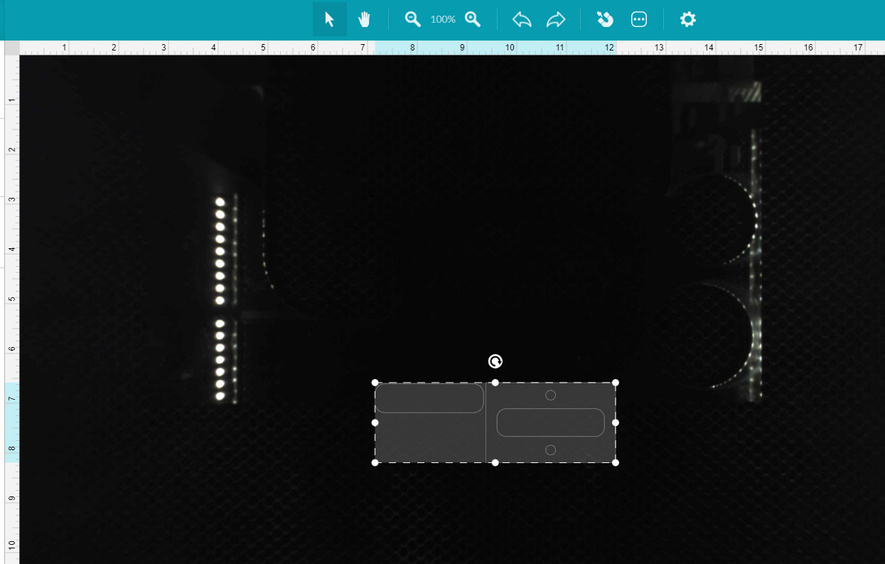
I’ve been cutting black acrylic lately and it’s very hard to see the black on black and figure out where to position my parts to cut. If the camera exposure could handle black stuff a bit better, or we could have a toggle button that would gamma up/exposure up the bed image temporarily to see where to position something it would be quite useful.
I’ve tried putting white paper under the acrylic to help me see where edges and also sometimes use bits of blue tape to allow me to see something but that’s not ideal.
Wouldn’t using paper masking solve this? I mask all my wood and acrylic and you can’t tell what the color underneath is. I use the paper mask from Expressions Vinyl.
When I need more light I use one or two LED work lights sitting on the glass pointing down. However, if you are going to engrave a 3x3 area say, if the masking is just outside that you can use it to align the work and also to use the set focus on the tape that will give better results,
When I have several cut pieces I want to be close but not overlapping I temporarily set them to engrave and so will be very easy to see and align very close before setting them back to be cut.
Another somewhat more extreme possibility is a UV flashlight that will color the plastic differently when shined through the lid than the surrounding metal grid.
I don’t need to mask the stuff I’m cutting so it would be a waste of masking material and extra prep time. Just seems like there should be a better built in or more automated solution to deal with something like a rather common black acrylic.
@rbtdanforth Thank you for the ideas. I will give these a try when I’m back next week. I just keep feeling like there should be some sort of smarter automated solution to this.
Yeah, I don’t want masking on my 3D engrave acrylic either.
My solution for black is to throw some scraps around the edges. I keep random small parts like hold-down clips on the side of the machine, and just drop a couple of then on the bed to mark edges. Sometimes I’ll use magnets, not to hold it, but to show the edges. I also have a “snapmark ruler” - just a white chipboard right-angle rule - and use that to mark the edges. I haven’t needed to use the snapmark feature since I was able to complete the calibration process, but it still comes in handy.
I honestly have not worked with black acrylic in some time, but it seems the bed got lighter if that is possible or maybe its just I am working with lighter materials. I will get some black soon and revisit but its been working out fine.
I’ve extracted the log files from your Glowforge to review your most recent prints. Based on the logs, your Glowforge is properly lighting the interior of the bed. The snag you are running into can be solved by utilizing Acrylic that already has a contrasted layer on top (such as our Proofgrade Acrylic) which can help with the trouble you are running into.
I’ll make sure your feedback gets back to our time, and I appreciate you sharing. I’ll close this topic for now, but please don’t hesitate to reach out to us directly at support@glowforge.com if you hit any snags. We’re here to help!