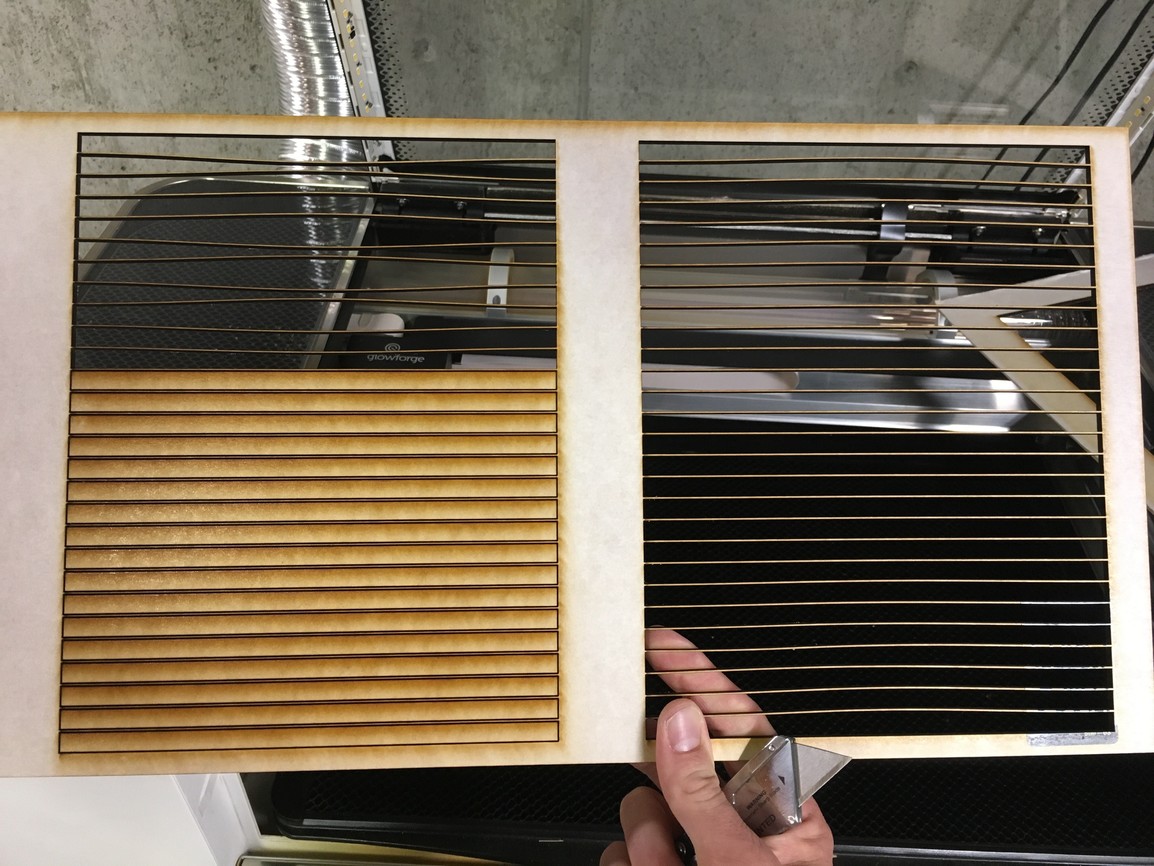
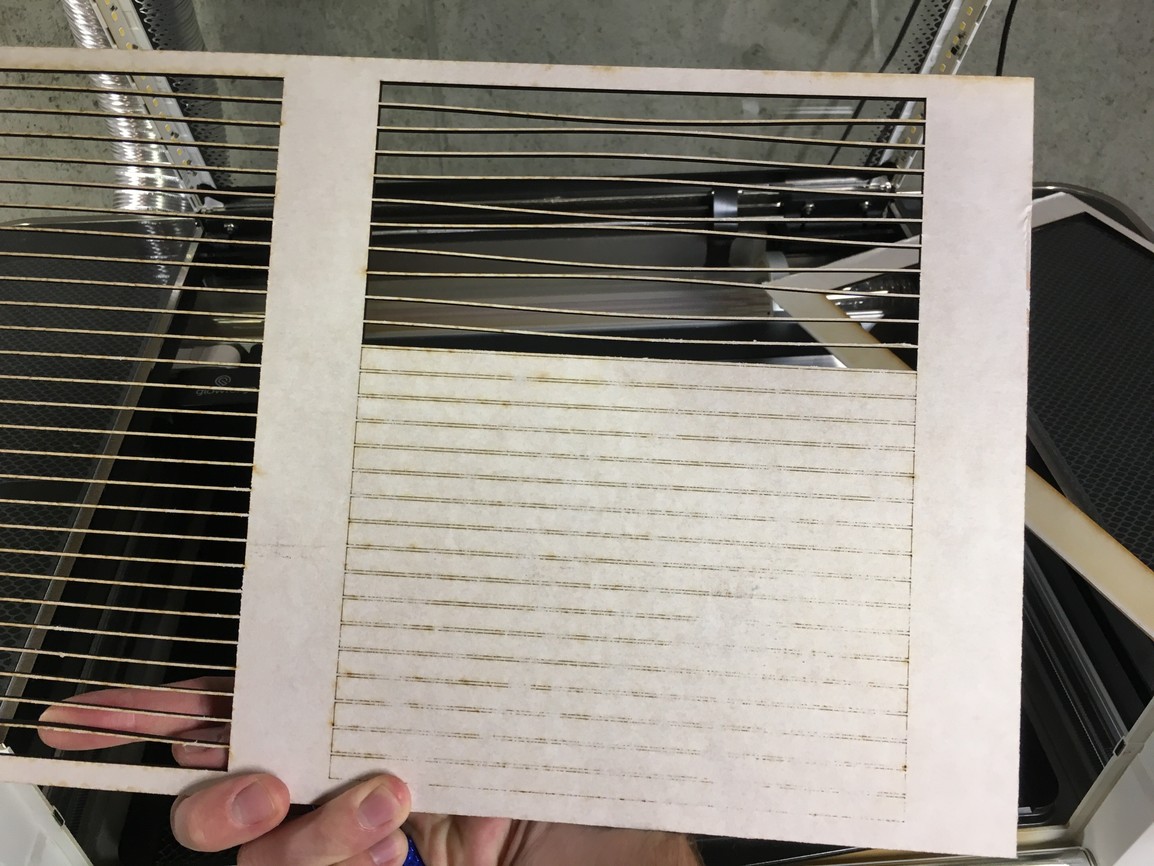
I recently tried printing a jig on some medium Proofgrade Draftboard, and this print failed. The print looked fine from the front, but when I looked at the back, the laser hadn’t cut all the way through the material. When I tried to use a razor blade to cut through the remainder of the material, the jig broke.
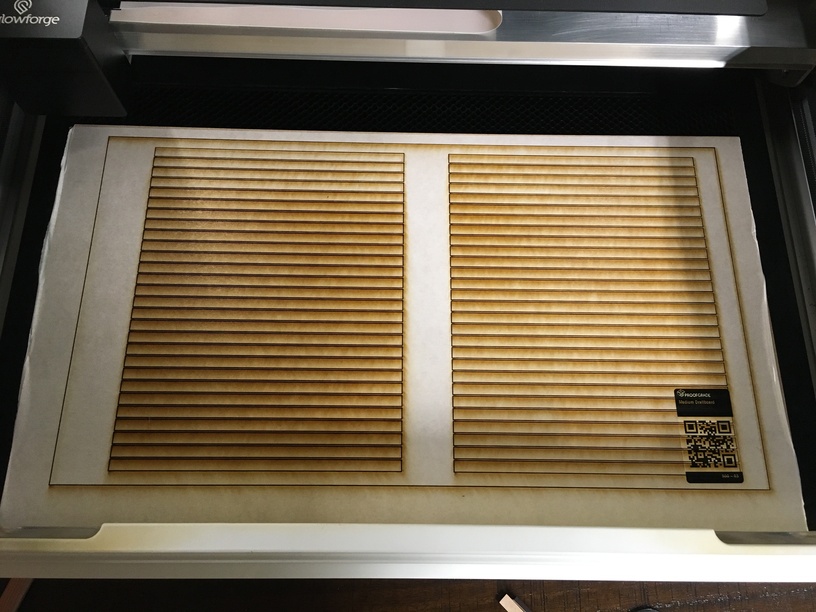
I haven’t had this issue with any other Proofgrade that I’ve been using - I just printed a redesigned jig on a piece of proofgrade plywood (and even got to use Snapmarks! ). I think that I just had a print failure with this one piece of material.
Is there a way to go about getting a replacement piece of Draftboard?
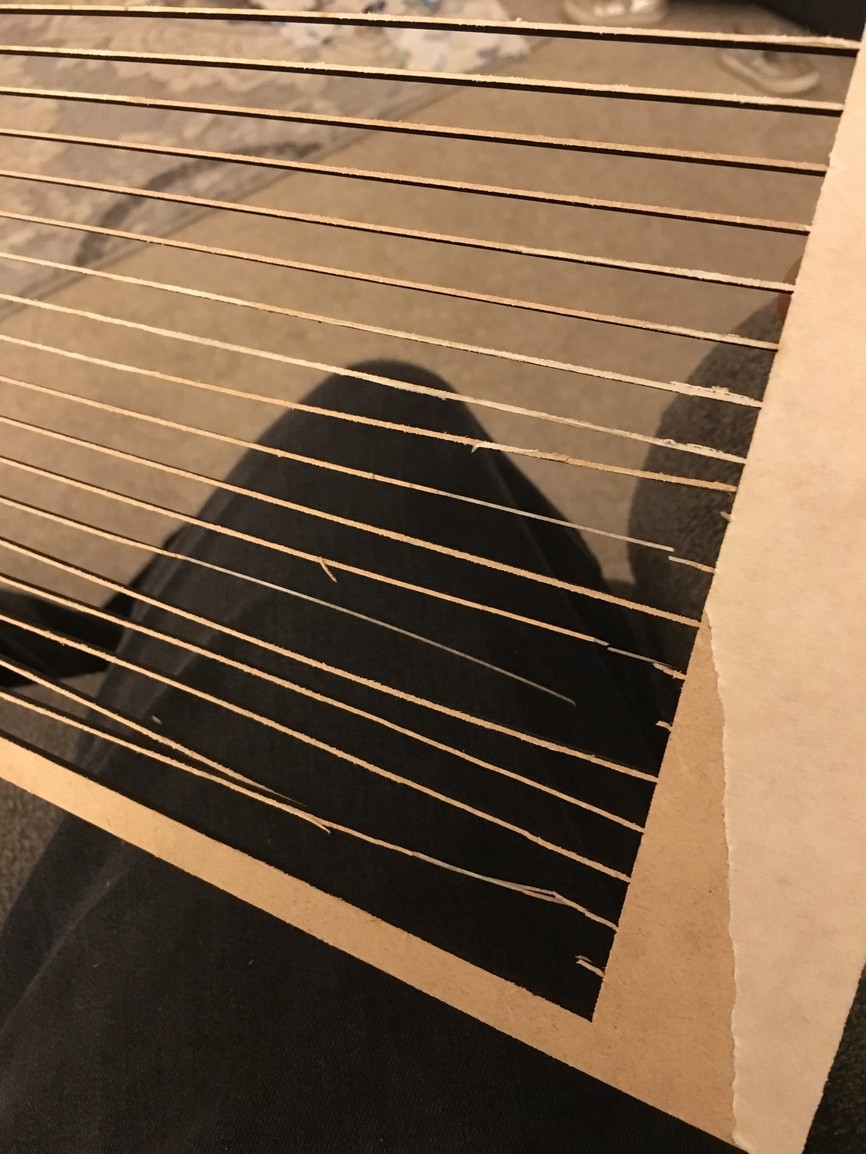
You might want to thicken up the space between your cutouts on the design. (That’s not really enough material left in there for stability, and your next jig might fail as well. Especially once the humidity hits it.)
You can test your cuts for completeness by using a weeding pick or sticky tape to remove the cutouts. If they do not lift out easily, send the cut a second time. If you can do that without moving the backing material at all (one of the reasons we pin it down) then you can save the jig. It will cut in the same place it did before.
The problem might be inconsistent material. Certainly, I have no way to know. But looking at your photo it appears the cuts get progressively worse toward the corner. That’s what happens to me if the corner is lifted slightly during the cut.
If you always check that the material is flat to the crumb tray, great. If not, it’s very important.
I did increase the space between the slots on the next jig that I tried. I saw immediately that there just wasn’t enough material between the slots
The next jig I tried was also plywood, not draft board, so that probably helped too.
But thanks for not getting defensive. An unbelievable number of people somehow think that receiving basic suggestions are somehow equivalent to being called stupid. It’s not like anyone here can know whether the operator is new or experienced, whether they wing-it or are methodical. Looks like you have it covered.
Reasonable to ask–but materials can warp in shipping (I have some med ply that has a good 1/4" warp I’m trying to get out), as well as even if seems flat, if not properly “tied down” to the bed with magnets or pins, or even a little bit of backing catching the edge or folded back on itself can lead to inconsistent cut results.
Also draft board is MESSY, and it could be with so many cuts, the issue was more with your lenses getting dirty that resulted in an effective reduction in power…
So no, too many operation and set up variables that unlikely you’d get the material replaced, but doesn’t hurt to ask!
They are probably going to want to know the time and date, so they can check the logs.
They probably won’t just send you a new piece, but you should get a store credit for the cost of the proofgrade material that didn’t perform to spec if after investigating the logs they determine that the material was the issue.
When that has happened to me, it has almost always been because the lenses needed cleaning. That was a LOT of cutting, could have been they started out clean enough to still work okay, and by the end the residue had built up enough to affect your cuts.
Humidity seems to really affect the draftboard too, from what I’ve seen others post. We’re heading into rainy season in the PNW, so I’ll probably start learning about that now, too.
Don’t you just love how the skinny margins look, though? So straight and perfectly uniform; I just want to run my fingers over them!
Thanks for reaching out. I’m sorry for the delay in my response and that your print didn’t cut all the way through.
Could you measure your material with a pair of precision calipers (or another precise measuring tool) if you have them, and send me the values you record? Be sure to remove the protective layer on both sides before measuring.
Jaz,
Thanks for responding! However, I have a confession to make. After looking at some photos that I took after I did this cut, I realized that I didn’t put my magnets on the edges of the Proofgrade like I normally do. When I originally posted here, I had assumed that I had done that, since I usually do. But it looks like this failure is on me, since I didn’t account for any slight warping in the material
Thanks all for your help with my questions!
@andy_elder we’re so glad you were able to get this sorted out! I’m going to close this thread. If you still need help with this please either start a new thread or email support@glowforge.com.
 ). I think that I just had a print failure with this one piece of material.