
If you are like me, you would have had to look up fanning mill.

This explains what I am trying to do.
My niece is very involved in community agriculture and she and a friend grow lots of heirloom beans to dry. She got an old fanning mill. First she found a motor to put on it and got that going. Then she started working on the screens to sort the different beans.
This is what she needs to sort beans like this.
Cranberry 11.9mm
Jacob’s Cattle 10.31mm
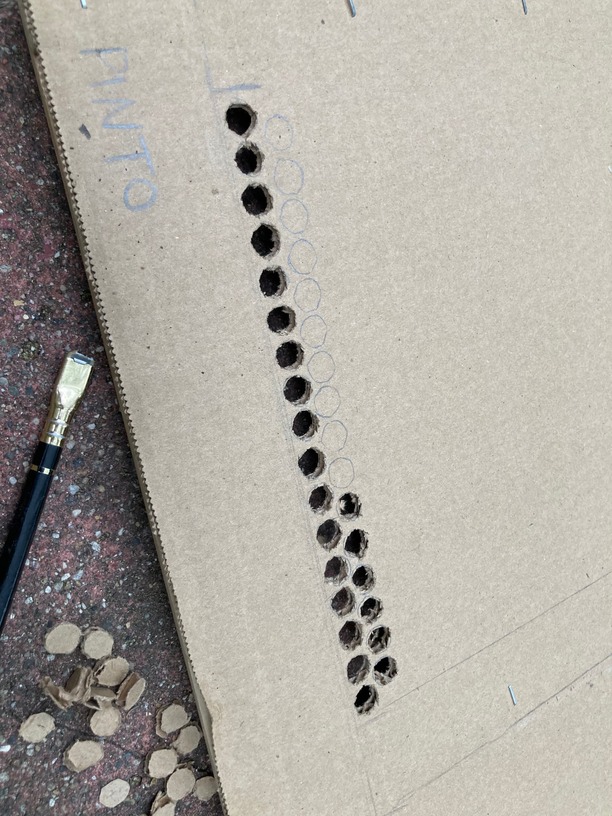
Pinto 9.52mm
Black turtle 7.93mm
This is the recommended hole diameter by bean type.
Then she tried to do it with a hole saw.
That would take too long. Then she remembered her uncle has a Glowforge ![]() , that could take care of the project.
, that could take care of the project.
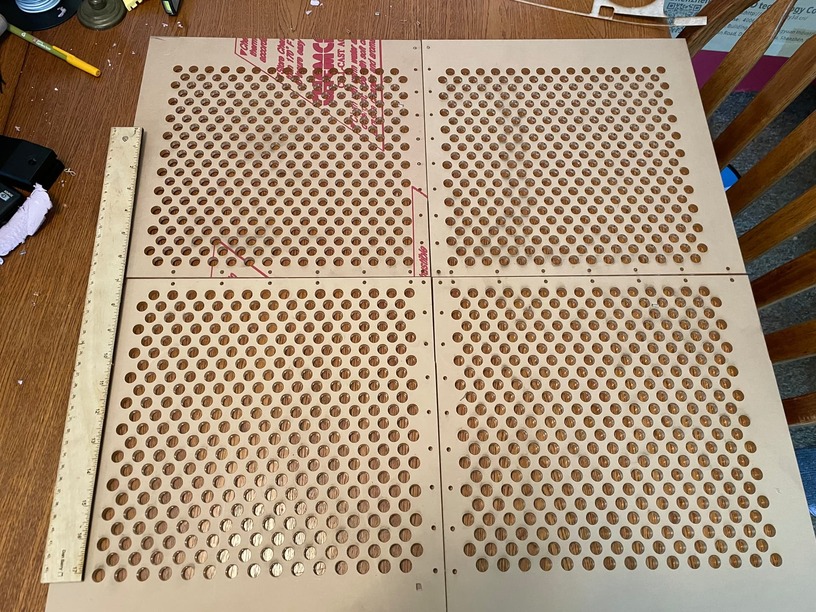
So I’m working on this for her. I am using my thick acrylic of which a have a boatload. If my CNC were set up I’d use plywood sheets the full size. But I can manage with different steps.

Two issues to manage:
First is getting screens the size she needed using the dimensions I could fit in the bed. I did that by breaking up the larger cuts into parts and then rotating the part in the bed. If I had a passthrough, it would have been easy to manage the size needed. But I’ve learned how to manage larger projects. It’s tedious, but doable. I have a very accurate machine that using set focus allows good visual alignment. For this purpose I didn’t need a jig so there is maybe a kerf width here or there difference in some of the cutout lines. She will need to resize these anyway to drop into a base frame.
The second thing is accurate hole sizes. This is where understanding of kerf and material are crucial. I tested and retested. This is especially important because of the draft of the kerf in thick acrylic. To get a size within a hundredth of a millimeter at the top gives me noticeably smaller hole on the underside. So there is a right side and a wrong size. The bottom needs to be the top when the screen is put into the mill to get it exact.
I guess these screens are meant to give you uniform sized beans in the output.
Best would be a metal screen and a hole punch like the guy in the video, but a laser works ok for this application. I’m sending her the first attempt to see how that works out. Then I’ll make the other sized screens.
I’ll post updates when she gets it going. This has been fun. Forced me to set up the exhaust correctly for the house. Love my new external exhaust fan. It’s also given me incentive to get my CNC back in action. Would be trivial for it since I can do 28 x 28" materials in it. I need to come up with a new bottom screen for her that is 1/2 holes.
One final note. Using the clone tool in Inkscape makes doing this easy. Just resize one hole and the rest are made for you. Love this tool. A detailed how to is found in my American Flag Vector post.
The whole project is fun.