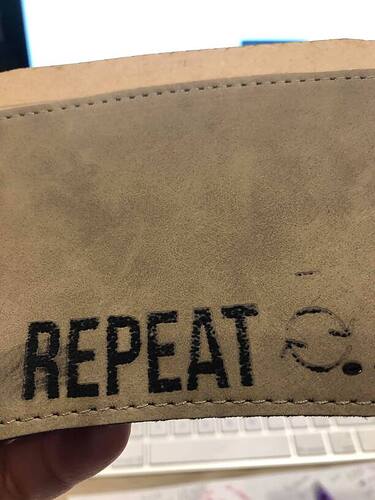
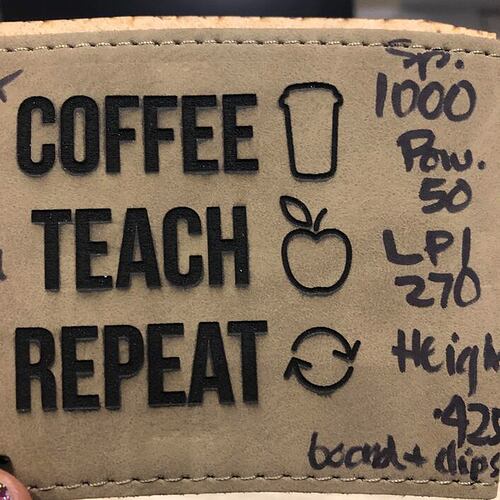
I’m struggling with this material. If I use their instructions it burns thru top and bottom of the cup sleeve (see black hole in bottom right corner). I used instructions in one of the posts here for similar materials and seems to work, but the engraving is inconsistent. The letters are supposed to be solid, same with the image on the right barely has a burn. This is the saddle collection, anyone has experience using these and can help?
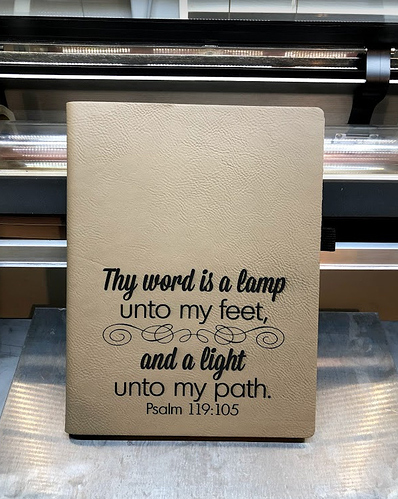
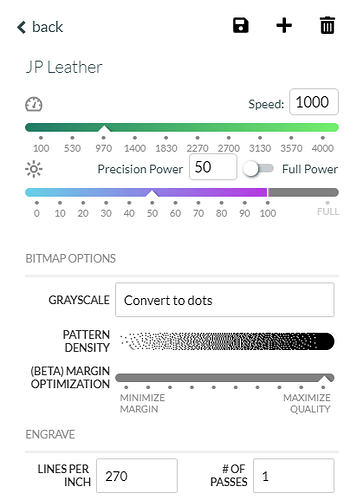
Here’s what has worked for me with the Saddle items. One thing for sure is I had to rasterize the engrave to get it to work well.
Example:
Here’s from JPPS: https://s3.amazonaws.com/jpmagento-public/documents/techtips/Saddle_Collection_TechTips.pdf
And, here’s a GF post where someone shows their use: Vegan Leather Sourcing
Awesome, thank you!! How do I get to the bitmap options that you show?
That’s what I tried and it burned thru.
It has to be as flat as possible. Is that a cup sleeve?
Yes, I made an MDF insert and have clips all around. Had to add a piece of MDF in the bottom to make sure it was leveled.
I posted long ago about this product and found that 450 speed and 10 power worked for engraving. You may have to adjust lpi Experimenting with "leather"
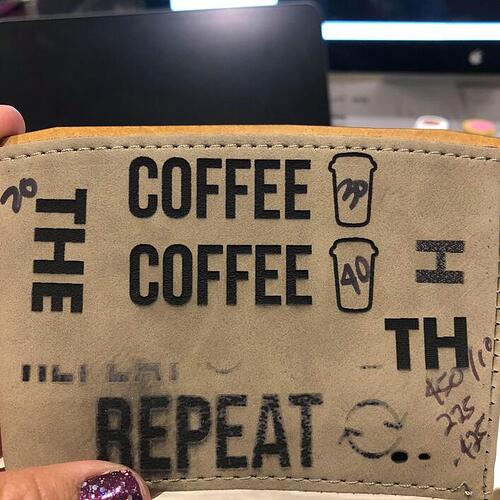
I tried your settings. It seems to engrave better, but still inconsistent.
OK, silly question–are you using set focus (auto focus), or entered the total thickness with the MDF insert? If you’ve just entered the thickness of the material, that may be why you’re not getting good results…
You have to have a bitmap as the art. A filled vector doesn’t have those options. You can make your text as normal and then export as a PNG.
I’m using the thickness of the material… just the material. I just adjusted using the material + jig and seems to be working great with @MechanicalGoose specs… I tried them at 50, 40, 30, and 20. I think I prefer 20. @MechanicalGoose do you use anything to wipe it after is done? @dklgood I tried your specs, they have similar results as the 1000/30.
I usually just use alcohol wipes.
Glad I thought of asking! Do be sure to always use the actual thickness of what you have on the bed (material + any form or sticky mat underneath it) to ensure the laser can focus properly  And as you did, test settings to get the result you want.
And when you find the settings you like, you can “SAVE AS” and name them, e.g. “cup holder with mdf form”.
I work with many leathers, but not any faux, but nearly always just use a bit of soap on a soft toothbrush & bit of running water to ensure all the excess soot is washed away from any etched areas or cut edges. Some suedes or nubucks that don’t do well getting wet I use low tack painters tape over the area until I no longer see black on the tape after I pull it away.
When you set material thickness, you are actually telling the Glowforge where to focus - not describing the material’s actual thickness. Set focus is a quick way to insure proper focus length.
