So after enough daily glares from my wife (“does that really have to sit in the family room?”) along with my temporary window dryer vent which had the unfortunate feature of being 5’ away from the whole-house-fresh-air-exchange intake (had to keep remembering to run down to the furnace room and shut if off), I finally decided it was time to do a real install into the downstairs maker room.
There were a couple of challenges today, largest of which was it was absolutely down pouring here, so we set up our 10’ popup on the deck over the area we would be working on. The existing hood vent was already in place, and after a quick look up into the suspended ceiling of the basement, could see a good spot to bring it in. So off to Home Depot to get a new dryer vent, integrated 8’ flexible metal pipe with built in elbows, aluminum real duct tape (as opposed to “duct tape” which isn’t).
First off for sanity check, I took a 1/4" x 18" auger bit and plunged through where I figured the space would be with enough clearance above the lower level of the deck. I was a bit off center in the joist space, but luckily within about 2", so the hole saw would overlap the extra hole. So cut a 4 1/4" hole through the cedar clapboards, multiple outer sheathing (our house being very new has remarkably tough walls) and I used up almost an entire battery pack on my dewalt cutting through.
Put the vent in place and traced the outer rim. Chiseled it flat onto the outer sheathing (ugh, the cedar is somewhat fragile and 2 small cracks happened despite scoring), probably could have used a multitool, but I just filled the cracks. Screwed the faceplate in, and silicone caulked around it. A little sticker and we are all done outside:
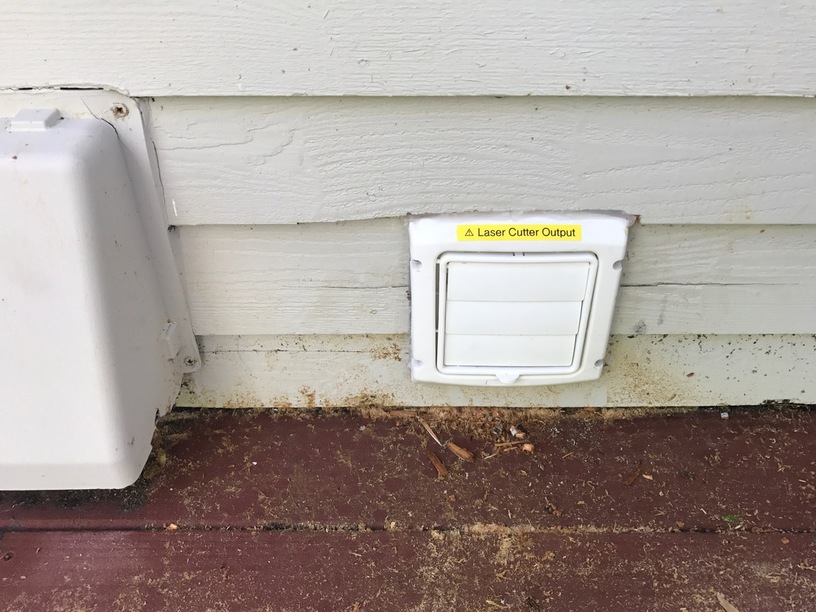
(once that is all dry I will clean but it was all soaked but didn’t want to hose until silicone is cured)
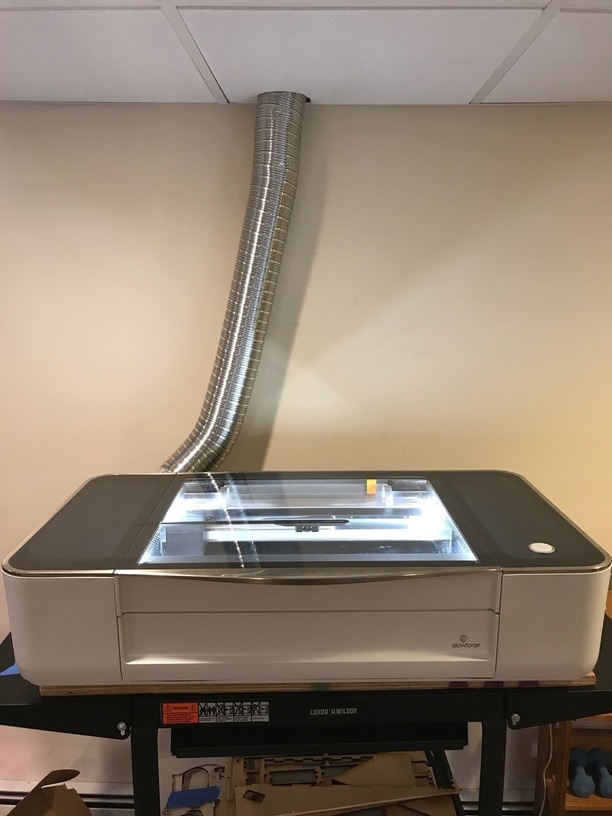
Next was the inside, sealed all joints with the aluminum tape, including all seams in the elbows. Used a 4 1/2" hole saw for the ceiling tile, cut the insulation around the pipe and closed up the ceiling. Plugged in the GlowForge and was back in business. Ran a couple of test jobs (deliberately smokey by heavily engraving Home Depot plywood) without a whiff of smoke… Also had my son verify that smoke was coming out nicely and that all the vanes lifted easily when running.
 GLOWFORGE™ BREATHING TUBE"