We always have a large thanksgiving dinner (typically 25-35 people) so placecards are helpful for keeping some sense of order. At other large gatherings I have done puzzles, and engraved acrylic place cards:
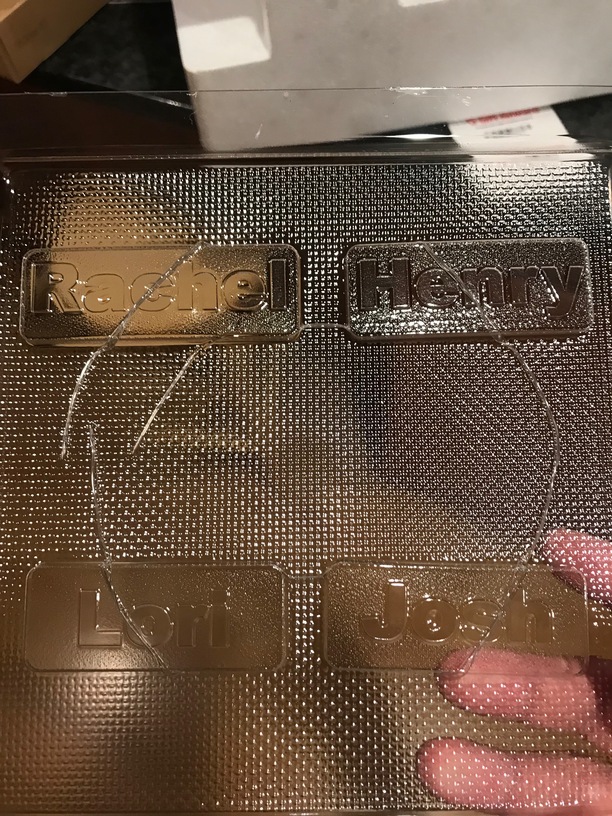
However this year, I decided that chocolate placecards would be a great project. So I started with ![]() Thick clear acrylic. and in AI make the text a compound path in a filled black rounded rectangle so the name would stand up. I increased the power a smidge as I wanted deep letters. In the end the letters stand about 2mm above the card.
Thick clear acrylic. and in AI make the text a compound path in a filled black rounded rectangle so the name would stand up. I increased the power a smidge as I wanted deep letters. In the end the letters stand about 2mm above the card.
I then took each of the rectangles and placed it on the bed of my vacuum former, and using the food-safe sheets (polypropylene?) I formed them. I misread the temperature settings for the plastic sheets so it got a bit over-baked which led to the wrinkles (it was bowing at least 4" below the frame - oops, and I will remold it (since that takes only a couple of minutes). But the molds look great. I didn’t even remove the masking paper and it stayed on through the molding process without a problem.
I was originally going to 3D print the bucks, so I could put a 2-degree draft angle in, but that would have taken days, as opposed to this is pretty fast. and I had no problem getting the bucks out. (the nice thing is thick acrylic will yield a tough block of chocolate which is less likely to break.