That movie was just playing on cable…excellent film. (Both versions.)
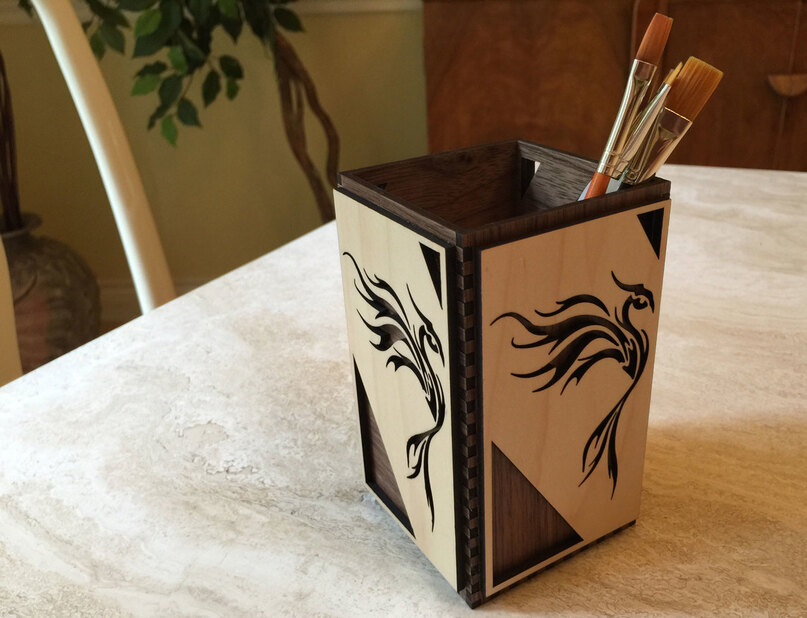
I wanted to lose the tin can currently holding my art brushes, so I whipped up a little brush holder for them. (I guess I make a lot of brush holders, don’t I?)
Maple and Walnut Proofgrade plywood.
It has a few notches worked into the design that serve a purpose…I hate laying a wet brush down…they never dry correctly.
You could also use this to hold screwdrivers and wrenches or whatever you need to stand upright…if you don’t mind a phoenix motif. It might wind up holding tools - it’s large enough for it.
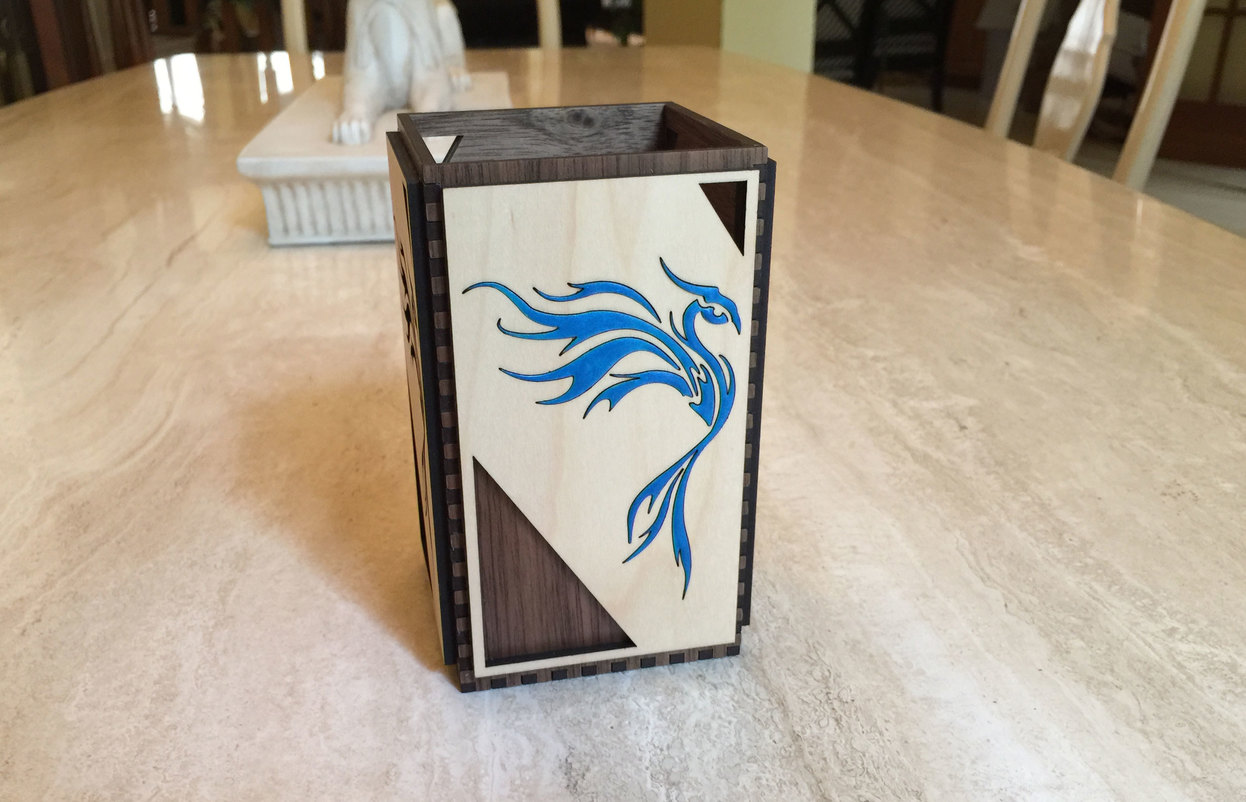
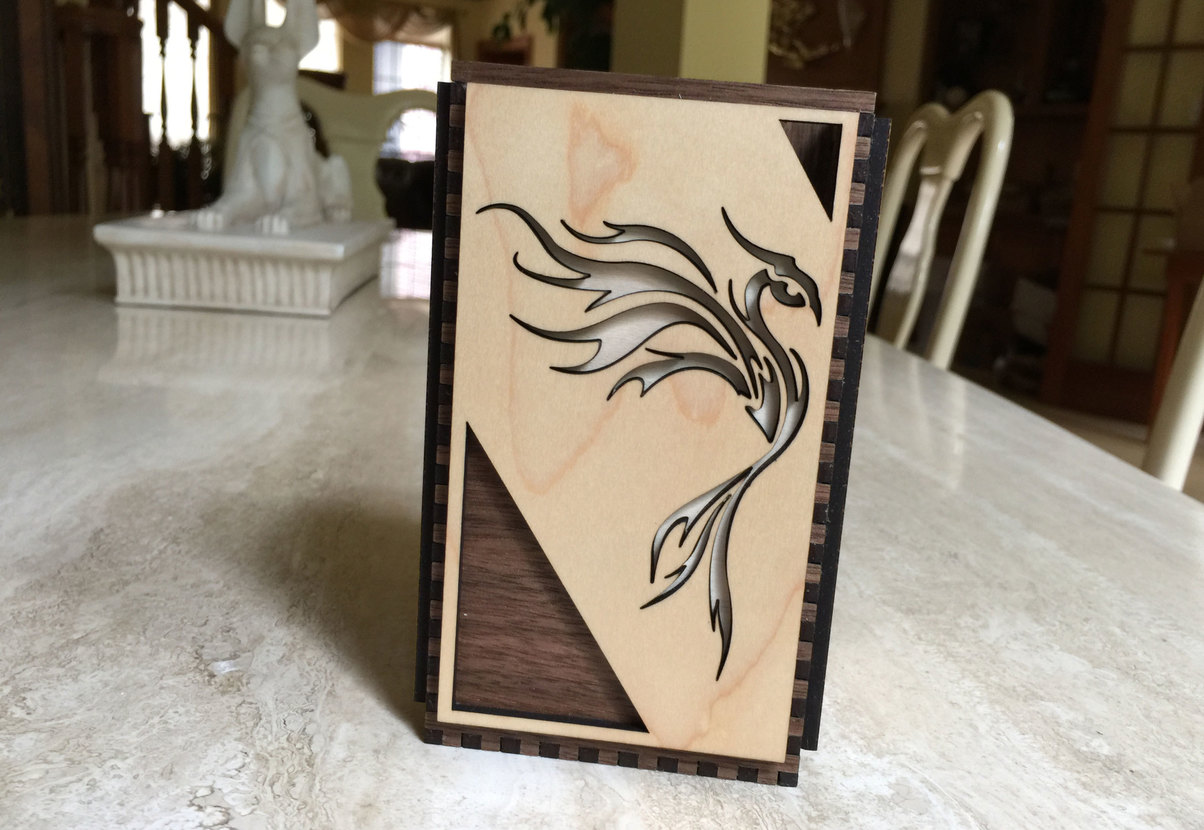
And I did a couple of alternate renditions…just to see which I liked better.
Here’s a blue PearlEx painted re-insert of the cutouts. (Kind of cool, the PearlEx was gathered up from the floor and mixed with wood glue and painted on…it made a nice domed effect with the glue.)
And this one is a little more subtle…I used maple veneer to cutout the shapes again and stuck them in the holes. It gives a deep “niche” effect to the maple.
So anyway, just some ideas for how to dress things up.
Fantastic job!! And glad you gathered the Pearl Ex off the floor BEFORE mxing it with the glue !!
I’ve only used Pearl Ex with my acrylic blanks (for pen turning). I wonder how using a cutout inlay and then pouring (colored) acrylic into it - as opposed to cutting out an acrylic inlay - the advantage being some cool peral color effects…
Inspiring, too. I need to create tons of boxes and containers. The ones down in my studio can be utilitarian, but I’d like for the ones in my living room to have some aesthetic appeal. The idea has been churning in the back of my mind, but hasn’t really congealed yet … seeing this makes me realize that it doesn’t need to be overly complicated to be beautiful!
This is gorgeous. I love how you layered the cut-out panels over the darker wood. And, I’m glad you were able to reclaim some material from your trip into the ‘wild blue yonder’.
I’m really liking the use of the finger joints in the dark Walnut. The charred edges blend nicely with the dark finish, giving a great looking tone on tone look. Very subtle compared to joints cut on Birch or Maple.
You could certainly use the cutouts from one in another one if you want to do inlay …I have them set aside for experimenting with finishes.
That’s why I left the box joints exposed in this particular design…and I love how it turned out. I think I’m going to rework that Lithop Pot design to just use box joints across the whole thing…it will save material and weight in the piece.
Just so much going on with the design, but nicely balanced. The design details make something like a simple art box inspiring for doing things like this. That’s a big criterion for me: does the design make me say, “I want to do something like this.” Thanks for sharing.