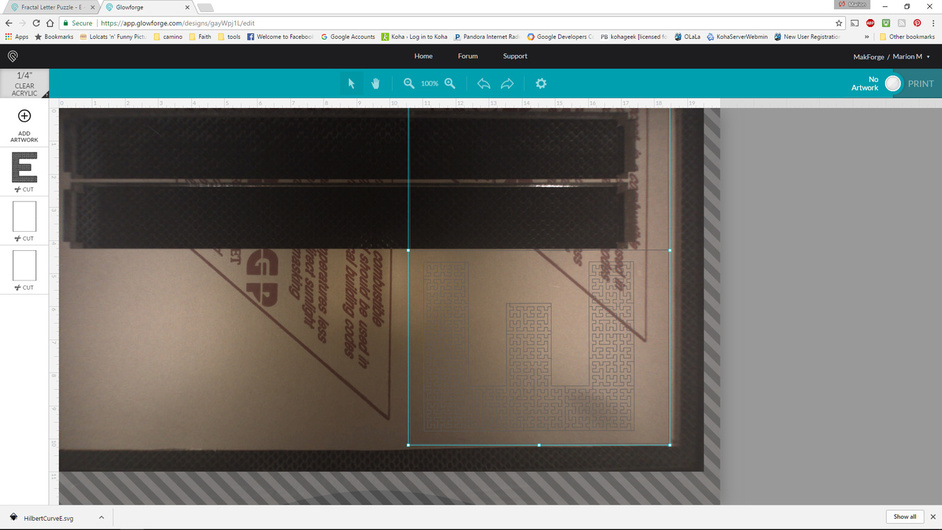
This is super @joe. I’m printing it now. i dropped it straight into the GFUI. It will work as is, but then I stopped to tweak the design a bit.
Because I had some acrylic that would fit this design if I rotated it 90, I did so. that left the bounding rectangle too big to put into the GFUI with the material located.
So I went into Inkscape and looked at the bounding rectangle. You have two overlapping red rectangles sharing a side. In and of itself it isn’t a problem, but then you are cutting twice in one spot. Since the two rectangles overlap, they are treated as one big object with the E in the center. It limits your ability to place on material.
There are several ways to do this. Just have one line in the center and you have a big rectangle with no double cuts.
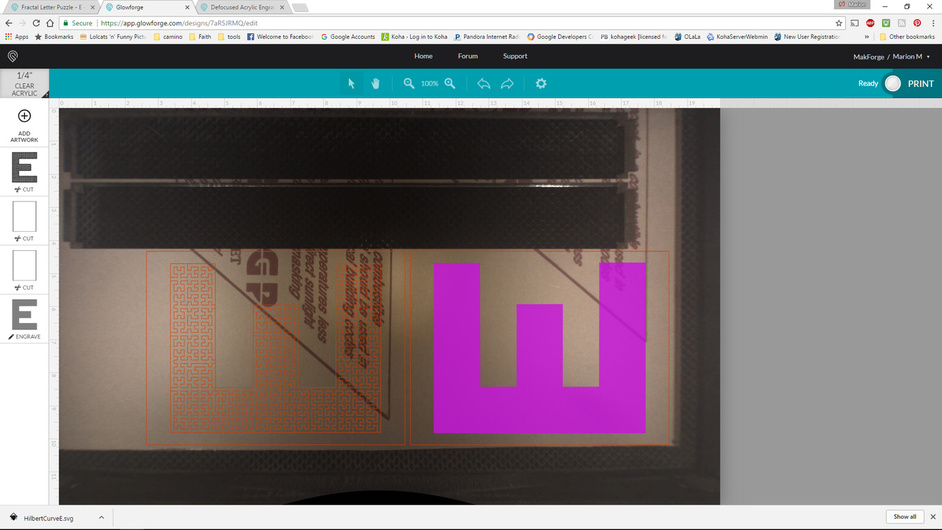
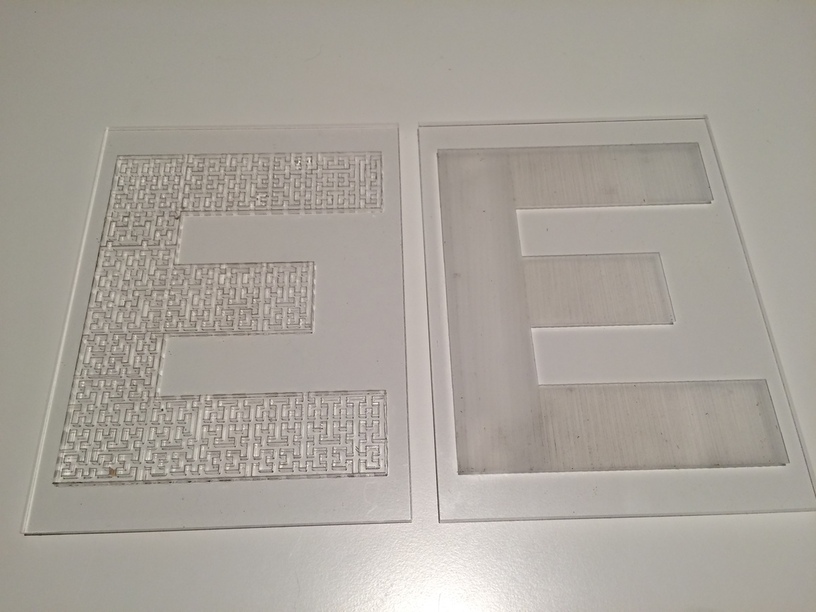
I chose to color each of the rectangles different and separate them. That allows me more flexibility for placement. I also did a fill for the E. I’ll engrave the bottom plate and that will allow the puzzle to drop in and not need any boundary, at least, that’s what I am thinking. I wanted to test @takitus’s defocused engraving on acrylic.
Awesome! Thanks for the suggestion. I didn’t realize there were double lines. How do you find/get rid of them in inkscape? Is there an easy way, or do you have to it manually?
I wasn’t sure if you had a center line in a larger rectangle or two overlapped, so I selected the bounding rectangle, switched to outline view and then to node editing view. that revealed the extra nodes in the center. I broke the whole large rectange apart and that left to individual rectangles. Selected one, colored it different and then nudged it over.
Wow! That must have taken a looooong time. Is that the 1/4" Chemcast acrylic? The masking on that stuff is a little harder to remove, especially if you get flashback which I always seem to do if I forget to use sacrificial cardstock underneath.
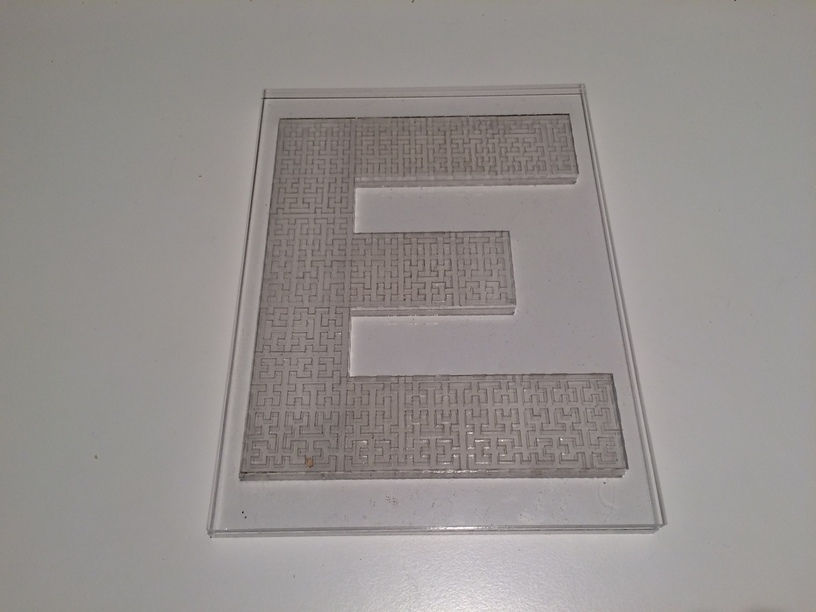
Thanks for the reminder about the flashback and extra backing. And then I have some issues with long intricate cuts not finishing at the end. So when I do the slump bowl cutout and when I do this, the final pieces don’t quite go all the way through. I was able to shock them loose. I have a PRU and this is chemcast and I used Proofgrade settings, but I want to do a test on that one more time and then send a report. This was a two hour print.
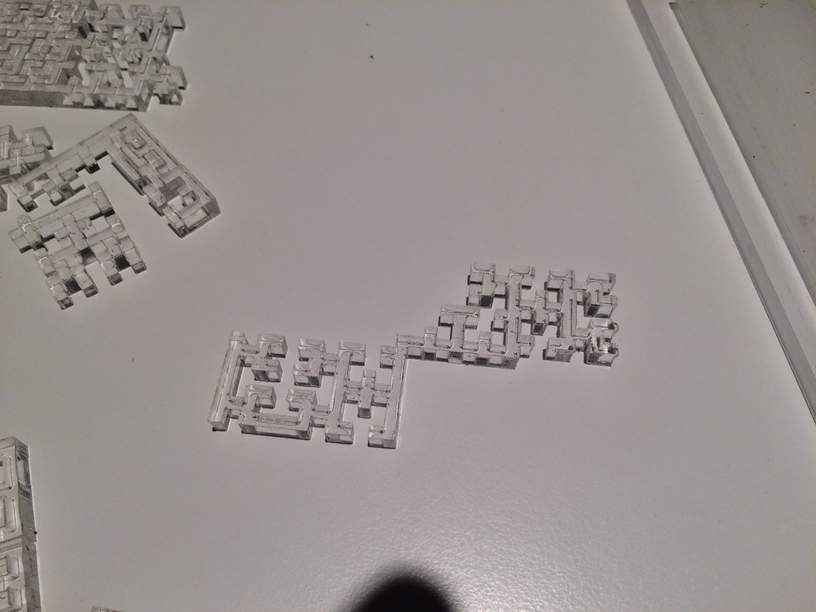
I guess people will be able to put this puzzle together, but I look at it and think, “I’m just going to keep it in the tray.”
I’ve not had a 2 hour print–longest was 1 hr 15 min-- but you do have the earliest PRU and have issues later units didn’t have. I have not seen this one at all.
My settings are 80/20 with two passes. That works most consistently to not have blast through nor wide kerf. That makes it longer. I believe the production units are recommending 100% power and one pass.
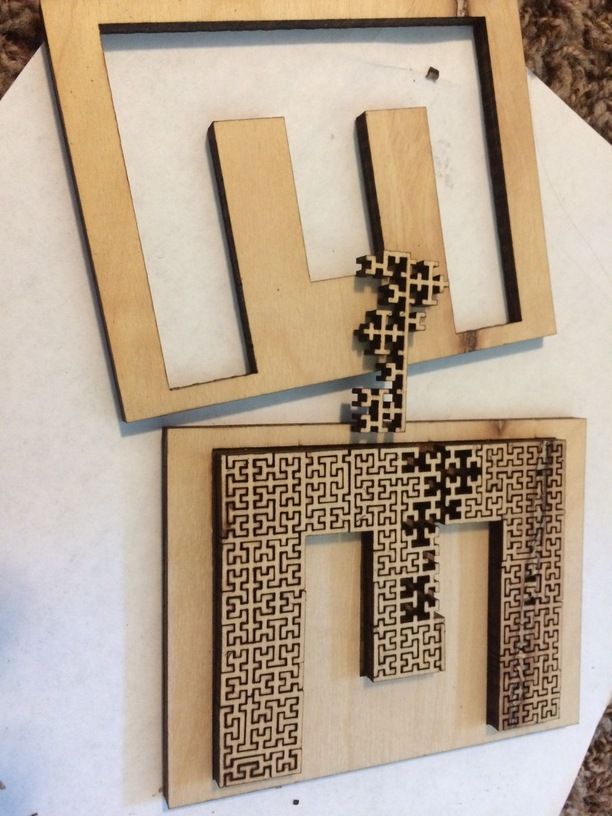
I printed this out a couple of weeks ago. Was afraid to take it apart for fear of not being able to put it back together again. So I was messing with it trying to decide what to do for the backing, and I accidentally spilled it. Aaaarrggghhh!! Sure enough, I couldn’t put it back together. I enlisted the help of my puzzle fanatic granddaughter, and she failed as well, but that was because I had it partly put back together incorrectly. Who knew that some of the pieces could fit multiple places. Evil!! So I decided to create a solution file from the original. I won’t tell you how many hours it took for this relatively easy task. But after much obsessing, learning about joins, etc. I succeeded! I’m new to Inkscape and it was very frustrating trying to join paths so that there was a closed loop (sometimes it worked and others not so much), and I still haven’t figured out the why’s, but I have a final solution. I hope this inspires others to try this puzzle out, as it is fantastic! It’s amazing how the pieces disappear after you place them. Thx for the share, Joe! I need to try my hand at creating a different letter now. Not sure I can do it!
A few tips.
I put blue painters tape over the pieces before I took it out of the Glowforge. This let me hold them all together while removing the pieces to glue the backing on.
Paint the backside of the pieces (I actually just used a black sharpie). It will make the puzzle slightly more forgiving if you can’t accidentally put it in upside down.
While I commend you for figuring it out on Inkscape, I actually cheated and just used plain old paint. Let me explain some more, which should help you make other letters.
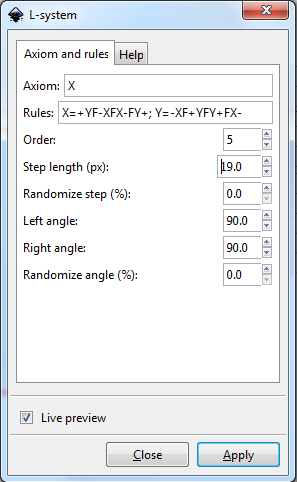
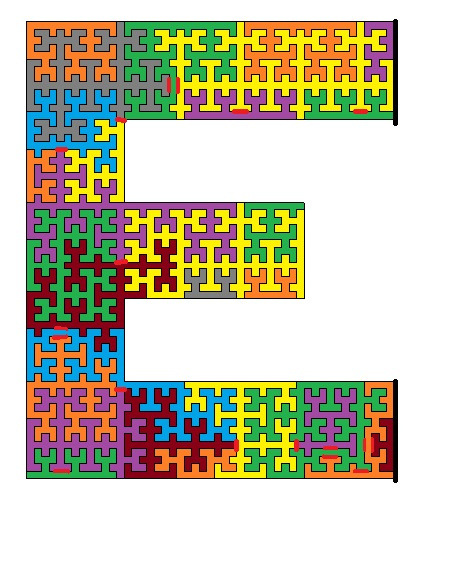
I made the fractal in Inkscape using the L-System as above. Then, I figured out what I wanted for an outline of the letter. I connected those, then deleted the rest of the lines. I was left with the E, but they were all interconnected. I took the image to Paint, and then used the lines and bucket fill to come up with where I wanted to make my pieces. You can see in the image below, the red lines are where I wanted additional cuts to make the pieces. Once I had this key, I went back to Inkscape to add and delete line segments as needed.