I did make some modifications. Specifically, I wanted a cover for it, so the pieces don’t fall out in transit. I had some small (1/8" x 1/16") neodymium magnets laying around, so I decided to use those.
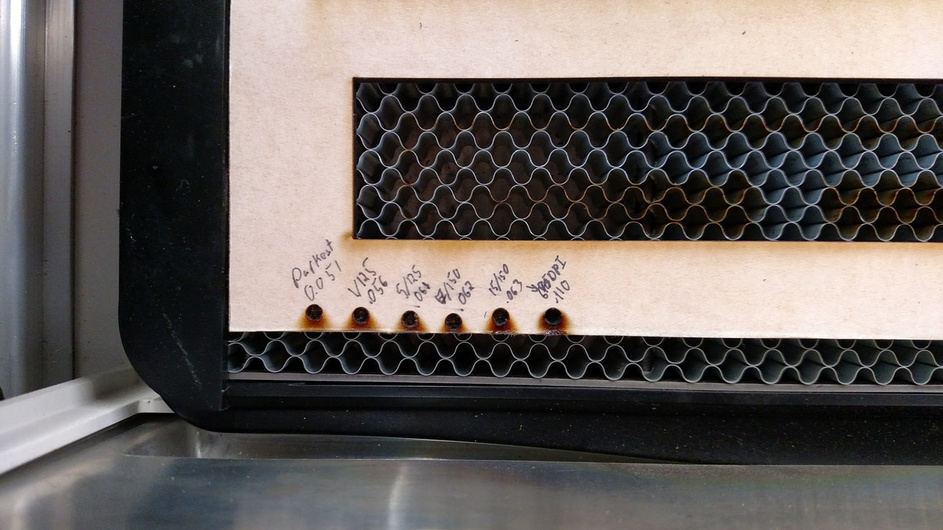
Now some experimentation. I wanted to press fit them in. So I made a circle in Inkscape, and tried out a bunch of settings and measured the depth.
One interesting thing I found. I kept increasing the power, but I wasn’t getting much increase in depth. I didn’t change the LPI up to that point, because I didn’t think it would have much of an effect. I was wrong. I increased the LPI and had a significant increase in depth! I had a setting that was plenty deep enough (actually too deep, but I didn’t realize that until after), so onto the puzzle!.
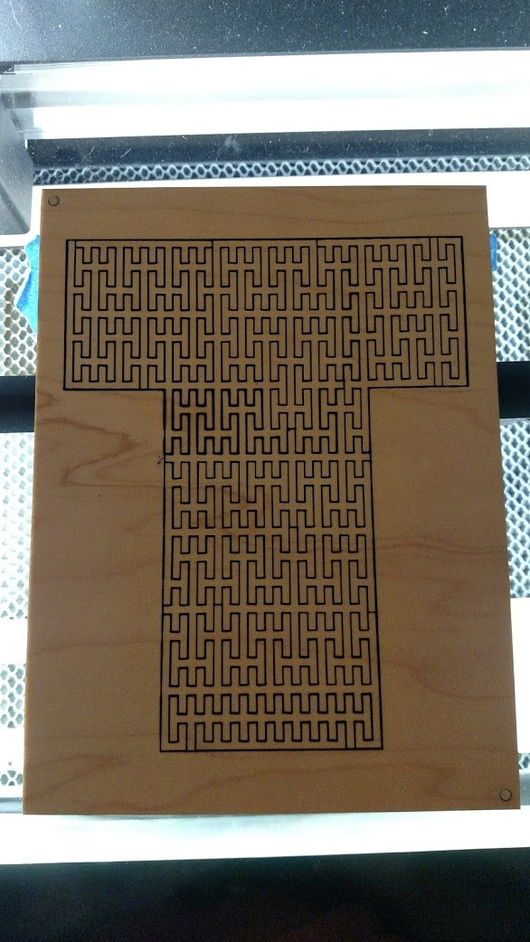
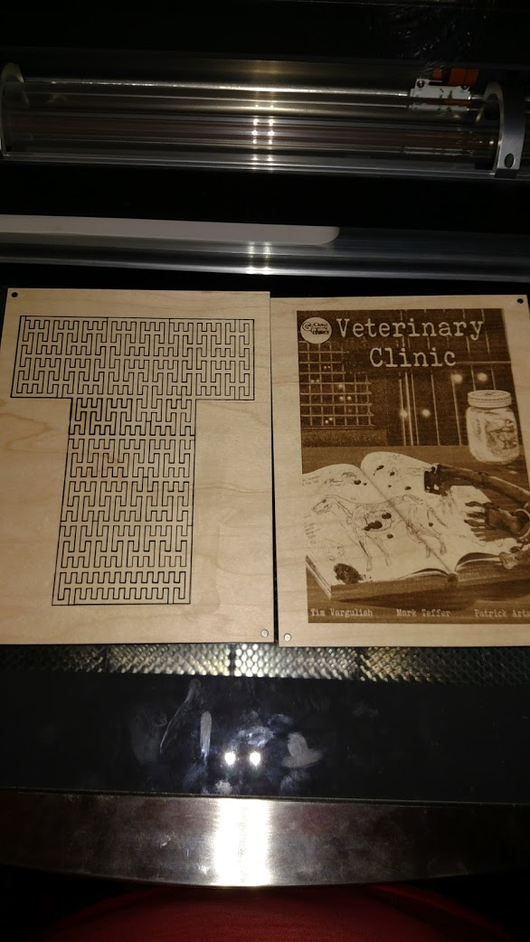
Here is the puzzle! I have to add some finishing touches and glue it together. The magnets fit perfectly. I pressed them in, no glue at all! I will post more pictures of the final product later.
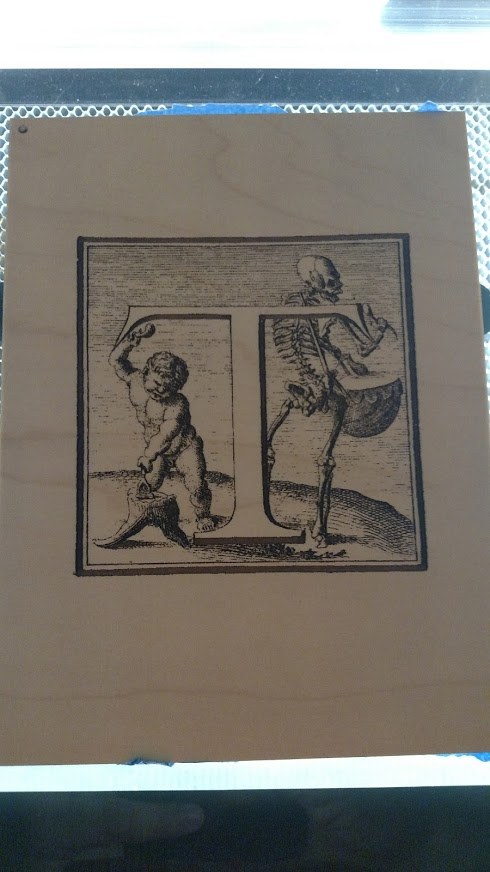
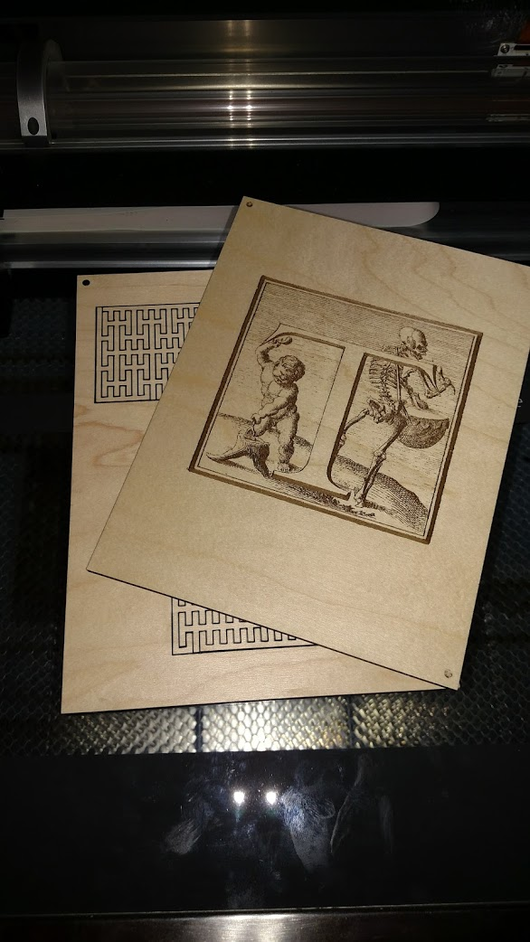
Edit 1: I got to the front cover engraving. One thing I learned, those larger letters that appear at the begining of chapters are called an initial. This made google searching easier. Here it is! I think it turned out great.
Wow! I really admire the look and design of this puzzle - I think it would drive me crazy trying to put it together though! Keep up the great work! : )
I have avoided taking the puzzle apart. I think it will take me a long time to put it back together. Also, I want to paint the backside, so you can’t accidentally have a piece upside down.
Yikes that would be terrible! The very first thing I ever laser-cut, when we first got a laser-cutter at Artisan’s Asylum, was a second-iteration Hilbert-curve…
Really neat that you can do your own design. Looks great.
Sometimes I do multiple passes rather than kicking up the power or LPI in an engrave to get depth. It adds time but doesn’t gum up the edges as much, especially if I go with a higher speed. Lots of different permutations on these.
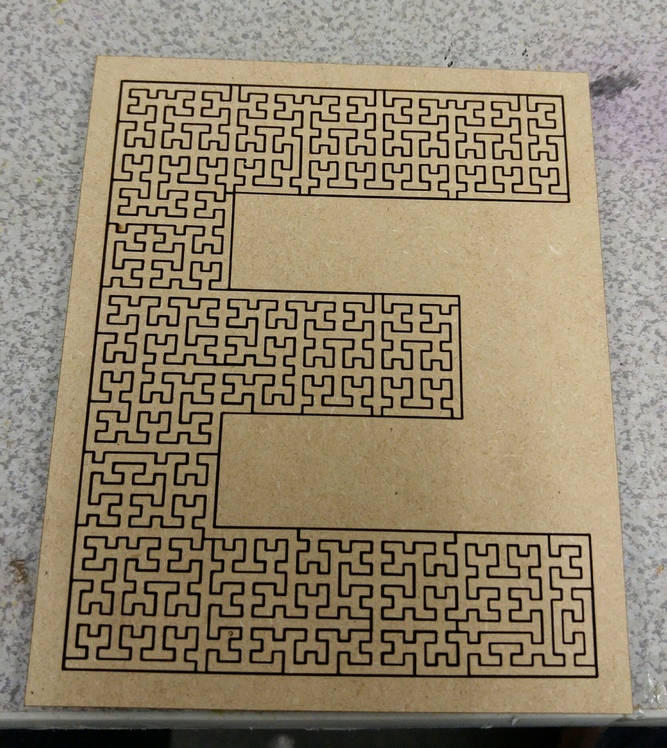
I actally tried putting together the E one…I surprised myself in how fast I was able to put it together…
I cut it in mdf so no visible grain, but you could “tell” when the right pieces fit…
Added an edit above, but I will add it here as well.
I got to the front cover engraving. One thing I learned, those larger letters that appear at the begining of chapters are called an initial. This made google searching easier. Here it is! I think it turned out great.
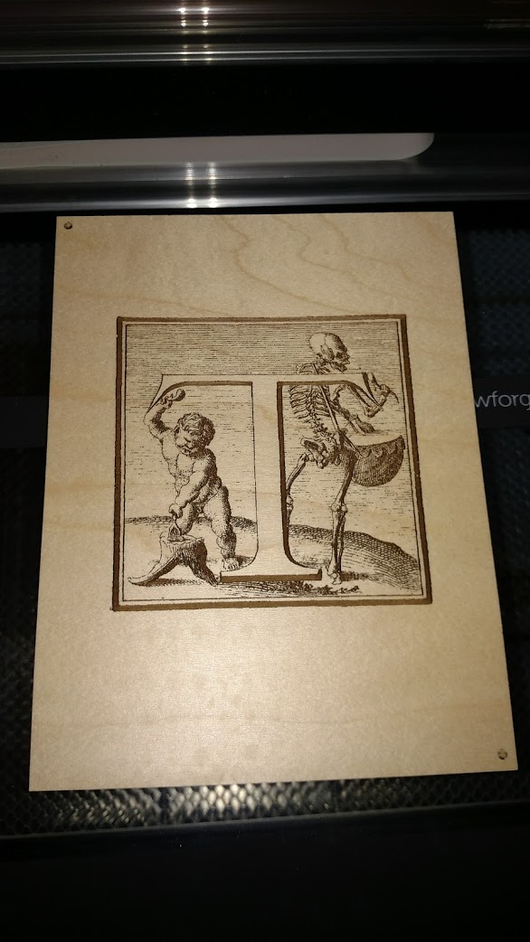
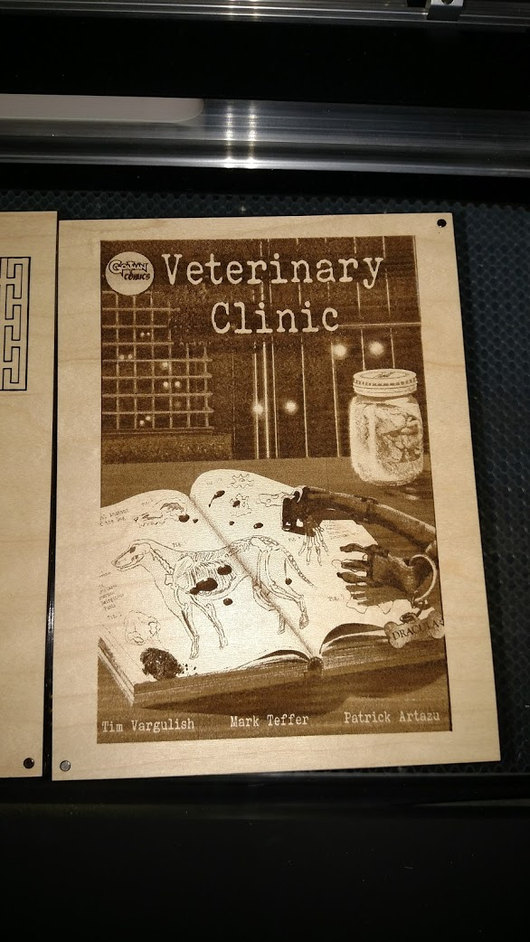
Yes. My engrave power was slightly too high, so you can see the burn marks on the top left and bottom right corner. The interesting thing is it didn’t go through, it just charred a bit.