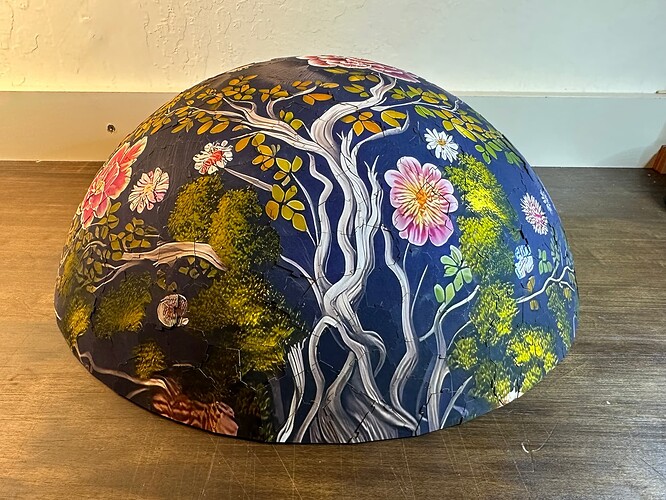
Here are the files for the original dome puzzle.
I’m hesitant to share this, because it’s such a difficult project. But some people have asked, and I’m happy to share and provide any assistance I can.
Prerequisite Skills:
- Using a vector editor (not the Glowforge UI) to arrange shapes and create offsets
- Using manual settings for non-Proofgrade materials
- Aligning cuts to upside-down photo prints. This is challenging. I recommend Part 1 of my tutorial.
Materials:
- Good photo inkjet printer and maskable paper (or use a printing service)
- 1/16" plywood (9 pieces 8"x10" or larger)
- Photo mounting adhesive
- Painter’s tape
- Low-tack masking paper
- Heavy card stock
— for specific product recommendations, see the bottom of the tutorial page.
Files:
Instructions:
See the detailed instructions in Part 1 of my tutorial. I recommend actually working through the tutorial example first to make sure you’ve got the technique down.
The cut file for this project (dome-puzzle-cut.svg) contains multiple layers, one for each page. Just work with one layer at a time. The cut patterns are already flipped upside-down for you, but you need to apply the kerf adjustment.
