He has posted his work on the forum
@ccurran
absolutely beautiful!
“I’ll watch for us at the clear crossing” - Made on a Glowforge - Glowforge Owners Forum
He has posted his work on the forum
@ccurran
absolutely beautiful!
“I’ll watch for us at the clear crossing” - Made on a Glowforge - Glowforge Owners Forum
This was my first effort with servos. I am not overly impressed with any of the ones I tried in terms of quality or performance. If I were to make another attempt, I would go with steppers which I know better. They rarely miss steps in my experience. If that became an issue, I would add a hall effect to index.
This would make awesome wall art at any size. Thanks for introducing us to the new rabbit hole.
This svg file is the basis for the design. This is a 2 x 2 grid of the same shape. Rotate any of the 4 elements and the pattern changes but stays connected. Arrange as many of these edge to edge to make a pattern the size you need. Scale them to the any size. Have some fun.
I am sharing because I am curious about what other people will make with this. So many good ideas already.
This works well for me in inkscape with the rotate 90 degree commands.

Love the combined look!
Wow, thanks!
Ok I have some projects I’d like to run in foam board. If I may ask what has been the best settings to achieve the smallest amount of shrinkage for through cuts and scoring of the foam board as I’d like to attempt some RC planes out of foam board?
We can only discuss settings for non Proofgrade material in the Beyond the Manual section of the forum. I suggest you utilize the search function within that category for insight.
The settings I shared in beyond the manual were not tweaked to minimize foam loss, I wanted a speed.
My obsession with this double curve form has brought me back around to another attempt at making a motorized version.
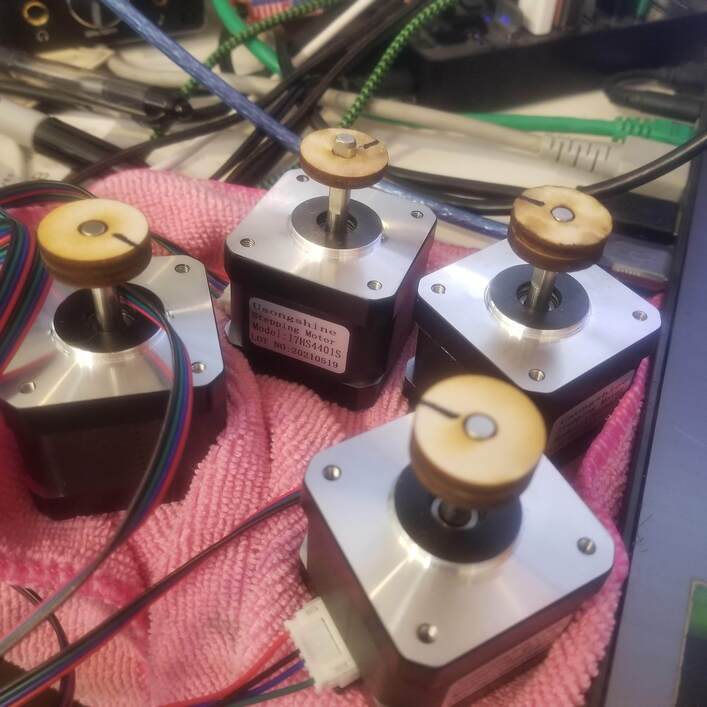
This time. using stepper motors vs the servos I used in the past. The servos were loud and not repeatable enough. The steppers can drift but are orders of magnitude better and can be driver very slowly and quietly.
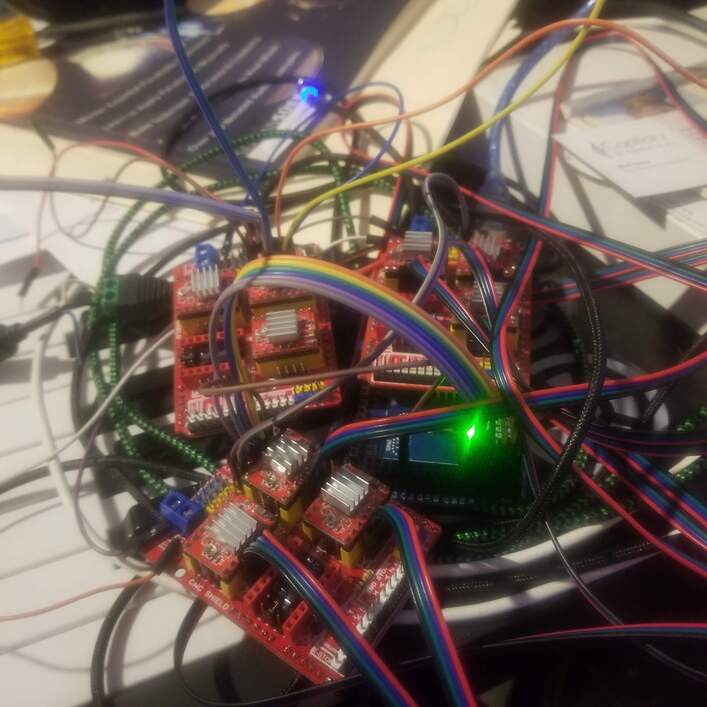
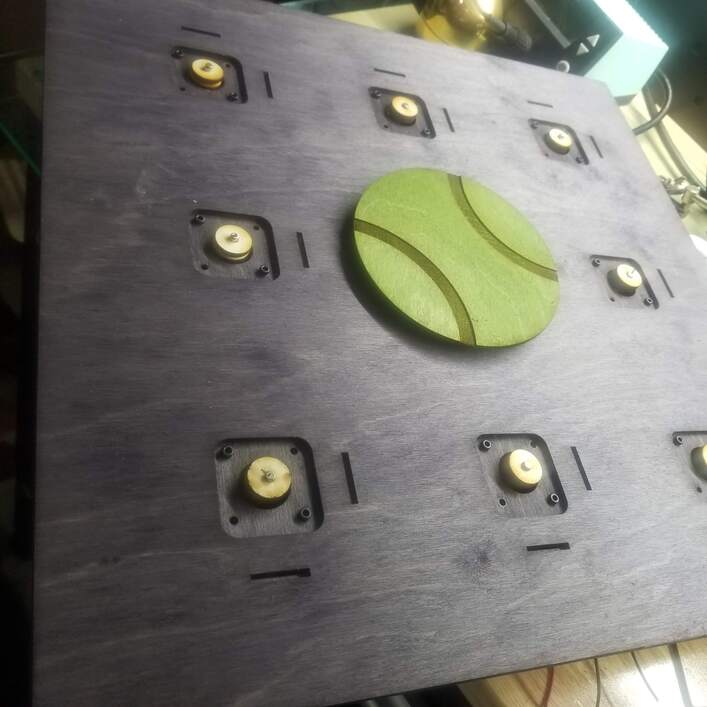
So, 3 cheapo CNC arduino shields and one arduino mega as the brains lets me easily coordinate 9 stepper motors. These are relatively cheap NEMA17 motors one could buy for just over $10 on amazon. The balance of the parts are all Baltic birch cut on the forge (via the passthrough). Overall it is about 18 x 18 inches.
9 wheels and 2 positions per wheel results in 512 combinations (2^9 = 512). The code picks a a value between 0 and 511 to determine the position for each wheel and then slowly changes the ones that are not in position. That is followed by a longish wait to allow the observer a chance to savor the resulting image. Then rinse and repeat. This video shows the movement phase.
This video was shot with hyperlapse mode so it compresses about 6 minutes into about 6 seconds. I still need to add a pause between the movements.
A deep-ish picture frame is on order which should allow me to give it a nice finish and hang it.
This is very, very cool and I bet it is really fun to watch in real time.
I have been wanting to play with foam board. I have been wondering about the settings to do it. This looks like something I will need to try. Thanks for sharing.
I continued to work on the motorized version over the holidays. Despite the steppers being very repeatable, they like to move to a new location (+ or - one step) when initially powered on. This confounds getting them lined up properly in the long term (i.e. across power cycles). So, I added some hall effect sensors and magnets to provide a reference for getting all 9 into postion. The results work to line up the circles at startup and then again about every 15 minutes. This video shows the startup sequence where the sensors and magnets do their stuff.
This usually happens if you are using microstepping and the stepper ends on less than a full step. On startup the motor moves to the nearest full step when the coils energize.
There are a couple of ways around it.