One of the most common items I get asked for GF help with on IG is how to use the GF passthrough software. So here is a post for that. However, this post is not as much tips/tricks for using the passthrough. Instead, this post is a trick for how you yourself can get familiar with the passthrough function. I will go through a sample run for the current state of the software, which might help those who are having issues with their design disappearing. But the true intended value of the post is this method to get familiar with the software no matter its state.
What I did to get familiar with the passthrough software, and what I still use when troubleshooting or trial running, is use a strip of duck canvas to test on. The reasons why I do this is:
-
Isolate the software: You can fit the strip of fabric in the glowforge without having to remove the passthrough shields. This means I can exercise the passthrough function without having to be class 4. I know jumping into class 4 can be nerve wracking if you are also trying to learn the GF interface.
-
More cost effective : you can get a yard of canvas fabric for all of $6 most the time at Joanns
-
Don’t have to rearrange my glowforge: Because I am not passing through long pieces of material, I don’t have to move the glowforge away from the wall.
Before I get into this, I am not at all trying to replace the GF guide on passthrough. You should certainly look at that guide: https://support.glowforge.com/hc/en-us/articles/360047669153-Pro-Passthrough
I am just showing how I use fabric to get aquatinted with the current state of the software and I will address the common issue that I hear about at this time.
So now I will walk through how I set this up and an example with the software at this time. I do not use the crumb tray in this setup. I will be using my magnetic whiteboard and 3D printed risers (which you can sub out something else to raise the board) that I have referenced in this post: My Glowforge Setup
Step 1) Setup the canvas wrapped around the whiteboard.
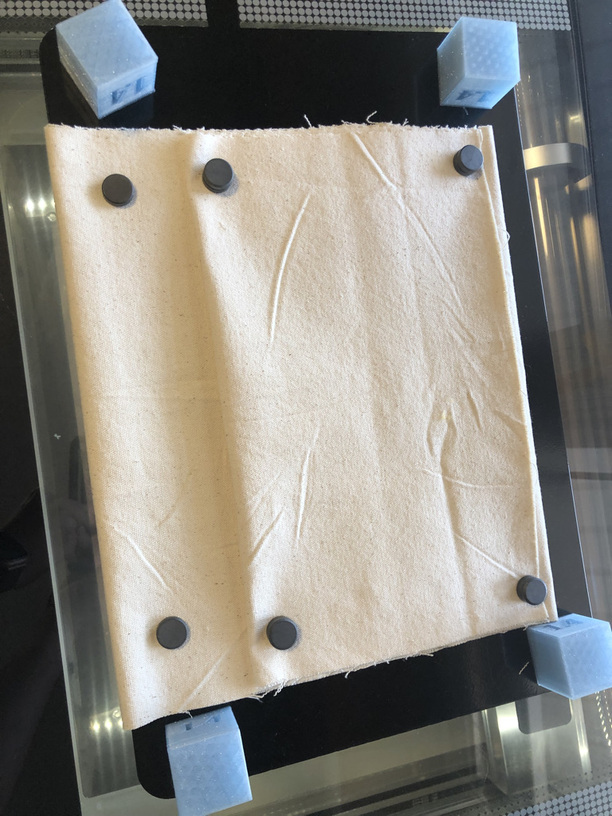
This photo is a view of the underside of the whiteboard. I use ceramic magnets on to secure the fabric to the underside of the whiteboard so that I dont have to use as many magnets on the top side.
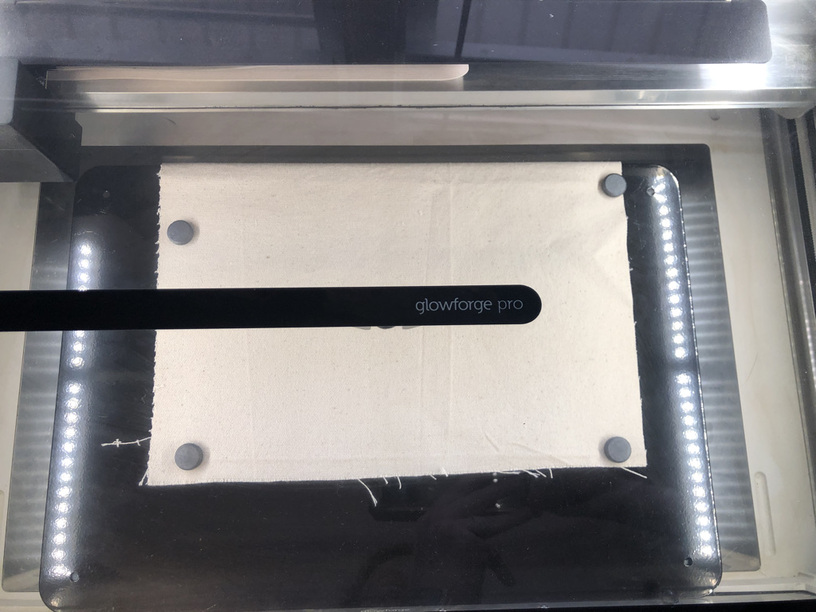
And this is a view from the top of the board.
Step 2) Set up my design file and settings
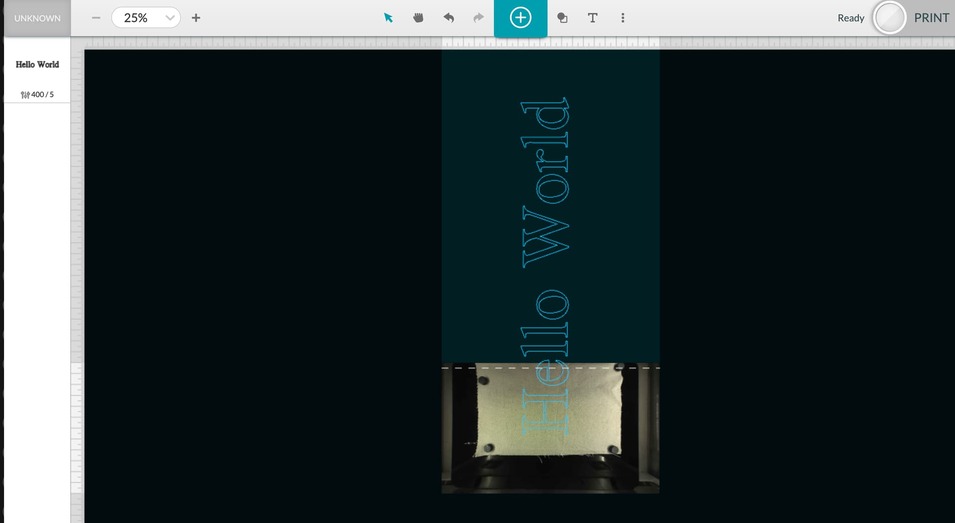
I am doing a simple “Hello World” design that will be 35" long. I have the settings to score with speed at 400 and power at 5. These settings are great for scoring the duck fabric and not cut through it.
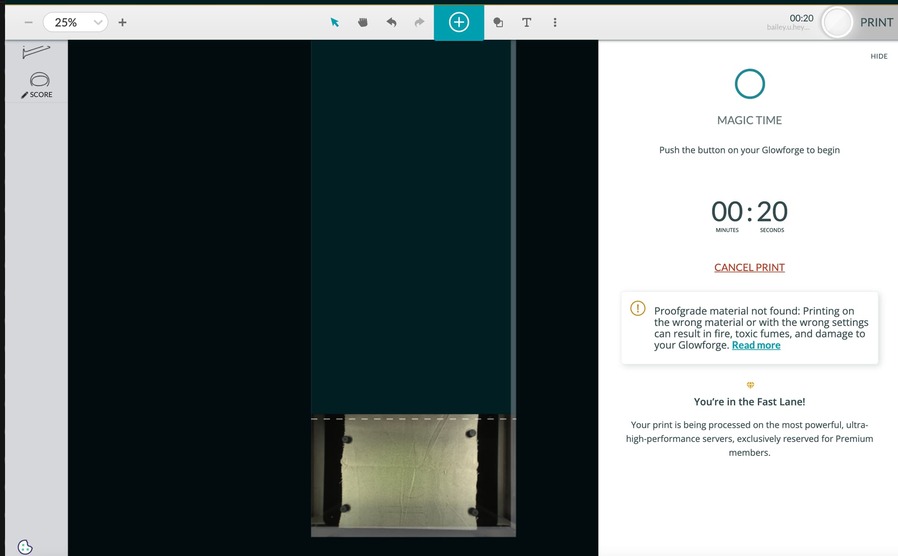
Step 3) Focus on my material, toggle on Pro Passthrough, and line up my design for the first segment. At this time my app looks like this:
Step 4) I then click Ready and once the GF has processed the segment, the teal button will illuminate and I press it to start the print
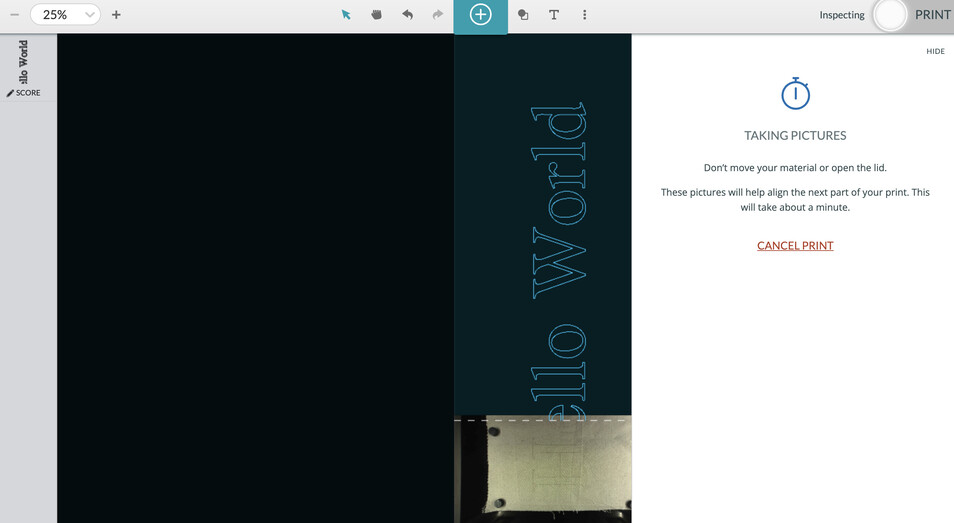
Once the glowforge has finished printing the segment, the print head then moved around to take images and during that time the app looked like this:
Step 5) Once the GF has finished its alignment, the app will look like this and prompt to move the material forward:
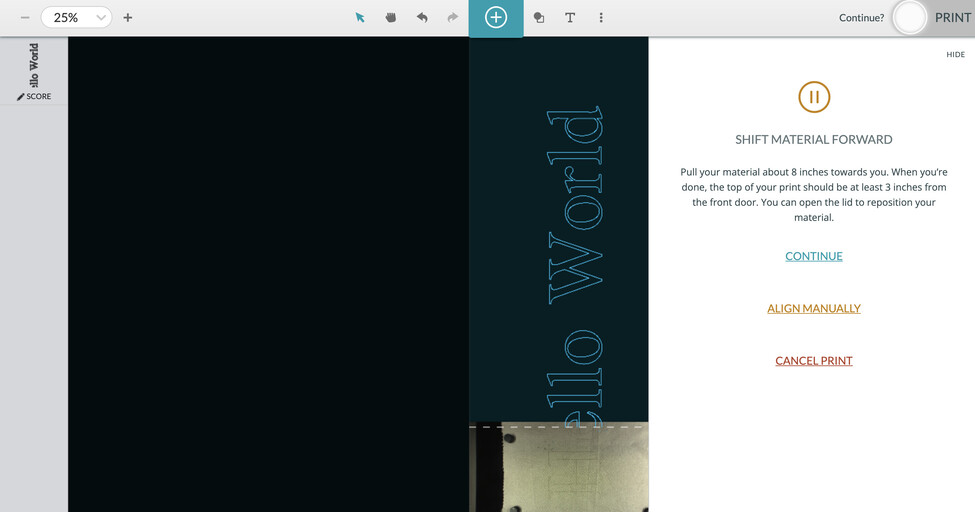
At this time I open up the lid and move my material forward. Once I close the lid I then go back to the app and click “Continue”
Eventually the app looked like this:
Step 6) I then press continue
The app calculated and then looked like this and the teal button was glowing:
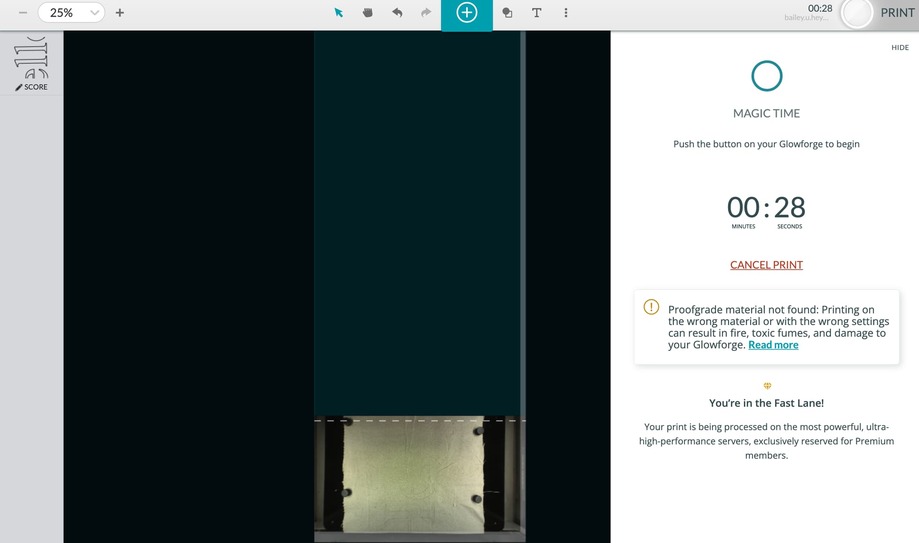
So as you can see, this is the starting point of the current issue with the software. Your design might suddenly disappear. Hang in there because I will go over how I proceed
Step 7) At this time I pressed the teal button. The GF went onto nail its print of the segment.
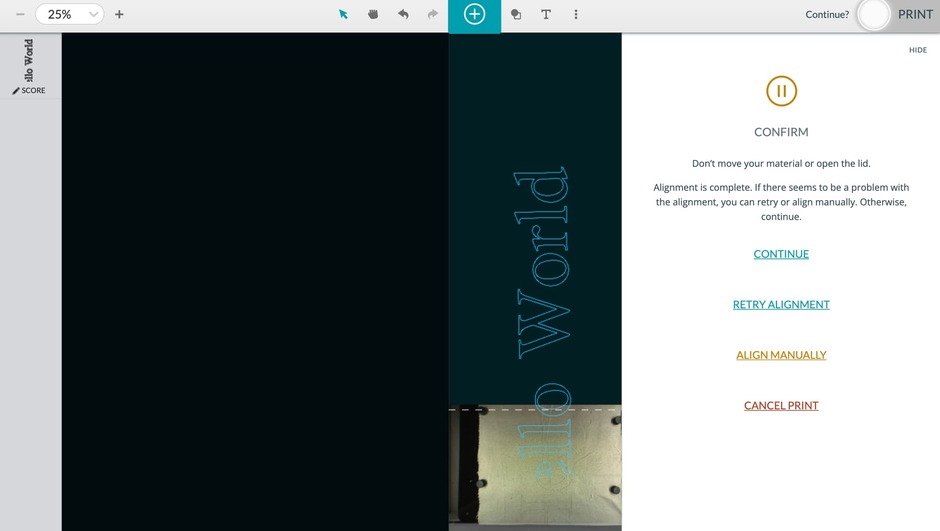
At the end of the segment the app takes its pictures, prompts you to move forward the material, and then aligns the next print. This is where it gets interesting. Once the alignment finishes the app looks like this:
Notice that the correct remaining whole segment is shown on its left where it says engrave. So I then click continue.
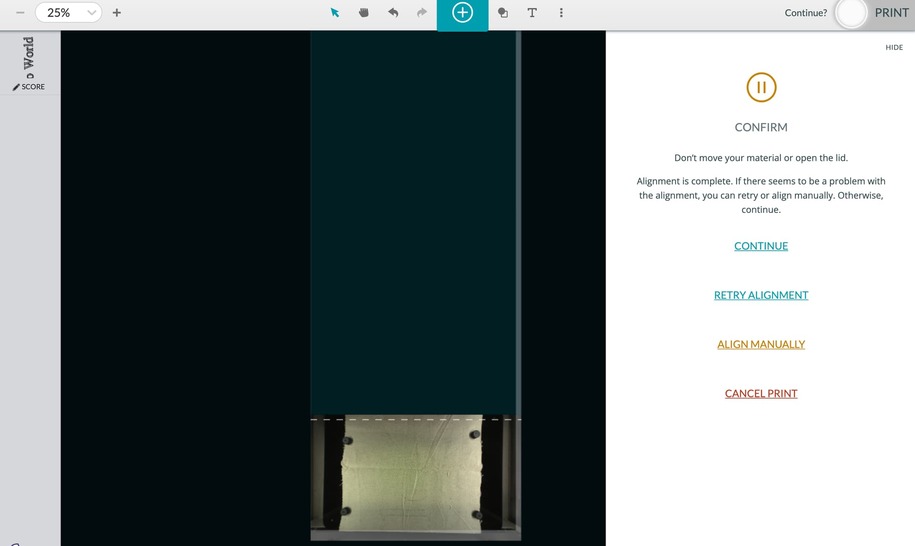
Once it finishes calculating the print the app looked like this:
Now notice how the left engrave segment shows the correct segment of the remaining. This is the point where I know the app at least knows what its doing even if its not fully showing me.
This issue continues on for the rest of the print. The app was leaving me blinded yet the glowforge absolutely nailed it all. Honestly, I am beyond impressed with the software other than its ability to loop in the user ![]() Even if it did display the design, I doubt I would be able to augment it to do better, yet the offer is appreciated. The GF is not even rated with this specific fabric yet but it could nail this print (and many others of mine). So at this time, my recommendation is just to let the GF lead the way if your design disappears.
Even if it did display the design, I doubt I would be able to augment it to do better, yet the offer is appreciated. The GF is not even rated with this specific fabric yet but it could nail this print (and many others of mine). So at this time, my recommendation is just to let the GF lead the way if your design disappears.
The whole conclusion of this post though is to just get familiar with your machine before you put a high cost print in it and complain about waisting material. This is an option to do that with passthrough. Who knows what this software will be in the weeks or years to come but I am excited for it.