Getting Unintended Results for 1st Print Intended Projects

1st Print Gift of Good Measure Link

Too Excited

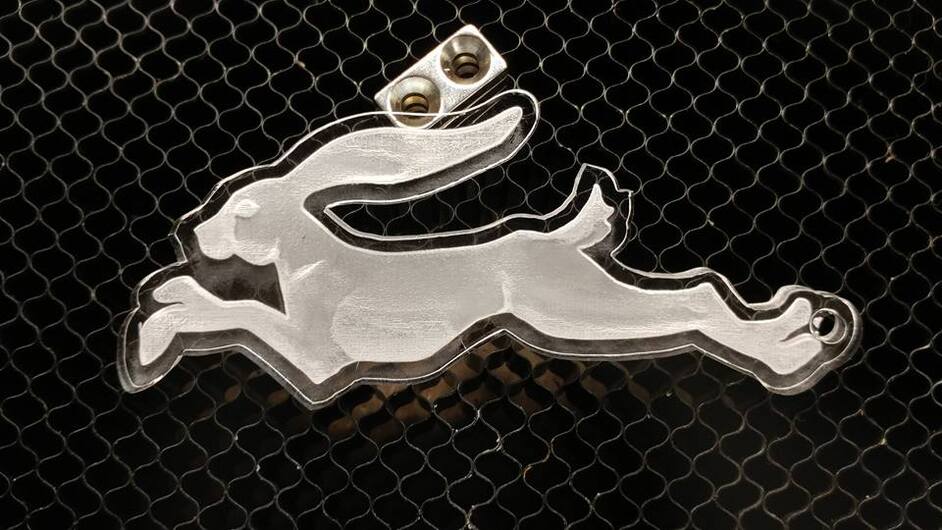
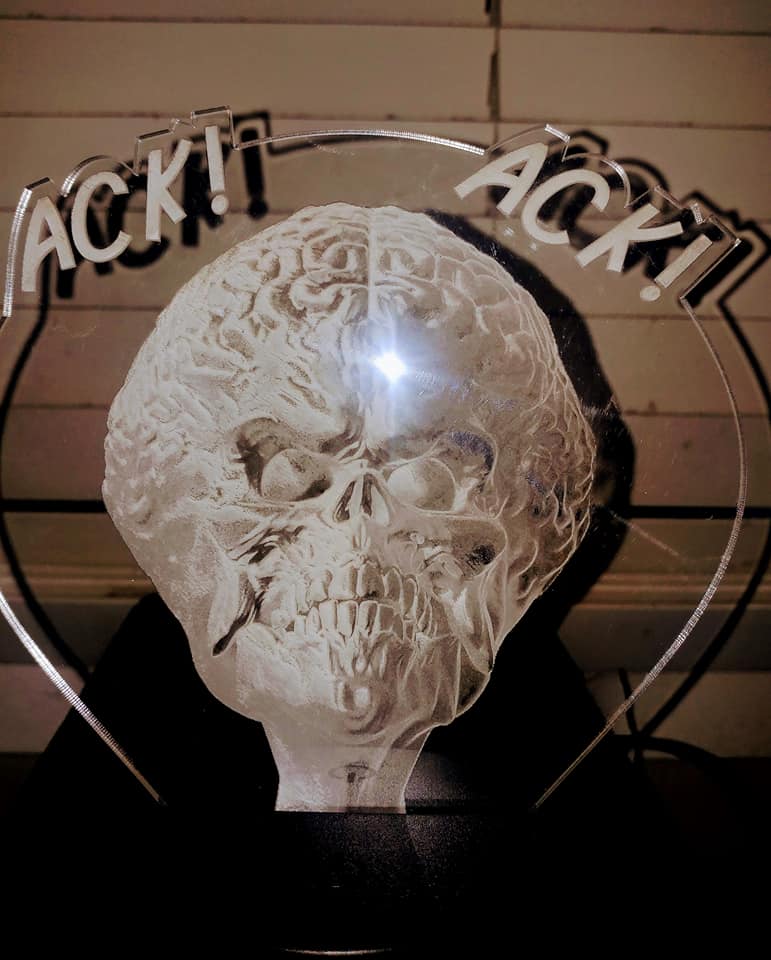
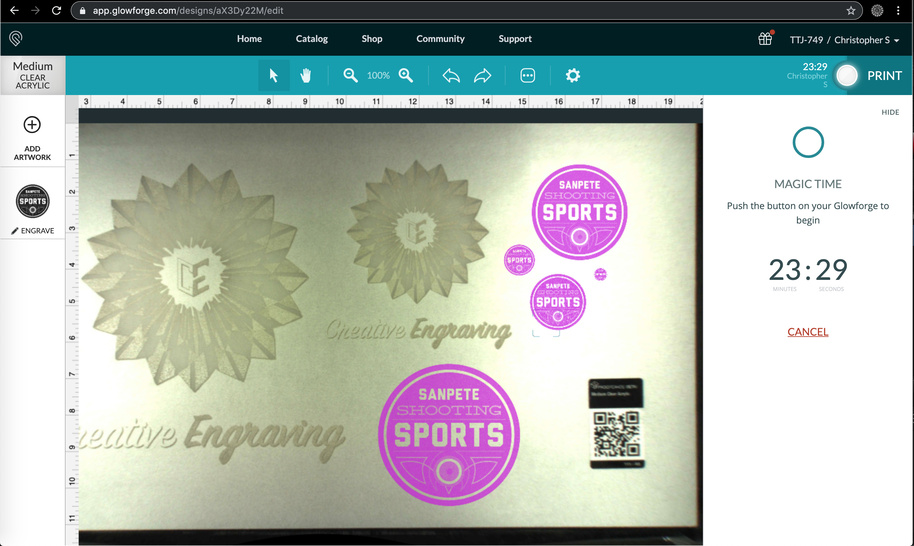
I just got my GF yesterday and was working on the Gift of Good Measure 1st print project but instead of using the template graphic for cutting out the metric keychain I wanted to see if the Glowforge App (GFA) online could do a custom logo I had already created for my business along with other company logos.

Raster & Vector Graphics

They are both raster images and not vector artwork, so I don’t know if the settings were changed for different graphics. I saw that .svg and .pdf are used for vectors where a stroke with a certain color does the order of operations for scoring and cutting, whereas a fill does engraving.

I noticed the raster images in .jpg or .png will come out as engravings.

App Settings & Graphic Extensions

I’m curious to know if settings that were intended for the gift-of-good-measure for vector cuts when a raster image that was engraved changes the settings automatically based on the format (.svg, .pdf, .jpg, .png) extension of the graphic?

My Problem

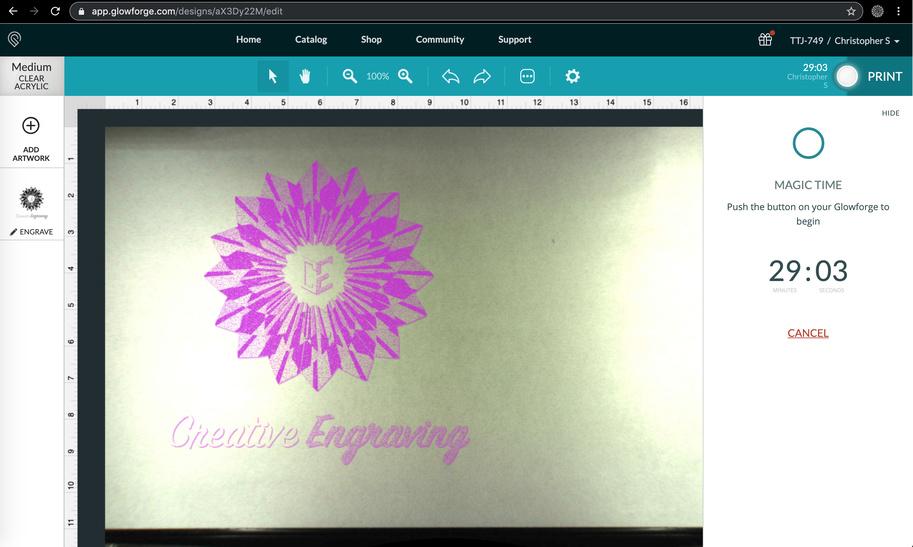
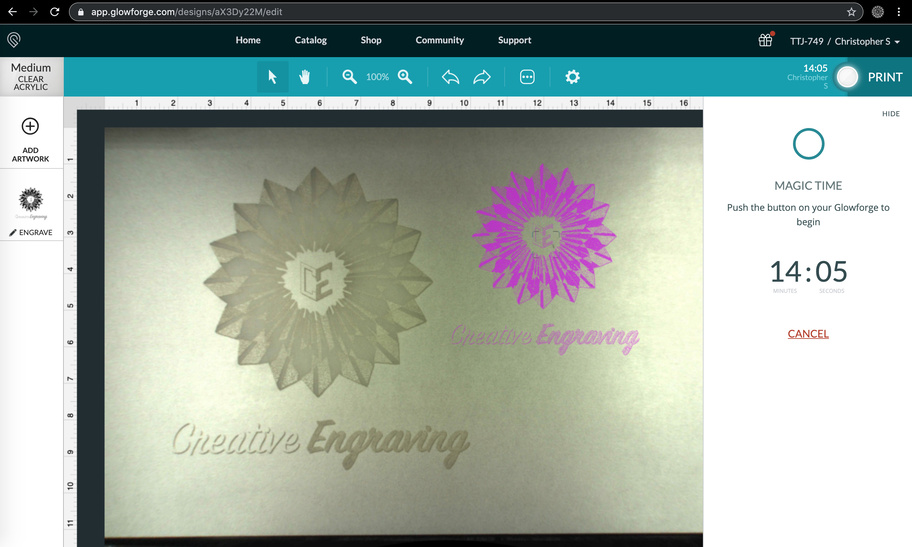
I engraved the .jpg and .png files as UPLOADS into the gift-of-good-measure project and probably should have just made the cut with the vector graphic for the intended use, but in my case where I did not use the vector graphic that was intended and put another raster graphic inside that intended gift-of-good-measure project the Proofgrade material I engraved onto had the masking on top of it before I engraved onto the acrylic surface. I finished the engraving and super stoked about it, but the mask has like vaporized into the acrylic, and I cannot get it off.

See this video for an explanation of the problem: https://www.youtube.com/watch?v=-QSIjJqFA1A

Solutions

I have seen some people post using plastic razor blades or toothpaste to get off the mask. But if the mask is on when small dots of engravings are engraved, does the mask that was vaporized come off, or will it always look like an opaque white coloration of the burning the mask to acrylic surface?

I guess I should have used the 1st printed projects for their intended use, but was somewhat excited / impatient to see what the GF could do with some of my designs. I have yet to see what happens if this vaporization happens on a maple wood or leather Proofgrade materials that came with the GF Plus.

Any thoughts how I can get this white stuff off, or for acrylic, is it a permanent frosted opaque coloring?

Sincerely,

Christopher

1 Like

Pics would go a long way here,

I posted a video, and I added some images as requested. I had them but forgot to add them. Thanks for the reminder. Next time I’ll make sure I have everything before posting.

1 Like

I’ve never actually used the app, so I’m not the greatest help for specific questions about how it works. I’m sure someone who uses it will be along once people start to login today.

Nice logo, though.

1 Like

Engraving clear acrylic tends to leave a frosty appearance, if I’m reading your post correctly it sounds like that’s what happening and doesn’t really have anything to do with the masking.

If you want to get a “clear” look there are two ways I remember seeing in this forum people have tried. Search the forum for “defocused pass”. The other way is to use some kind of clear paint, epoxy, etc in the engrave to make it clear again.

1 Like

Weeding acrylic can be tedious, and there are lots of suggestions in the forum. Many folks like the plastic razor blade scrapers, some use gorilla tape, dental tools have been suggested and fingernails are the handiest. Dissolving the mask adhesive is also a way to clear your project. Hand sanitizer has been suggested as a reliable material. Acrylic cleaned with the wrong stuff will cloud the surface, so test before ruining a real project. Also, dish soap and water for a final clean.

Engraved clear acrylic results in a frosted appearance.

1 Like

For the haze on the acrylic, try a mild abrasive like toothpaste. Depending on the depth of engrave, the adhesive can leave glue on wood as well, but alcohol or an art eraser will take it off then. (Don’t use alcohol on acrylic – it causes crazing.) My advice for engraves is to cut or score around them first, peel the paper, then do the engrave without masking. You’ll get better detail that way, and fewer cleanup headaches.

Also, beginner tip: Don’t import things into an existing project like this. Make them their own project by importing (or dragging and dropping) into the Home screen. You’ll have to reset your GOGM (click on the three dots at upper right) to get it back. :slight_smile:

The settings used are determined by what each element is and what the material is, not by the project they’re imported into, so your results would have been the same regardless.

You’re off to a great start, and welcome to the forum!

2 Likes

I think the OP meant app.glowforge.com. I call it “the app” too, because of the URL. :stuck_out_tongue_winking_eye:

1 Like

Welcome and congrats on the GF! I jumped right in and skipped all the tutorials etc when I got my GF too, but that method does mean you are going to go through a lot of practice material trying to figure out the stuff you can learn pretty quickly by reading up on all the tutorial projects you posted.

This link is invaluable to understanding what all the manual setting do and it’s my favorite it of info. It can really help you understand how setting work and what they do.

This has a lot of good info too.

About the question of the GF changing setting based on file format; No, it doesn’t. The settings that are pre-programed for proofgrade material (PG) are based on material, not file types.

About the acrylic. If you are asking about the frosted look that you got with acrylic, that’s exactly how it’s suppose to work. Clear acrylic will turn white/frosted when engraved. There area two types of acrylic called cast and extruded. Cast engraves more opaque white and extruded engraves more clear, but it’s still at least slightly frosted. As far as masking goes, you don’t have to mask acrylic becasue the general purpose of the masking is to keep the smoke/soot from staining the material and that’s not an issue with acrylic. (Masking does have other uses though and can prevent “flashback” on the back of the acrylic.) If you had white hazing/blemishes on the edges of your cut acrylic it’s a setting issue. There’s been a ton of discussion about acrylic that you can find with a search.

Example of cast acrylic engraving.

The deeper you engrave it, the more white/opaque it tends to go.

Oh, a couple of little things. We usually call the Glowforge user interface the “GUI”. (That’s the thing you upload your project to and I think that’s what you meant by the Glowforge app. )

Secondly, you triggered my OCD with the random placement of the files on your materiel lol. :stuck_out_tongue_winking_eye: I obsessively try to pack all my designs as close together as possible becasue I want to eeek out every inch of my material. (I’m just teasing you BTW, there’s absolutely nothing wrong with how you did it.)

6 Likes

So question how do I go deeper if the settings are already set for Proofgrade?

First, the focal height doesn’t determine depth of engrave, it just tells the laser where to focus the narrowest point of the hourglass-shaped laser beam, so the thinnest cut is at the surface.

For depth, you mess with your speed and power settings. Slower speeds and higher powers make deeper engraves/cuts. There are some good test templates on here that can help you dial those in; I think they’re listed in the Matrix (see top post in the Tips and Tricks category).

You can always set your own settings, you don’t have to accept the defaults. Read through the information regarding manual settings and do plenty of testing on one of the templates.

This topic was automatically closed 32 days after the last reply. New replies are no longer allowed.