That looks like it almost makes it through with the cut, so there is likely nothing at all wrong with the machine, it might be that the material has gotten just a little too swollen from humidity and the default settings aren’t quite enough to make it through in one pass.
I know that Glowforge videos make it look really easy, but there are certain things you need to get used to doing if you want to rely on the default settings…
One is to always pin the material down flat before the print. It can look flat and not actually be perfectly flat. The slightest amount of warp in the material will keep it from cutting all the way through.
Second thing you can do…if it doesn’t cut through completely in one pass, is to just send the Cut a second time. It is very important to not move the material on the bed, or the design on the screen, if you do this! All you do is set any Engraves or Scores to Ignore in the thumbnail column so they do not duplicate, and then hit Print again so that the Cut runs. It will cut right over the last cut.
To accomplish both steps One and Two above…we use these Honeycomb Pins to hold the material down tight. It keeps the backing material from shifting when you check to see if it cut through.
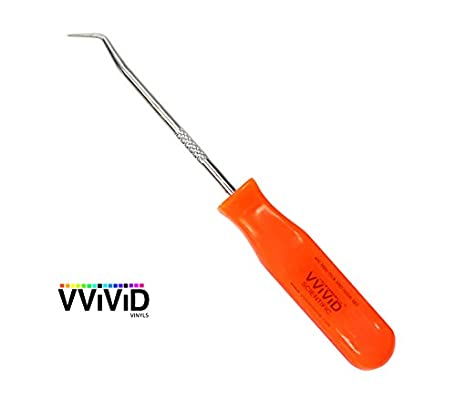
I also use a pick like this to check the cuts…about $7 at Amazon.

Your other option is to just slow down the cut speed by about 5 to 10 points, and it should make it through in one pass. That involves reading further along in the training instructions that you are following until you get to the Manual Settings section, so keep on reading, and it will all become clear very quickly. 