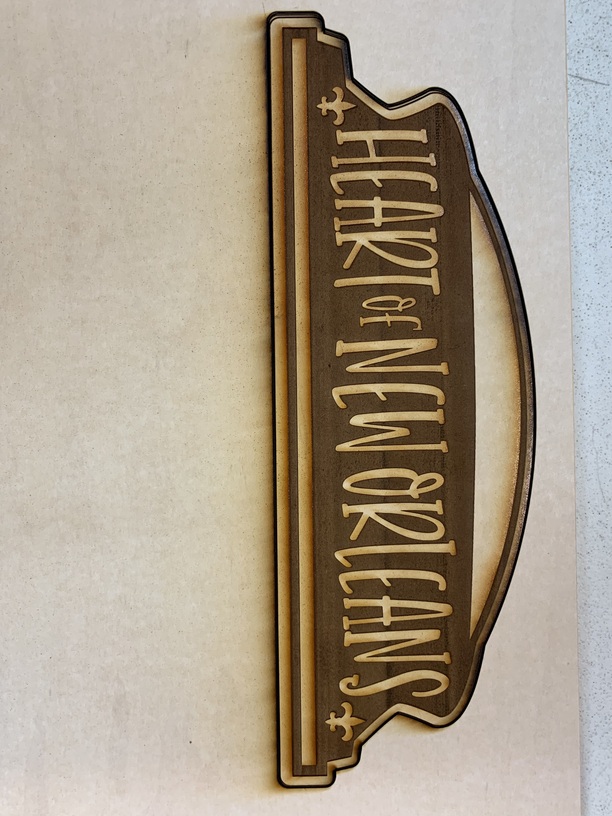
I am having issues with cutting. I just received my machine and have been using it for about a week now and had several successful cuts/engraves. Thursday I went to cut a file and everything engraved fine, but the laser did not cut through the material. I tried putting it back in the machine and cut the edges out again. I was able to eventually push through the design (which splintered the wood). I tried a new design, on the same proof grade material (medium maple plywood) and again, the same issue.
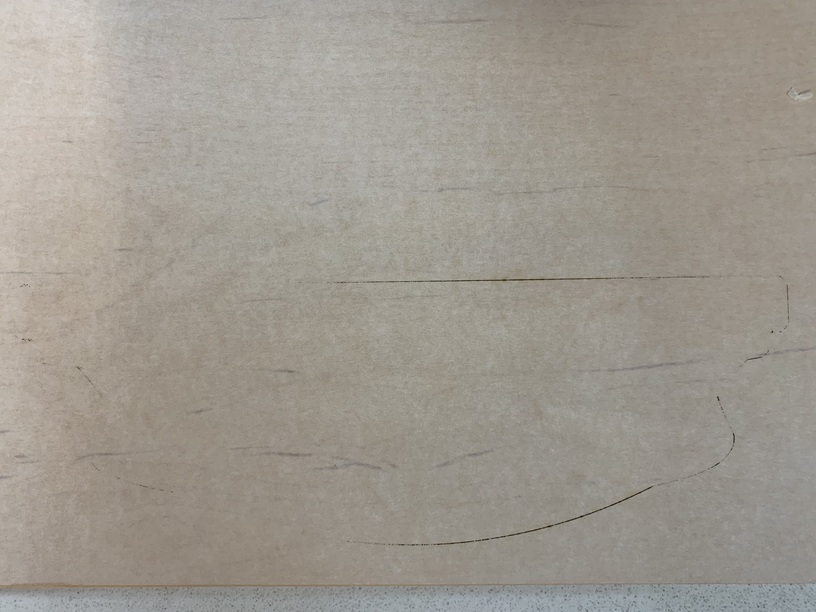
I removed the tray, made sure it was clean and there was no debris at the bottom and put it carefully back on the dimples. I then followed the instructions on the website for cleaning inside the machine and each of the lenses. I reassembled everything and put in a piece of the proof grade draft board to see if it would cut. The board seems completely flat on the tray. I had the same issue, and this time
Double checking - are you using the PG settings in the GFUI (does it just say “Cut” in the line of commands on the left) or are you entering settings?
Presuming we can’t figure it out before they get here, staff is going to request that you cut the Gift of Good Measure (free on your dashboard) so they can eliminate any possibility that the issue is with the design file. So you should go ahead and print that and make note of the time you did so. Post pictures of the front and the back, and the time here so it’s waiting when a staff member gets here
Ok. I have my GF at work and I have left for the day. I will do that tomorrow morning and submit everything when I have it. I am using the PG setting and the cut line did say “cut”. Thank you for your response!
My experience is that there’s “flat” then there’s FLAT . A very common gotcha is that even a visually undetectable warping of the material can cause issues. If you tap anywhere on your material and hear a click or an hollow sound, it’s not FLAT .
Your best bet is to cut out a dozen or so Honeycomb Bed Holddown Pins and use them to make absolutely sure your material is firmly secured. I cut out a few from draftboard scraps leftover from various jobs – you cannot have too many of these.
My cutting success skyrocketed when I adopted these as part of my workflow.
I find proofgrade does the absolute minimum to cut through. Rather than fight the reason there is a > at the edge that will report out what settings it is using and picking on it you can make changes. I kick the speed down about 50 points and cutting through becomes much easier.
Along with the pins to hold the edges, get magnets. Rarely are sheets perfectly flat, and the magnets help keep the center area tight(er) against the crumb tray. You can tap the sheet and tell the difference if it’s against the try or not (sounds bit hollow if there’s any gap).
Also watch for overhang of the masking over the edge, as this can interfere with the full sheet’s fit against the crumb tray.
Make sure that the magnets are in those steel cups or make your own if not. This confines most of the magnetic flux to keep it away from the cutting head.
It is easily imagined what happens as you move metal through a magnetic field or try and run a wire that the electricity must fight that field, and of course the high speed fan motor is totally messed up by a strong field and will usually come to a complete stop that now will trigger a sensor and stop the cut, messing up the design.
It took far too much time for us to figure that out and many problems of not cutting through can now be traced directly to those as the sensor was not yet working that way.
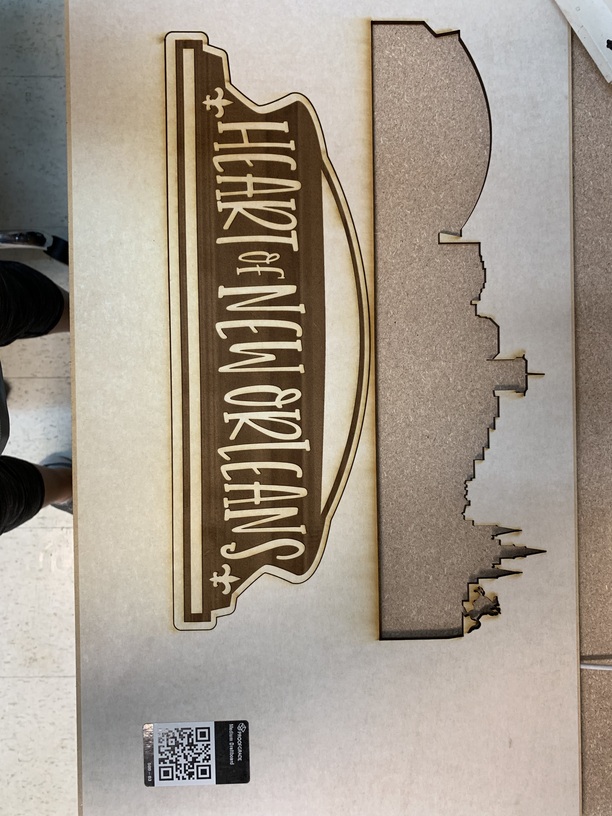
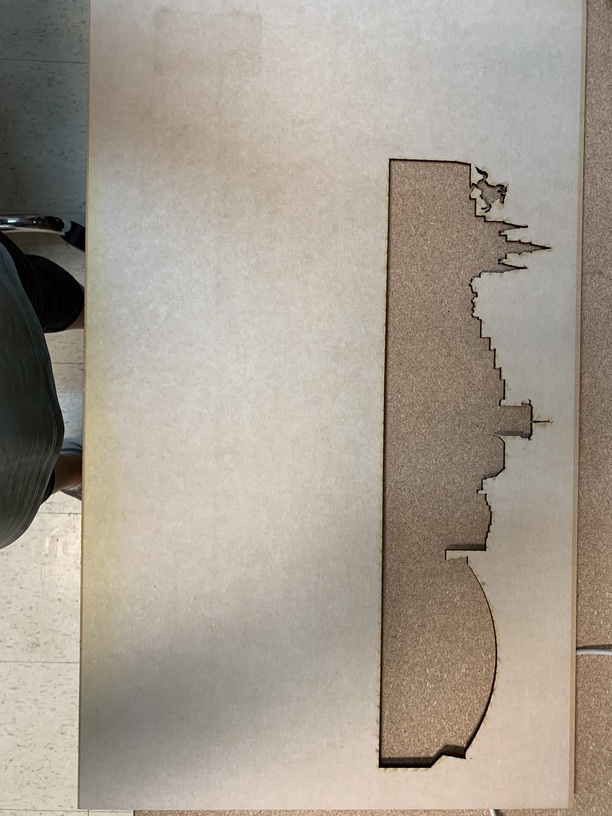
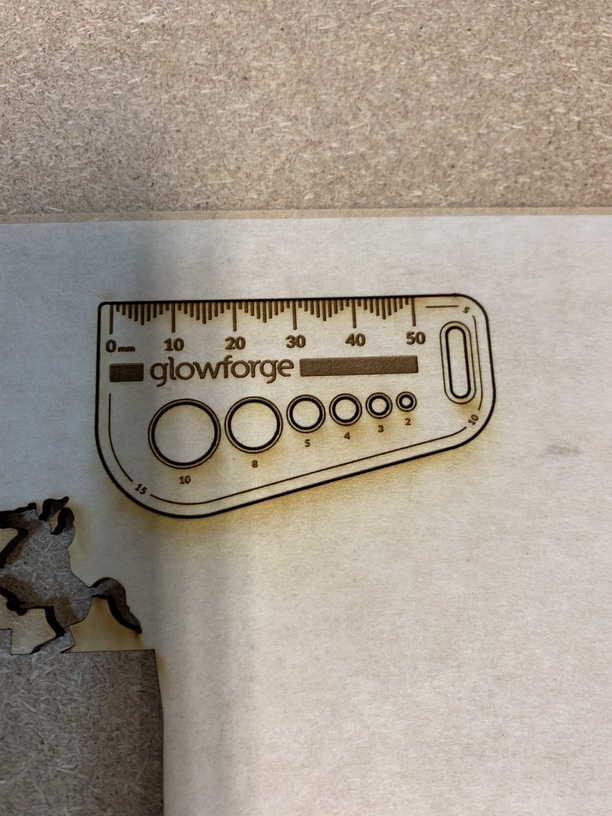
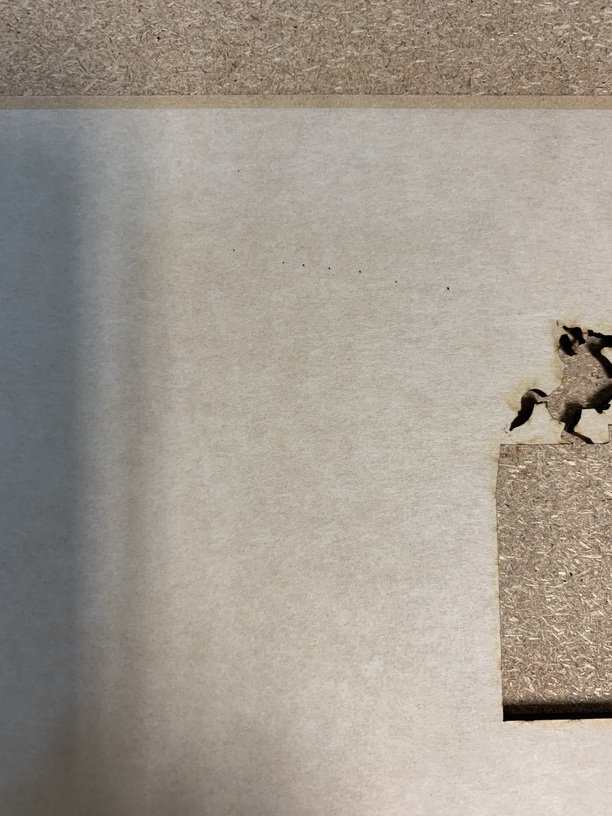
A staff member told me to clean the mirror inside the print head, which I did and I cleaned the other lenses again as well. I then proceeded to print the gift of good measure (metric version since for some reason the regular one would not load) on the proof grade draft board and again, the engraving went fine, but it did not cut at all.
A staff member told me to clean the mirror inside the print head, which I did and I cleaned the other lenses again as well. I then proceeded to print the gift of good measure (metric version since for some reason the regular one would not load) on the proof grade draft board and again, the engraving went ok (even though I don’t think it as deep as the original I did on my first print), but it did not cut out at all.
Any other ideas? I did try and do one and drop the speed down, but that did not cut either.
Sadly I think you’re gonna have to wait for a staff member to get here. They can look at the machine from the back end and hopefully figure out the problem
Hi @msavaski, I do apologize for the delayed response to this thread. I see you already emailed us about this and we’re working on it there, so I’m going to close this topic. Thank you, everyone, for the wonderful help.