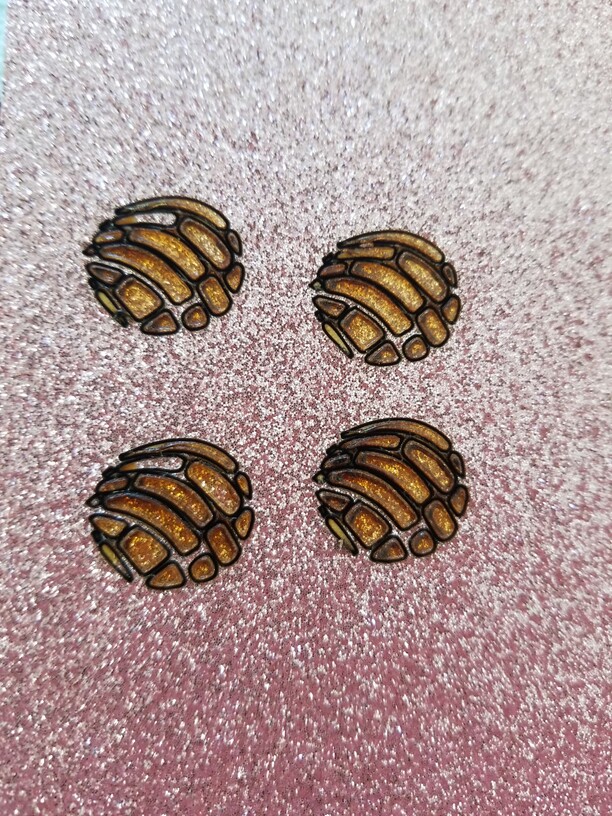
Any help appreciated! I purchased these “glitter boards” from a company and they gave the settings : Full power, focus height 0.13 and speed 185. The plastic-y masking it came with melted into the glitter. So I went back and tried changing speed to 165 and 160, and replaced the masking it came with, with paper masking. I also tried cutting with the glitter side down. I finally gave up on cutting it out of the material and was trying to engrave the image and cut around in a circle. It still burning the glitter a little bit when I try to engrave and then cut a circle around it. We tried trouble shooting over chat, but I wasn’t able to figure out what I was doing wrong. Any suggestions!? I’m trying to salvage as much of my board without running tests on the whole thing.
That bites. I’m moving your post to Beyond the Manual so you can get community input on settings. MoaG is for finished projects.
First - yes, always remove the plastic masking!
When it’s burning you generally would want to speed it up and not slow it down, so I’m not sure on your logic.
Generally acrylic is acrylic (*edit, this isn’t acrylic, but MDF so use PG draftboard settings to start), so the first thing I’d do is try, with the plastic masking removed, to run it through using the PG settings. If not, then speed it up by some number and try again. The goal is to get it to cut through with the lightest touch possible.
Here is a test template you can work with:
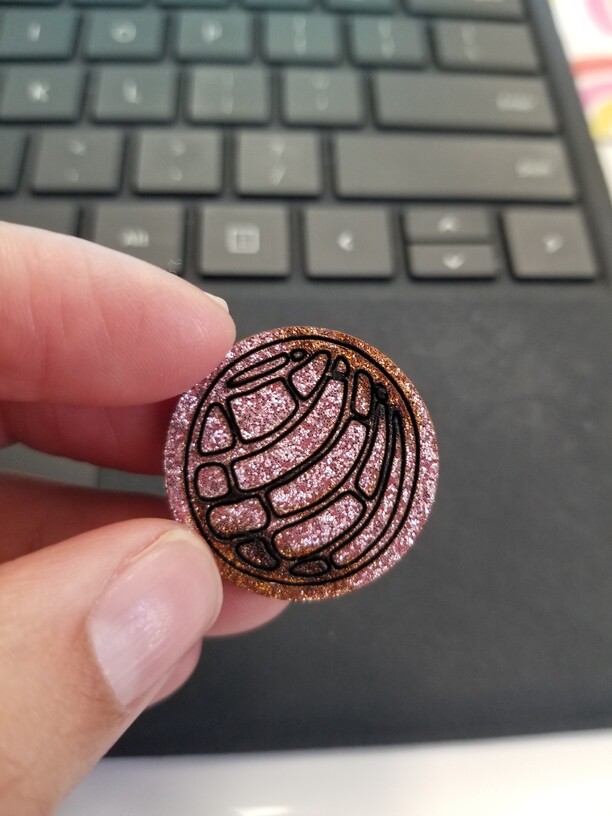
@deirdrebeth thank you so much for the info and the link . I’ve only had my machine for few days and was so excited to try this out. It’s supposed to be compatible with the plastic masking on with GF so I followed the settings they gave. Now after a few tries I think I’ll stick to scoring the image with a round cut out.
There’s no CO2 laser that won’t melt plastic masking. It’s not a ![]() specific thing, it’s physics
specific thing, it’s physics ![]()
It may depend on the source, or even the specific piece but what I found was that the glitter was quite laser resistant and made cutting very difficult.
When in doubt, test as suggested above. Acrylic is pretty standard so start with proofgrade settings. Also, read the information regarding manual settings so you understand the relationship of speed/power/lpi: Working With Manual Mode – Glowforge
Maybe I missed it, but is this acrylic? You called it “glitter board” but what is the material? What does the back look like?
That will affect the settings.
I figured and I double checked during trouble shooting but they said it wouldn’t melt on. Live and learn… basically what I’m doing right now 
Oh then don’t use the PG acrylic settings.
MDF is the same thing as draftboard, start with those PG settings. Perhaps two passes to get through the glitter layer as well.
Thank you, I have so much to learn and everyone is so helpful!! I didn’t even think about the option of doing a second pass to cut through the glitter.
Oh wow, I’ve never even heard of MDF coming with plastic masking! That’s a first. Who is the supplier?
@deirdrebeth its a company called craft closet. I’m correcting my last reply it does say MDF.
description: COLORboard is laser safe. It is a heat and pressure applied color application to MDF which allows for colors and patterns not achieved through paints or other wood finish options
This topic was automatically closed 32 days after the last reply. New replies are no longer allowed.